

When I got started, I wasn’t quite sure how I was going to make it into a piece of jewelry. I ended up keeping it simple and just using it as a cabochon. The brilliant thing about that is that you can make personal pieces to fit trays you may already have in your stash – in the colors and designs you want. You could potentially make one for every season, because they are inexpensive, easy – and of course, fun to make!
What you’ll need:
Polymer Clay
Roller
Wax paper (to protect your surface)
Stamp(s)
Cutter(s)
Sculpey Gloss
optional toothpicks or paperclips for making holes
Jewelry bail or tray, or keep it simple and just add a jump ring
Chain
I used about 1/8 of a package of Sculpey clay in silver. I just rolled it into a ball.

Then I used my roller to flatten it out. Make sure you’re not using your food roller – or if you are, cover your clay with wax paper first to protect your roller.

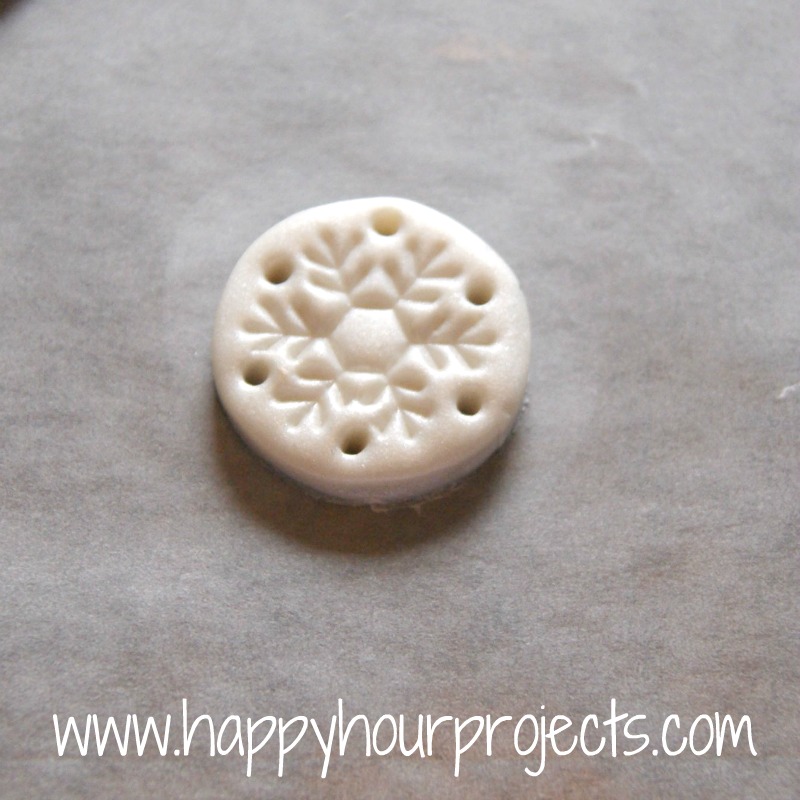
Roll it out to 1/4 inch thick. Then, find a small stamp, or create your own design by drawing it with a toothpick.

Then, use your cutter and center it over your image, to make sure it will look nice. You want to cut it second because if you cut it then stamp it, your clay will spread from being squished by the stamp. You can find tiny cutters like this near the clay.

Now, if you want to add holes for jump rings or just for decoration, you can add them now. I had envisioned doing some sort of wire wrapping, so I made equally spaced holes in mine. But I ended up just gluing it on, so they weren’t actually necessary after all.
Now, bake it according to the package directions. For me, that was 30 minutes at 275, but each different kind of clay will have different instructions, so don’t go by what I say.
When it was done, I added a coat of Sculpey Gloss to give it shine and to seal it. This is also available in the clay aisle. If you’re planning to add a jump ring through a hole, make sure you don’t get a pool of glaze in the hole.

Then, I decided to use some trays I had – they have a glass insert so you can add a photo or a graphic (or a book page clipping, if you’re like me)
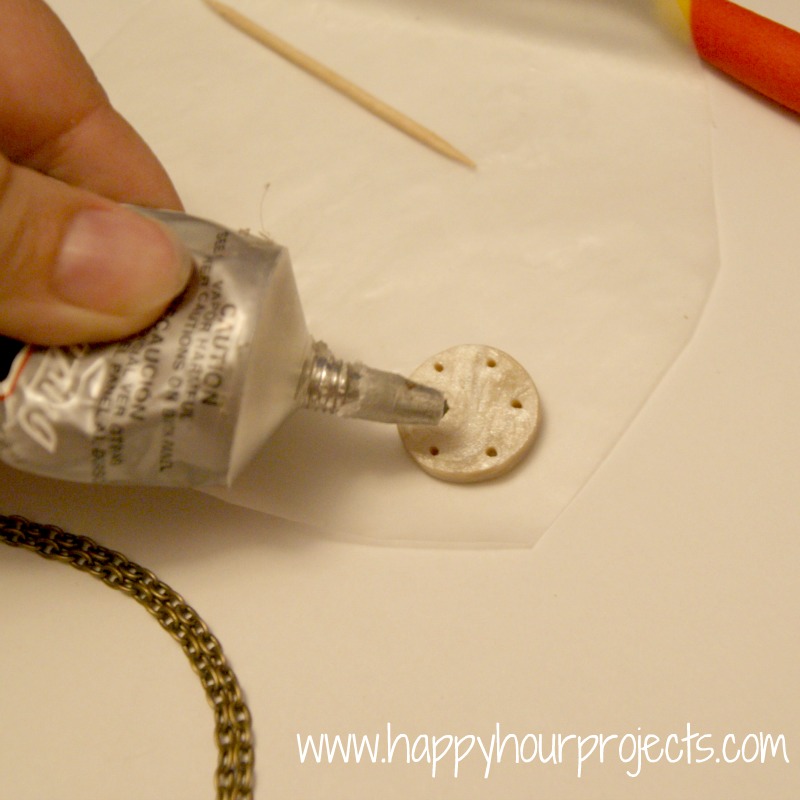
I just glued my clay right to the glass with some E6000. You could use any kind of heavy-duty adhesive you like – but hot glue isn’t going to hold up if you plan to wear this more than like, once.
Then, I just strung it on a chain. What do you think? Nice and simple, and I love the silver clay with the antique brass colors.

I hope you’ve enjoyed this week’s Christmas in July series, and you re-visit some of these ideas in a few months when the Christmas season really approaches! Don’t forget that the giveaway is winding down – you only have until midnight EST tonight to get your entries in for one of the 6 prize packs!

I link up to these great parties! 
Thanks for sharing excellent information. Your website is very cool. This website has got really useful info on it!
Great tutorial! Thank you!
Busy girl! it's a great addition to the All Star Block party. Thanks
I adore this! Thanks for sharing at the All Star Block Party.
Holly
This is so cute! I've always seen that clay, but could never think of anything I would use it for. Now I'm going to have to go buy me some.
Rachel
adventuresofadiymom.blogspot.com
That just inspires me to buy clay! :) I love your blog and your tutorials. :)
Super cute. Why haven't I tried using this clay yet!
Wow that turned out beautifully!! Great post. I just found you through the blog hop, and I'd love it if we followed each other! Your blog is adorable:)
Shelby xoxo
shelbychasingbirdies.blogspot.com