
Hey friends! I have another CRAZY EASY jewelry tutorial for you today – a delicious DIY leather bracelet that you can make in 3 minutes or less, with just 4 tools and components. Take a look at this fabulous arm candy:

I can’t take credit for inventing this, I was shopping the new releases at Goody Beads the other day and I saw Tory’s fabulous take on the classic cuff bracelet. It’s modern, it’s simple, it’s easy to customize, and of course I HAD to make some, immediately. It’s a really basic concept: you glue the leather onto the base of the bracelet. Yep, spoiler alert, that’s the WHOLE tutorial right there, haha! But I tried a few different types of leather for this to really put the design to the test, and I’ll weigh in below about my experience and give you affiliate links to shop in the list below if you’re already in love!
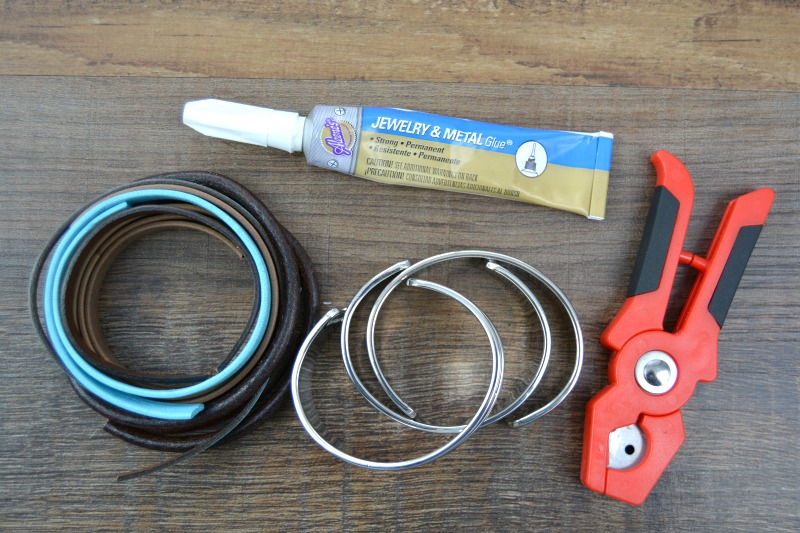
I tested out several types of leather, so you don’t have to! The three types of leather that will work for this project are:
- 10mm flat leather (7 inches – shown in the color Vintage Mocha)
- 5mm flat leather (14 inches – shown in the color Pastel Turquoise)
- 5mm round leather (14 inches – shown in the color Whiskey)
You will need a jewelry-formulated glue to adhere the leather. I tried two kinds. Both worked, but I did have a distinct preference:
- Super New Glue (a liquid glue, which is normally my favorite, but NOT for this project)
- Aleene’s Jewelry Glue (a thicker, epoxy-style glue which worked better)
You will also need:
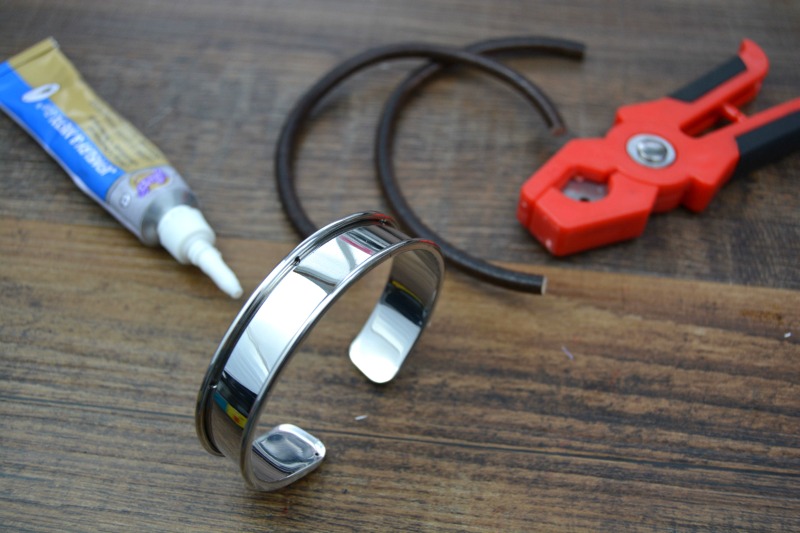
- A cuff base (which comes in several metal finishes)
- Leather cutter or very sharp scissors
So you know the old adage, measure twice, cut once? This is a situation where that applies! The cuff base needs 6 7/8 inches of leather, but the very best way to get the EXACT length it to ensure it’s all the way at the edge, and to wrap it tightly around the cuff allowing NO gaps. You may wish to use a pen or marker to discreetly mark your cut line, but the key to a pro finish on these cuffs is to make sure the leather fills the base all the way to each edge without allowing any gaps, which can happen if your cut is off by even 1/8 of an inch too long. Fortunately? You can always cut it shorter! You just cannot add length, so measure carefully.
The most difficult leather to use was the 5mm round leather, the type that’s shown above. Because round leather has a smaller contact area with the cuff base, you need to make sure you have excellent glue coverage, and this is where the thicker glue was especially useful. The Aleene’s glue can be spread on, and it doesn’t dry instantly, allowing you to move your leather around if necessary.
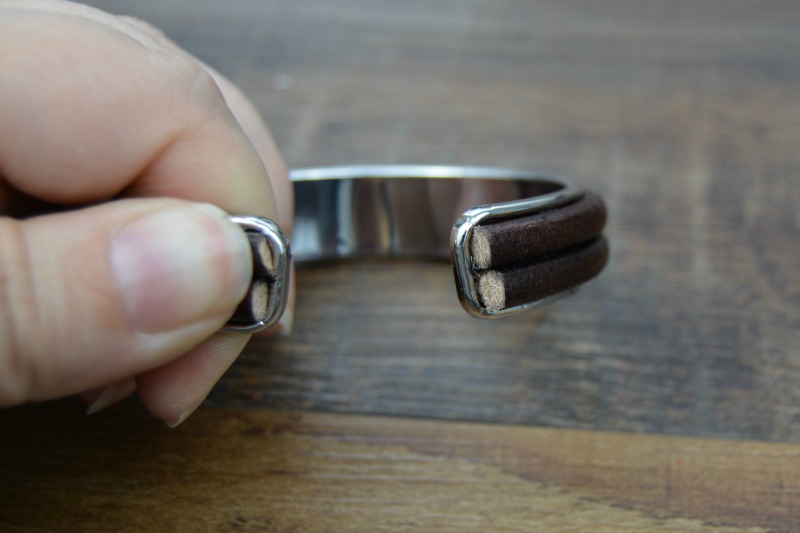
I found it most efficient to glue from the halfway point to one side of the bracelet, hold the leather down until the glue held (which takes a minute or two) and then to glue the other half down.
You can also see above that the raw edges of the leather show when you use the round leather cords. If you like the rounded look, it’s not hard! But the flat leather was even easier!

The pitfall to the 5mm flat leather was not NOT GET TOO MUCH GLUE on your base. Unlike the round leather, there is a lot of contact area between the leather and the cuff, so a little glue goes a LONG way and you don’t want it to squeeze out between the strands or out over the edges. The 10mm flat leather glued LIKE A DREAM since it’s just one strip, and you can make this bracelet with 10mm flat leather in like a minute!

Hope you enjoyed this little project as much as I did – big thanks to Tory at Goody Beads for sharing the idea! I LOVE IT!

This DIY leather bracelet cuff tutorial
wow looking good
nice post
looking good
So with the round 5mm leather, how did you cover up the cut ends? or do you just leave them as is?
Wow for something so easy they look really elegant! I’m going to have to make some of these!
do you have where I can make earrings
do you have where I can make earrings
Hi. Really liked this. I’m all for fast and neat! Thanks.
Betty Dalton