

Cinnamon is a natural preservative so these last a long time as long as they are stored with the same care as other potentially fragile ornaments. And what I love most about them is that they smell amazing – for a long time! When I made these, my husband said, “Smells like Christmas in here!” Raya just said, “Cookie!” – so I am also happy to report that while they don’t taste very good, if someone attempts to munch it, it’s at least safe.

To make your cinnamon dough, mix a 4 – oz. bottle of cinnamon (yes, the whole thing) with 3/4 – 1 c. of applesauce. It will depend on how “wet” your applesauce is as to just how much you will need, so add 1/2 cup first and stir it up, and add it a tablespoon or two at a time until you have a nice stiff dough. All it needs to do is stick together as dough – it should be fairly dry.
**Note – I was using regular/standard sized cookie cutters, and this size batch made me 16 ornaments. You will get more or less from this depending on how thick you roll your dough, and how big/full your cookie cutters are.

Roll it out like you would do for cookies. I rolled mine between sheets of wax paper to keep things clean. ;) But use the method you like best!

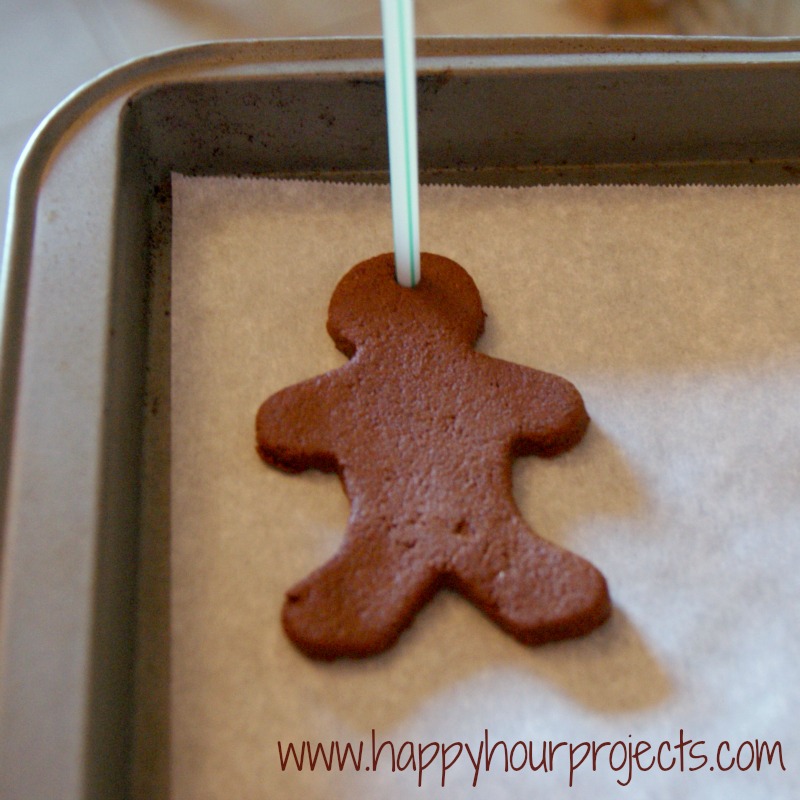
Once it’s 1/4 inch thick, cut your shapes with cookie cutters. I made gingerbread men and snowflakes. You’ll want to poke a hole in them for hanging – I found a straw worked really well.
Now, you can either air-dry them for several days, or to speed things up, bake them in a very low oven (150F) for an hour on each side. If you opt to let them air-dry, you’ll want to turn them about twice a day, so they dry evenly.

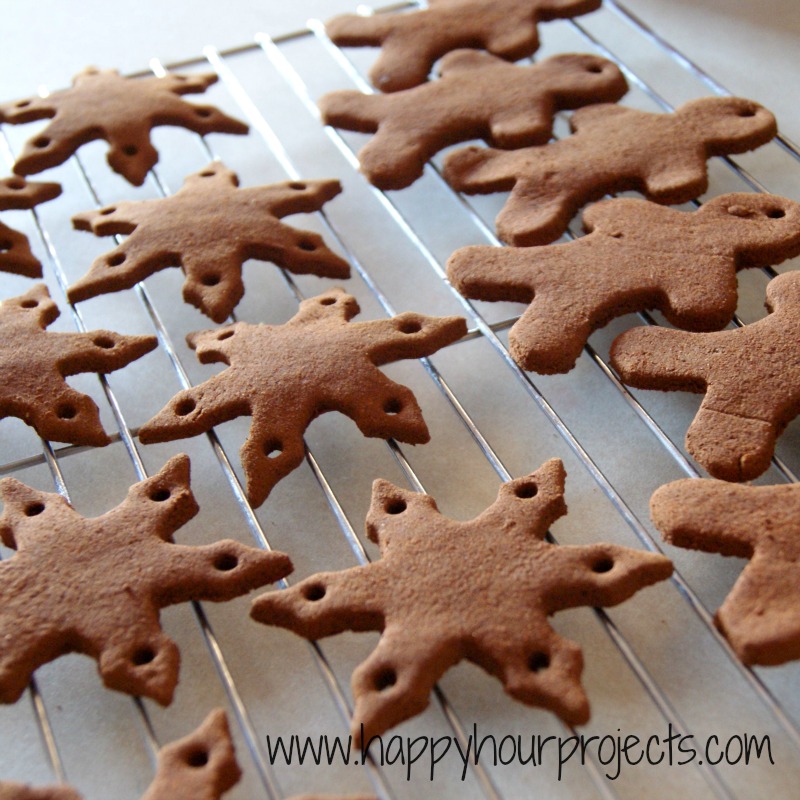
If you opt to bake them, set them on a wire rack to finish drying. Mine needed another half day or so to harden totally.
Once they are dry, you can add a string and hang them! I was originally going to use some white puff paint to add details, but as many times as Raya has tried to eat one, I’m going to stick with the rustic (non-toxic!) look. I’m still trying to decide what to do with the snowflakes… I’m thinking a garland. Thoughts?

So, what Christmas crafts were your favorite as a kid?

I link up to these great parties!

Making these this weekend with the kiddos, they will have a blast.
Adrianne, Isn’t it amazing how it just takes applesauce and cinnamon to make these amazing ornaments? My youngest used to actually eat these when he was a toddler…he still thinks these taste good…can you believe it? Thanks for sharing at the homemade holiday party.
Marilyn
4you-withlove.blogspot.com
Some of my students made and are selling these ornaments this week for a Special Olympic fundraiser. The library (where they are selling them) has never smelled better! I’d love it if you’d share this at my linky party http://accidentallywonderful.blogspot.com/
Just a good tip to pass along. I’ve made these over 20 years ago, and what I found is if you take a strainer (big enough for the jar of apple sauce to fit), and you strain off the liquid you then will have the apple sauce more on the dry side. You still have to use quiet a bit of cinnamon, but it is more economical to get rid the excess liquid. Also I have found if you take some gesso and apply it after the ornaments ave dried, it make it much sturdier. Good article.
These are awesome! Can't wait to make some this year…
TracyAnn from http://www.crochethappy.com and http://asktracyann.crochethappy.com
My boys are really going to love these! Pinning!
Found you at Seven Alive!
I want to eat these ornaments!
I just wanted to stop by and drop a hello. I was on Pinterest and I saw a pic of your baby. http://pinterest.com/outfoxprevent/the-outfox-germs-mindset-outfox-infection/ I contribute to a board for tips to outfox germs. The pin was your post about the shopping cart germ guard. Speaking of…I see your cute little one has grown so much in the year. Still adorable as ever.
This is a super idea. I may have heard of it somewhere but I never had such good instructions. I can' wait to try it. Saw you on Lil Luna. I hope that you will share these at my holiday cookie exchange: http://www.tumbleweedcontessa.com/blog/2012-cookie-exchange-cookies-and-memories/
Awesome, I've never made ornaments with cinnamon before! We used to make salt dough ornaments all the time, but I bet the cinnamon smells great. Thanks for sharing at The Fun In Functional!
my oldest daughter made one of these in kindergarten! 10 years later it still looks as good as new and smells of cinnamon!
We loved making these as kids! They smelled so yummy and we would paint faces on the gingerbread men with puffy paint :) So fun!
Oh shoot – I meant to include this in my post! I will update the post to add it, but I made 16, using full-sized (standard sized, if there is such a thing??) cookie cutters. It will of course depends how big and full your shapes are, but that's an approximation. Just roll the leftover dough back out and re-cut it. :)
I'd like to make this with my students, can you tell me about how many cookie ornaments one batch will make? (Obviously it'll vary by size of cookie cutter.) But any approximate would be helpful!
We never made these as a kid!! They are so cute and look pretty easy, I think they may have to go on the list for this year. We always made paper snowflakes I make them with my kiddos too. I think the snowflakes into a garland would be adorable!
Oh my gosh! The memories…I used to love making these when I was little! I think you should make garland out of the snowflakes. How cute would that be? I'm going to have to try this with Reed. Great job!
I made so many of these as a kid! Nat and I have plans to make some soon for her first time…