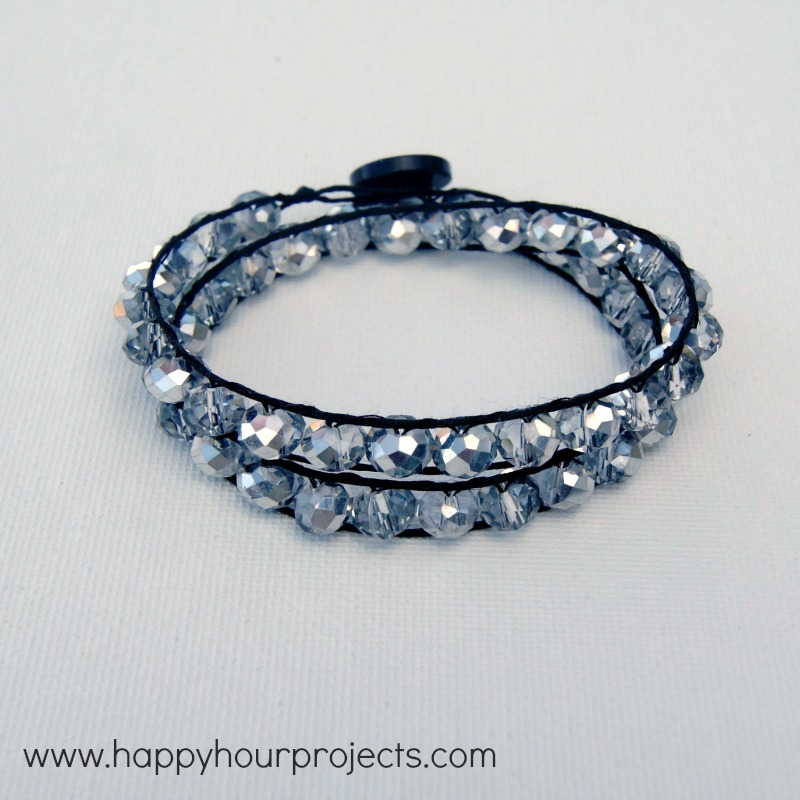
If you read here often, you know my affinity for bracelets. I have been on a bit of a jewelry-withdrawal lately, so I figured I was due for a new bracelet. ;) This is a fun one just in time to go with your holiday sparkles because it has a bit of shine.
I got most of my supplies from consumercrafts.com. (They have some amazing sales coming up this weekend – I blogged about them here!)
What you will need:
- Hemp or Cotton twine – I used a black waxed linen
- Beads you love – I used not quite 2 strands of 6x8mm silver crystal rondelle beads
- Needle and thread
- Button for your closure
- Scissors
- Optional but helpful – clipboard to hold your bracelet while you work.
Cut 48″ of cord. You won’t need it quite that long, but trust me, it’s SO much easier to work when you have a little bit of extra length. Thread your needle. You’ll want to double up your thread for strength. You will have to add new thread at a point (or two) while you’re working, so just use whatever length you can comfortably work with. Too much, and it tends to tangle.
Double your cord. Tie an overhand knot in the loop end to make one end of your button closure. Check it against the size of the button to make sure it will fit.
Now, secure your cord somehow. I like to clip it to my clipboard to hold it steady while I work, but it’s up to you. Tie the tail-end of your thread to one of the sides. You want to give it a nice and secure start by threading it toward the right – over the left side of the cord, then under the right side. Then, work your way back to the left, over the right and under the left cord. It’s weaving back and forth in a figure 8 pattern. There’s not enough contrast for a photo to show you effectively, but you’ll be using the same motion throughout the bracelet, and I’ll show you photos when you begin adding beads.
To add your first bead, begin moving to the right – go over the left strand, and thread on a bead. Then pass your thread under the right strand.
Now, work in the other direction, moving left. Go over your right strand, pass your thread through the bead, and go under your left cord.
Just continue this motion. Each time you pass to the right, add a bead between your two cords. Each time you pass left, thread it back through the bead hole. Keep your threat taut as you work. Your beads should line right up, secured between the two cords.
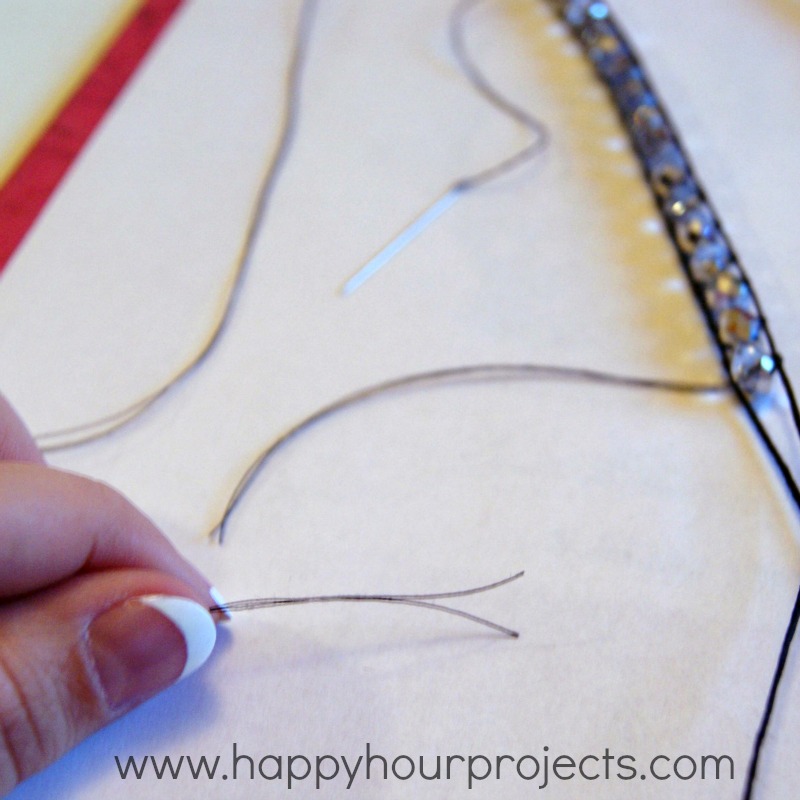
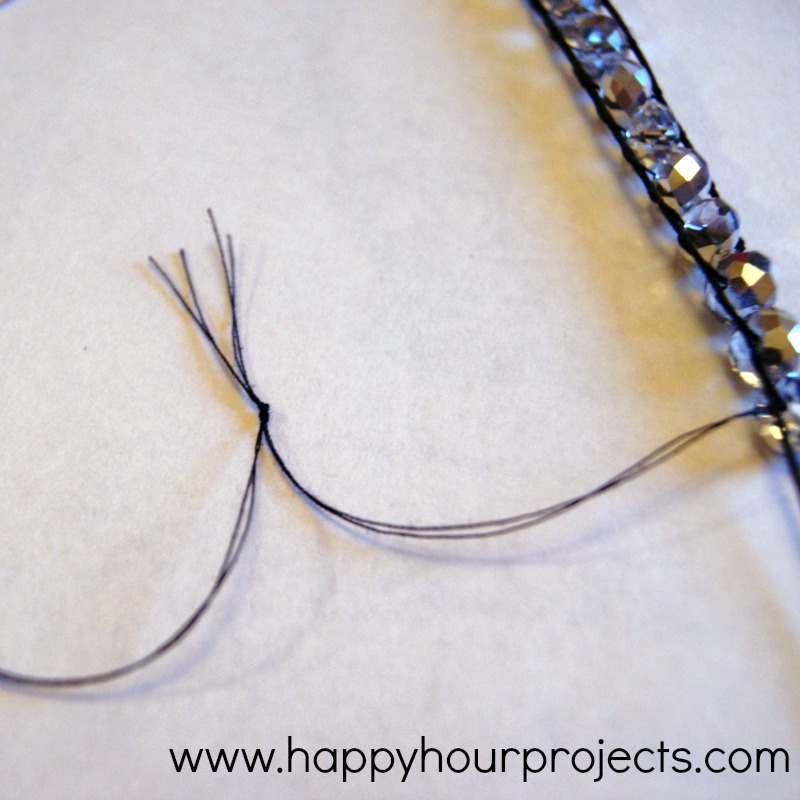
At some point (or 2 or 3 points), you will run out of thread.
Just trim it off, thread a new length of thread onto your needle, and tie the two ends together with an overhand knot.
Continue on!
Check your length periodically against your wrist. If you run out of length on your clipboard, just go ahead and move it up.
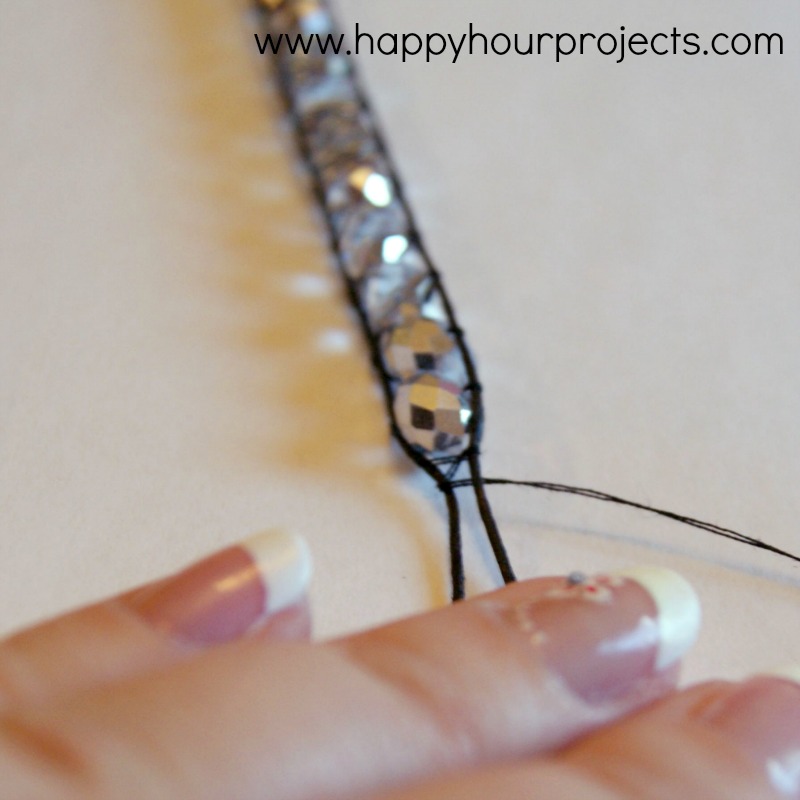
When you like the length, stop adding beads and weave a few figure 8’s around the two cords.
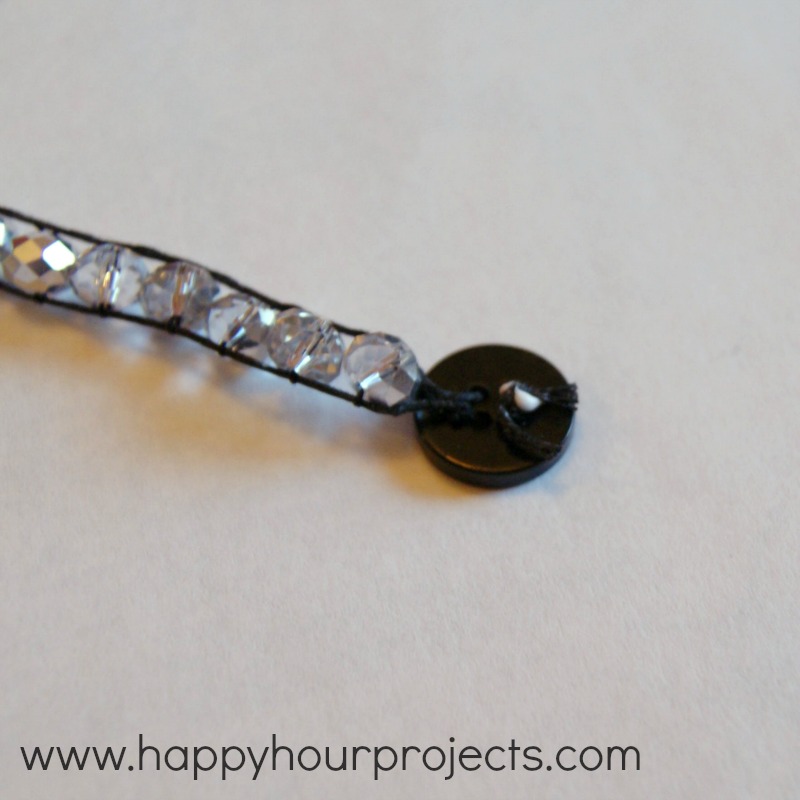
Tie an overhand knot to secure the end and then add your button closure. I find it works best to thread your cords up from the bottom side of the button, over the top, and back down to the bottom. (If you have a 2-hole button, you would only do this with one of your cords.)
Then, knot it underneath. I like to add a dot of glue to help secure it, but that’s optional.
And you have a finished bracelet! You can adapt the length on this bracelet to accommodate any number of wraps: single, three, four – it’s up to you! You’ll want about 20″ (10″ once doubled) of twine for each wrap you’re planning to bead.





Beautiful design and excellent tutorial. Thanks for sharing!
I deffinately love this bracelet! When I get a chance, I’m going to make one. Probably 2 to 4 strands.
If you have a news mail, or equivalent please sign me up.
Thank you for the great Tute…I tried to share on Google + but it kept on showing the wrong pic, so I only shared it on FB, I hope that was ok?
Love your work….you should make a little video on this one, Love the video Tute, I am subscribed,
Love from Sydney Australia…..
Peace & Love,
Sylvia xx
THIS WAS THE BEST TUTORIAL I FOUND! MADE ONE FOR MY BOYRRIEND!!
I really love all this handmade beaded tutorials…..
Thanks for all the sharing.
Best wishes from malaysia….
Beautiful. Your pattern looks really easy to follow. Thank you. I want to make some for my granddaughters. They will love these.
I use leather instead of hemp – love the colors you can buy it in now!
I used leather cord and chain and home made beads. My hubby has never taken it off. It’s lasted so far for 5 months.
What weight hemp can I use? I have some 10 & 20-lb. Thanks!
Thanks for this – I was getting frustrated because I am making a long wrap bracelet. My thread kept getting tangled because it was too long. This is a great help
Thank you for posting this! I have always wanted to try to make one of these bracelets and wasn’t sure how to do it. With these instructions, I know I can do it and am excited to start making some for Valentine’s day for my goddaughters and friends. Thank you again!
I can’t say enough how perfect your tut is! I found your blog just DAYS before my sis-in-law asked me to make her a wrapped bracelet like this! I followed your instructions and pics easily and the finished bracelet is beautiful! Thank you for sharing your talents!
This is one of the best tutorials I’ve seen. Thank you
i love the wrap bracelet ,simple design but very classic .thank you for sharing ,i will do it following you ! thanks again ~!
Hi love this bracelet and the tutorial is super easy. I have one question though what other size or types of bead can you recommend to make more bracelets for everyday wear. Thanks
Hi Adrianne,
Fantastic tutorial for these bracelets, I hope you don’t mind I linked to it on my blog, http://handmadebytrig.com. I can’t wait to make another and try linking the threads the way you suggest. Brilliant idea, thanks!
This is what you call a quick project? Seriously lady, that’s some crazy talent! I love the bling bling!
Gorgeous, as usual!!
One day I’m going to get brave and make one of these! I just LOVE the way they look. Thanks for sharing.:)
Hi Adrianne,
I wanted to thank you for your beautiful double wrap bracelet design and to let you know that I have posted a picture of it on our Facebook page as well as a link to your website. I am a wholesaler of Swarovski Crystal and thought my customers would like your design inspiration.
Please let me know if I have done anything incorrectly. Thanks so much, I really appreciate it. Take care, I love your website.
Warmest Regards,
Harmony Reilly
Rainbows of Light
Love this so much and I’m not even a bracelet kind of girl!
I LOVE that! Definitely going to have to make one or two or five or ten!
Thanks for sharing!!
Jourdan