• Skip to primary navigation
  • Skip to main content
  • Skip to primary sidebar

  • home
  • about adrianne
  • buy the books
    • DIY T-Shirt Crafts (2015)
    • DIY Stamped Metal Jewelry (2016)
    • Rock Painting for Beginners (2019)
  • videos
  • crafts
    • diy beauty projects
    • kids’ crafts
    • paper craft projects
    • polymer clay
    • sewing projects
  • jewelry
    • bracelet projects
    • earring projects
    • necklace projects
    • jewelry tools & supplies
  • metal stamping
    • beginners’ tutorial
    • video tutorial
    • project ideas
    • metal stamping supplies
  • recipes
    • cocktail recipes
    • appetizers
    • main and side dishes
    • sweets and treats
  • by season
    • birthdays
    • new year
    • valentine’s day
    • st. patrick’s day
    • easter and spring
    • mother’s day
    • patriotic
    • fall
    • halloween
    • christmas
    • thanksgiving
  • privacy

Happy Hour Projects logo

10/17/2012

Crochet Stitch Markers

You may have seen this project when I guest posted last week over at Petals To Picots.  Kara is one of my bloggy best friends and has an amazing crochet blog!  If you enjoy crochet and don’t read there already – you should definitely check her out.  Now… I don’t crochet.  (Weird that I would guest-post over there, then, right?) But I had an idea for a project that overlapped the things we both enjoy doing: crochet stitch markers.

These make a great handmade gift if you have friends or family who enjoy crochet, and they are a lot easier to make than you might think.  They allow for so many possibilities to personalize.  You just need some basic jewelry tools and findings, and if you watch the sales or coupons, these supplies will be really reasonable.  You can get everything you need at any craft store (like Hobby Lobby, Michael’s, Joann’s, etc).

What you will need:

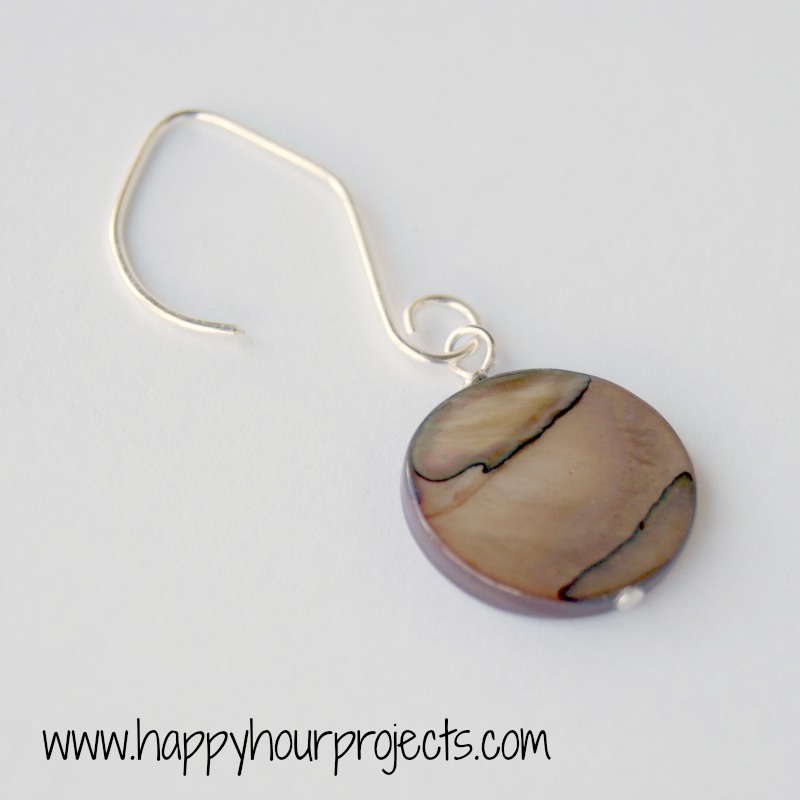
Beads you love – I picked a round disc river shell bead strand from Hobby Lobby’s Traditions Line.
Earring wires – the open kind, or the kind that closes – whatever you prefer!
Jewelry pins – these will either have a flat base, a loop, or something decorative.  Any version will work.
Jump rings – you may or may not need these, depending on whether the ear wires you choose can open up or not.  Some don’t.  I didn’t need these with the ear wires I chose.
Jewelry pliers – The round ones work best, but don’t buy pliers just for this project.  Any small pliers will work.
Wire cutters – the ones from your  household toolbox work fine.

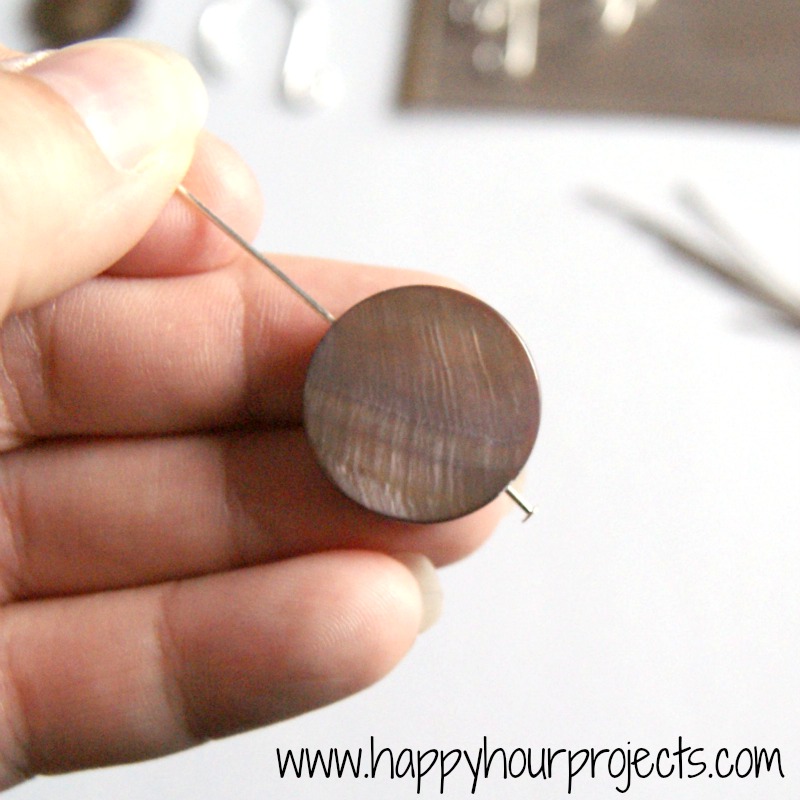
The first step is to make your beads into charms.  For this, you just need the bead and the pin.  My pins are flat on the bottoms, so that the bead doesn’t slide off the end.  If the holes in your beads are larger than the head of your pin, you can fix this by putting a smaller bead on the end, like a seed bead.

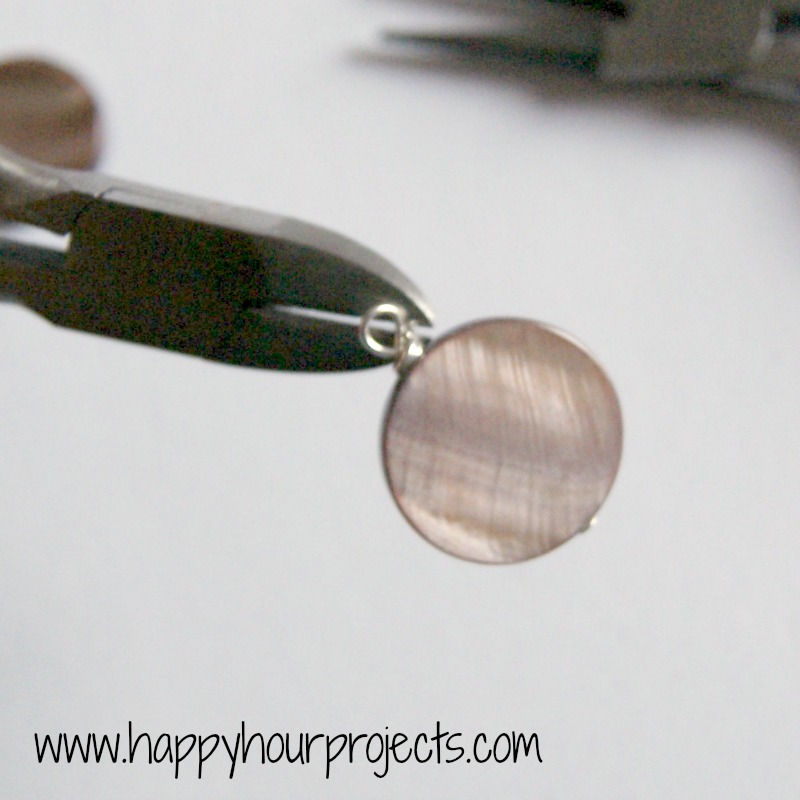
Now, you need to turn the top into a loop.  Do do this, bend it around your pliers like the photo below:

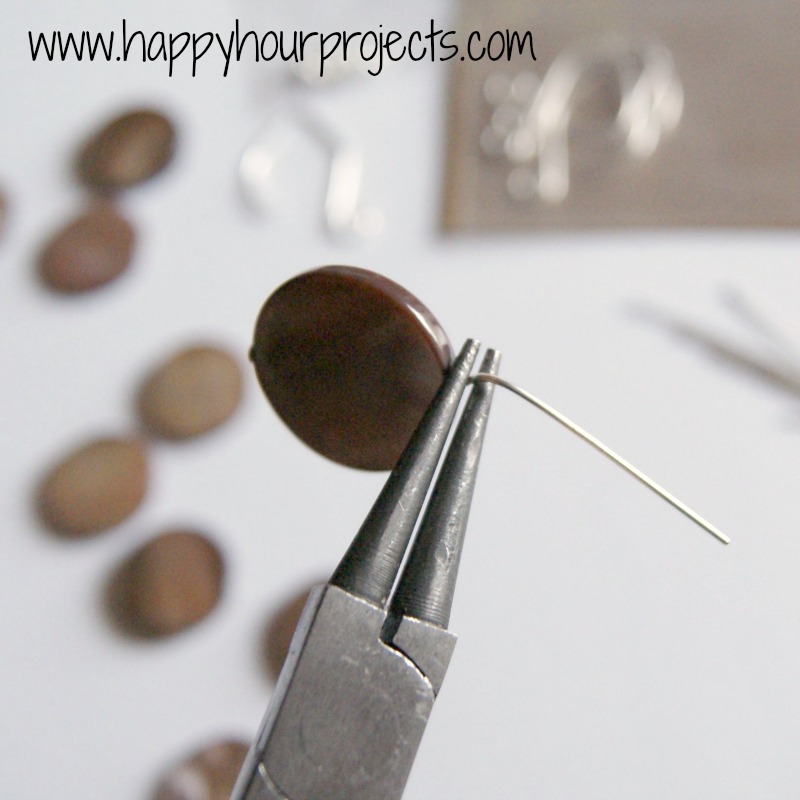
This is why I say round pliers works best, but the loop doesn’t need to be perfectly round, don’t worry.  Loop the metal all the way around.

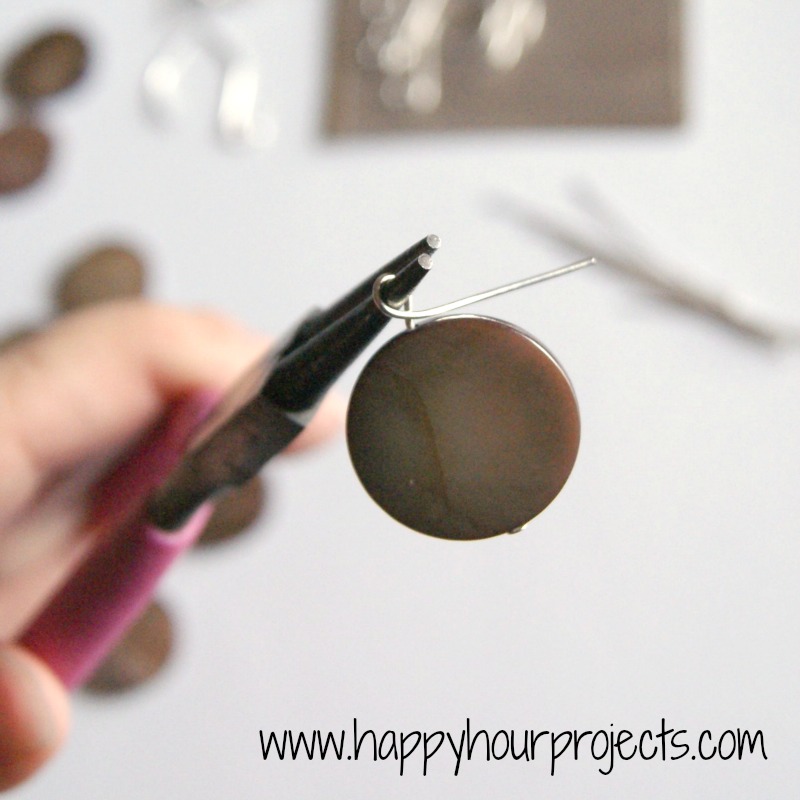
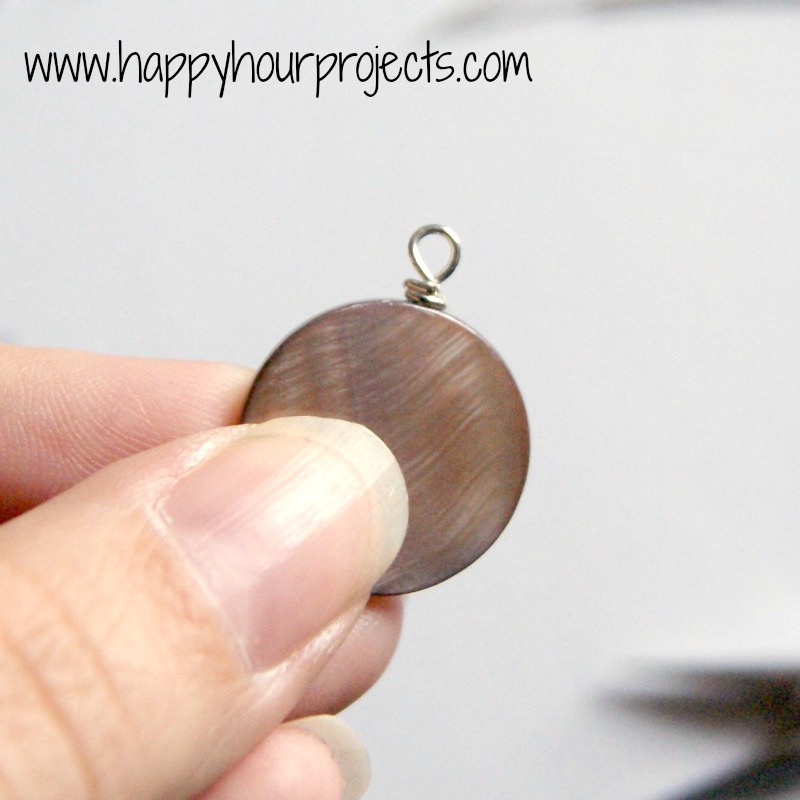
Now, bend the little “tail” around the “neck” you’ve made.

Nip the end of the pin off, if you have any left (it will depend on the size of your bead or beads).

You will probably still have just a little bit of tail poking out.  Just use your pliers to press it down.  There are no rules a to how many times it should loop around the neck – at least once, but however many times you have room for.  I looped mine twice.

Now, I chose ear wires that have an open back – mostly because, they don’t look so much like earrings, they are more convincing stitch markers. :)  But the little loop on mine opens up (with some help from your pliers).  Just add your bead charm on, and close it back up.  If you have chosen ear wires that don’t open up, that’s okay, you will just need a jump ring to attach the charm to the wire.  (Jump rings are just simple rings that open and close with a pair of pliers.)

Then – just repeat this process as necessary until you have a nice set!

Are you getting the jump on some handmade gifts for the upcoming holidays?  What kinds of things are you making?

Filed Under: Tutorials Tagged With: crochet, gifts

copyright policy and terms of use

I love it when you love my work! All tutorials and photos published at Happy Hour Projects are copyrighted. If you would like to feature my tutorial on your website or share it on your social media you may use one photo to feature, as long as you provide a link back to the original post.

If you feature a photo, it may not be accompanied by the project tutorial or recipe, whether in my own words as it originally appears or paraphrased by you. This also includes personal sharing on social media and Pinterest. Publishing multiple photos from a project, or including instructions with an accompanying photo are not permitted and you will be asked to remove them.

I love to share my projects, and my tutorials, recipes, and e-books are ALL free for your personal use. However, photos and ideas that are published to this site are my protected intellectual property. You may print them at home, but please do not copy or distribute them. I also allow all designs to be made and sold at fundraisers, craft fairs, etc. If you are selling a piece made from one or more of my free tutorials in your online shop, I require that you use your own, original photography, and include a link back to my website to credit me as the designer.

I hope you enjoy what you read here, and please be fair when you share!

Reader Interactions

Comments

  1. Lindsay says

    10/25/2012 at 3:00 pm

    Love these!! So easy and too cute!
    Thanks for supporting Artsy Corner, I really appreciate it and love seeing your projects :)

    Reply
  2. Jessi says

    10/24/2012 at 1:25 pm

    Just wanted to let you know I featured this today! You can check it out and grab a button here: http://practicallyfunctional.net/2012/10/the-fun-in-functional-link-party-22/

    Reply
  3. Jessi says

    10/19/2012 at 7:50 pm

    I love it! I just have a little plastic ring that I use, but these are soooo much prettier! :-)

    Thanks for linking this up to The Fun In Functional!

    Reply
  4. Mikaila says

    10/18/2012 at 5:20 am

    I love your blog! There are some cool jewelry projects which I will look forward to trying. thanks for all your great resources. I'm glad I found you!

    Reply
  5. Kara says

    10/18/2012 at 2:39 am

    I love these stitch markers :)

    Reply
  6. Kadie says

    10/17/2012 at 7:52 pm

    I love the way these turned out!! And I heard that they work fantastically!! Great tutorial I really need to make me some now!:)

    Reply
  7. Dani - Diane - ATA Girls says

    10/17/2012 at 7:48 pm

    Another great project with excellent directions. Thanks for sharing. Joining from Wednesday Whatsits http://allthoseartsygirls.blogspot.com/

    Reply
  8. Chiwei says

    10/17/2012 at 5:54 pm

    Very cool! I used paperclips (at least they were fun striped colors!) until I figured out that the weird looking doodad that came in my crochet set was actually a stitch marker. This is definitely classier than my striped paperclip :-)

    Reply
  9. Barbara Hiatt says

    10/17/2012 at 4:42 pm

    So pretty and great tutorial!
    Barbara at Chase the Star

    Reply
  10. Helene says

    10/17/2012 at 4:20 pm

    Thanks for the detailed instructions!! That is so neat!
    Do Dallas Cheap

    Reply

Trackbacks

  1. The Fun In Functional! {Link Party #22} - Practically Functional says:
    06/29/2013 at 2:41 am

    […] Crochet Stitch Markers – Happy Hour Projects […]

    Reply

Leave a Reply Cancel reply

Your email address will not be published. Required fields are marked *

Primary Sidebar

Hello, and welcome! I'm Adrianne, an artist, author, designer, and blogger in mid Michigan. I work from home, chase my two kids, and this once-city-girl is learning how to care for chickens and adjusting to life out in the country. I have a compulsion for daily creativity... sometimes it's jewelry-making, paper crafting, metal stamping, mixing and baking, or giving new life to recycled items. But with 2 young kids, time is short! My goal here at Happy Hour Projects is to share projects and tips that you can do in an hour or less. The ideas you find here are designed to add a little creativity in your day, no matter how much (or how little) time you have!

BUY MY BOOKS!

Copyright © 2026 Happy Hour Projects on the Brunch Pro Theme