
Ever since I re-did my craft space, there’s been one thing on my to-do list to pretty it up. My ever-faithful Singer, Ella Stitchgerald, needed a new frock (aka, dust cover).
Instead of going out hunting for the *perfect* fabric (because I don’t know about you mamas, but that never seems to work for me – anything delicious is outrageously expensive, I can never find what I want for what I want to pay), I decided just to wait and see if something turned up.
It did.
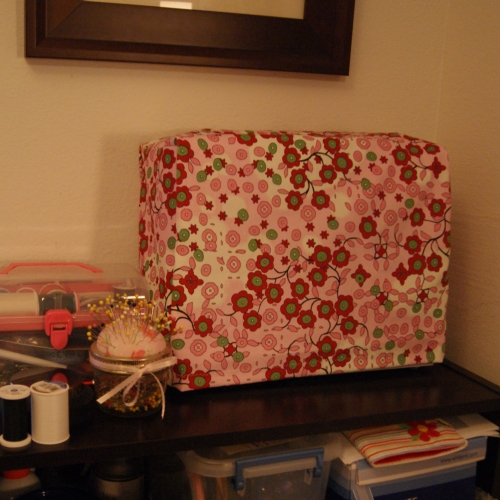
I found this fun corduroy on clearance for $2 a yard over the weekend, and I couldn’t believe it got stashed in the bargain section, I just love it!
I will share how I put it together, but this little project is more like a mini-tutorial, really – it’s a very simple one!
Sewing Machine Cover
Time: Less than an hour, including measuring, sewing, and putting everything away when you’re done. A little longer if you embellish your final look.
Supplies:
- One model (you know, your trusty sewing machine)
- 1/2 yd. fabric, give or take depending on the size of your machine
- Coordinating thread
- Optional embellishments
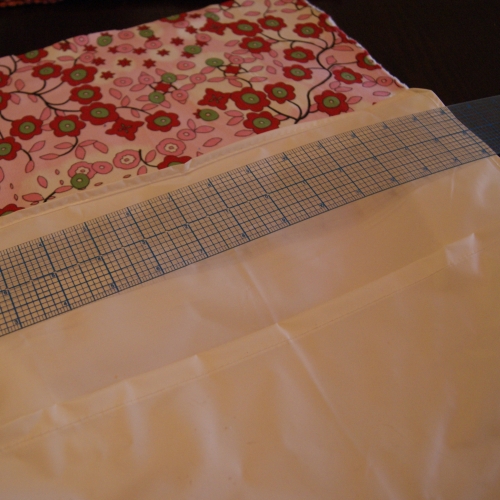
I took the measurements off the existing plastic dustcover. The front and back measured 15 x 11 1/2 inches, and the sides were 11 1/2 inches tall, 7 1/2 inches wide at the base and 6 1/2 inches wide at the top. I added seam allowances of 1/2 an inch all the way around. You know, for something so creative, sewing sure does require a lot of math sometimes. :)
Once I had all that calculated, I cut one piece to cover the front, top and sides at 16 wide x 30 1/2 inches long. The two side pieces I cut 12 x 8, and then measured in 1/2 an inch on each side to trim one side of that rectangle to 7 inches wide.
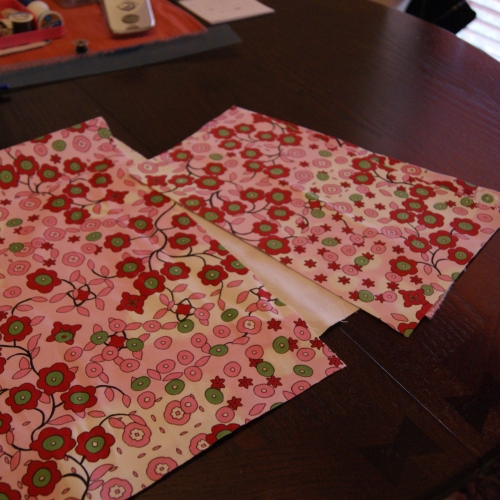
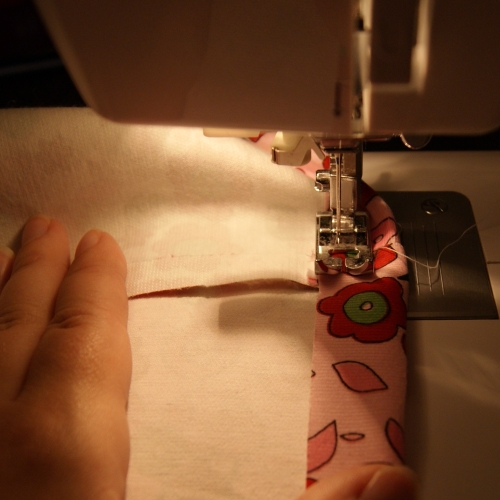
On my long piece, I found the center and marked 7 inches wide so I would know where to attach my sides. Then, I stitched the narrower ends on.

Once both side “flaps” were attached, I stitched down the sides to create a sort of box-looking shape.
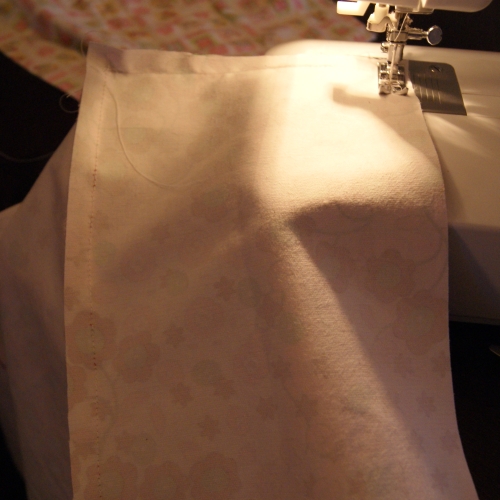
It should look familiar, and yes, you’re almost done already!
All it needs now is a hem, which I used a zigzag stitch for, but it’s probably not necessary, a straight stitch should be sufficient.
I turned it right-side out, and dressed my lady up to show off to you mamas! :)
If you’re so inclined, perhaps a bit of embellishment, like a band of ribbon, a bow, or some applique would make it look even nicer. But I’m content for now just to leave it plain, it’s such an improvement to that plastic thing!
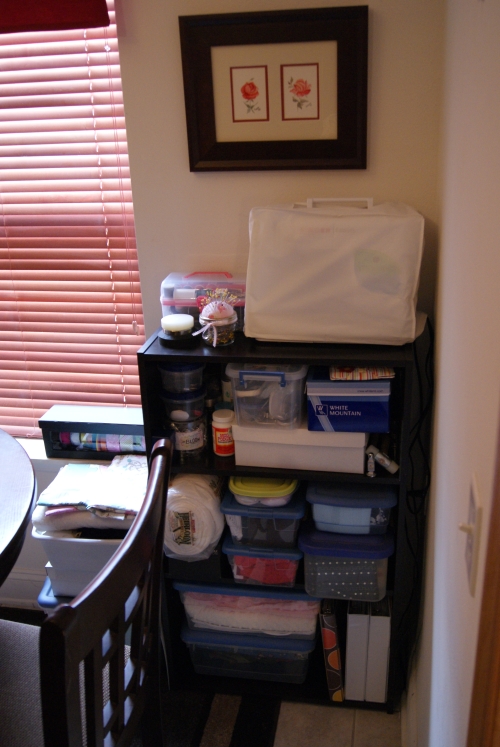 |
| (Old Dust Cover) |
I might have done a bit more if this were all I was working on last night, but I am on a deadline for my retro pillow entry! It’s coming along really well. I was nervous – you know how it is, every time you try something really new, you wonder if you can pull it off or not, but it’s turning out just like I envisioned!
I’m dying to show you a sneak peek, but I want the big reveal to be… well, big! I will be posting it yet this week, so stay tuned!
Happy Wednesday ~ Adrianne
I link to these fabulous parties!
Love the fabric! It totally dresses up your sewing machine.
Love how it turned out! Thanks so much for linking up with us at Show & Share! Hope you’re joining us again this week!
http://mylilpinkpocket.blogspot.com/2011/10/show-share-8.html
Marie
Mylilpinkpocket.blogspot.com
Great post! I’ve shared this link and a few of your others on my blog Indiana Inker. I’m an email subscriber and look forward to receiving your emails. For couponing tips, printable coupons, recipes, and more, visit my other blog, Coupons, Crafts and Causes. Thanks for sharing.
This comment has been removed by the author.
This comment has been removed by the author.
This comment has been removed by the author.
Cute! I need to get better at sewing before I can tackle a cover for my sewing machine unfortunately ;-)
Love that fabric – that was a great score :)
Hi there!! I'm following you back from
http://redrosecakesconnection.blogspot.com/
I wish I had the talent that you do sewing. I sew my fingers together. I cant wait to read more!
This is a great idea! I usually keep my machine in the closet because I don't like how it looks out but this is perfect!
PS I have a $50 cash giveaway going on at my blog this week. Come by when you get a chance! :)
Great tute, and your finished cover looks lovely, that fabric is so sweet! Its about time my poor naked machine got a cover, this might just inspire me to do it!
Thank you for sharing!! It looks really great. I'll have to make one too, I have the ugly plastic thing too! lol!
Looking forward to more of your posts!
I love that fabric! It turned out really cute.