
Today is the last day for the bird nest necklace giveaway! It’s powered by Rafflecopter which makes entering really easy. Stop over and enter!
My niece will be arriving next month, if all goes according to plan. I’m excited to finally be an auntie! But you know how babies are – it seems like they tend to arrive right when life is very busy. Now I won’t mind putting everything else on pause when she gets here, but I did need to get her quilt done first. I can officially check that off my list, whew!
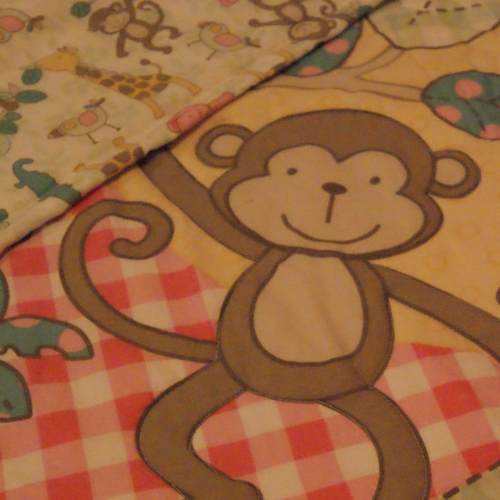
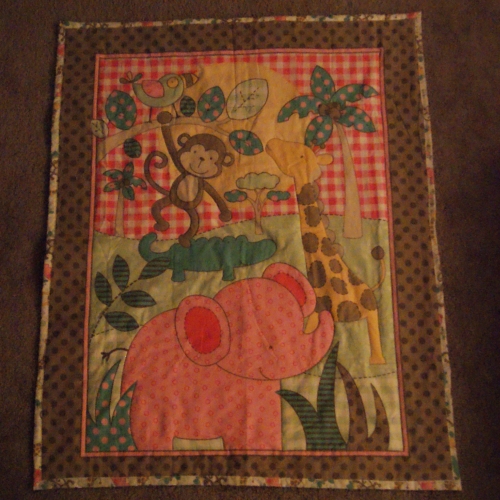
I tried something outside of what I normally do. I tend to be pretty geometric with my quilts. There’s just something comforting about the classics, to me. But because Emily’s nursery is monkey-themed, when I spotted this panel, I had to get it. I think it turned out just perfect! (Pardon the wrinkles, it went into the washer for the final wash right after this. I’m limited on my blogging time and I wanted to get this posted since I have done *nothing* else this week!)

Here’s a closer look:


Panels have pros and cons. Half (or more) of your work is already done, because there’s no piecing required. But actually quilting it can be a bit more tricky. If you plan to machine-quilt (like I do), following curves and corners is more intensive than straight-up stitching-in-the-ditch. Though if you hand-quilt, it’s not much different at all.
If you are a beginner and want to quilt a panel, I would just recommend that you examine the pattern really closely, and determine which lines you intend to quilt along. Every corner is a place you will have to stop stitching, lift your presser foot, and turn. Every curve is slightly more difficult than a straight line. If you think it looks intimidating, one more thing you should consider is free-motion quilting. I haven’t tried it yet, but I really want to at some point!
But as I mentioned, it is a time-saver, and that works for me!
Jungle Panel Baby Quilt
Time: 3 hours (1 hour of assembly and 2 hours quilting)
Supplies:
- Basic sewing supplies
- Fabric panel (usually 1 yard, but verify this before you have the fabric counter cut your backing!)
- 1 yard of coordinating backing material
- Batting (I like low-loft for babies, but use what you like! High-loft will make for a puffier quilt.)
First of all, I recommend you pre-wash your fabrics. Some quilters prefer not to, and they let the final wash wrinkle it up nicely. I like that too! But it works best when your fabrics are all the same blend and weave. If you don’t know what you’re looking at… prewash. A great time to start your prewash is well before naptime. :) If it comes out wrinkly, you may also want to iron it.
But then, we can jump right in. Lay it out and make your “quilt sandwich” – lay your bottom material out, right side down, place your batting, and place your panel on top.
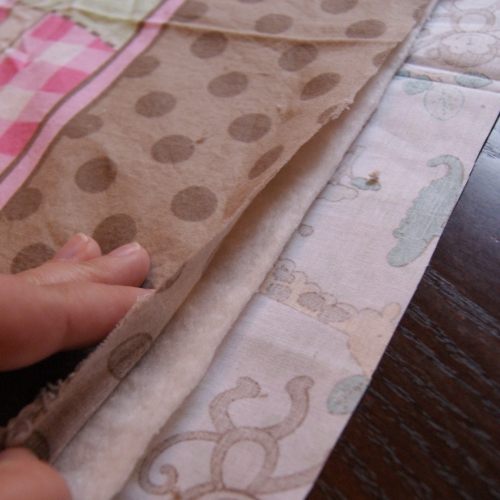
Now, I am going to show you the trick I use. It’s not exactly correct. But it does work. Instead of fussing with binding, especially because I’ve picked such cute coordinating backing, I use my backing as my binding. I cut about an inch off the top and the batting all the way around. (If you are piecing your quilt and decide to try this, don’t cut it smaller, just make your backside piece bigger.)
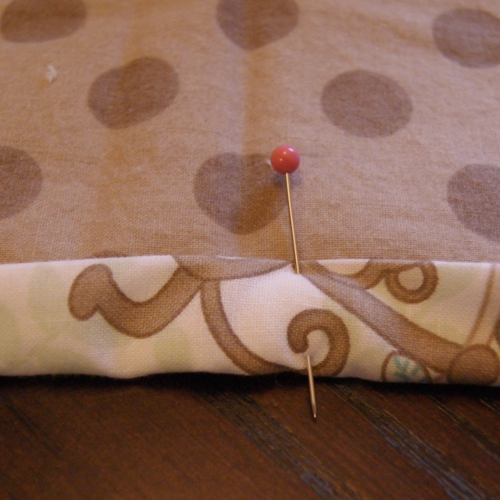
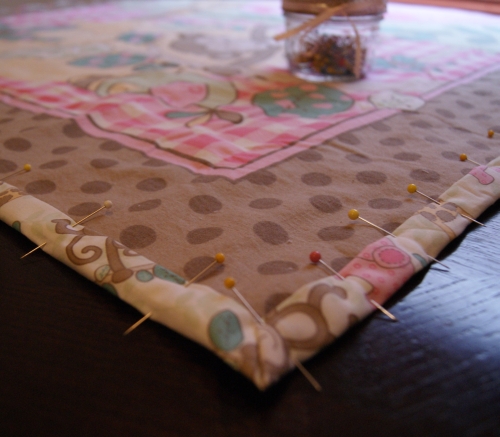
Once it’s all trimmed and nicely lined up, I pin the edges up for my makeshift binding. For mamas who have grown up quilters, I know you are cringing. That’s not how you do it! But for baby blankets (small size, something that fits on your table, for example), as long as you work on a nice flat surface, this method does work. :)
Before you start binding it, smooth every single wrinkle out. You may want to iron it. Pin through the quilt in several places to keep it from shifting. I use safety pins for this.

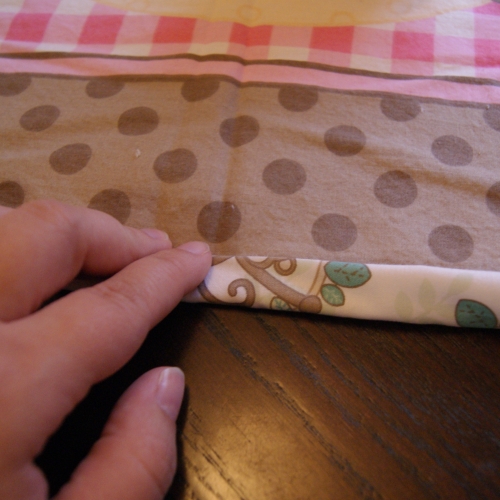
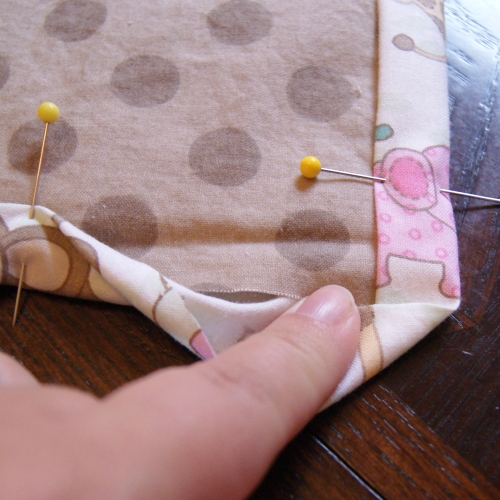
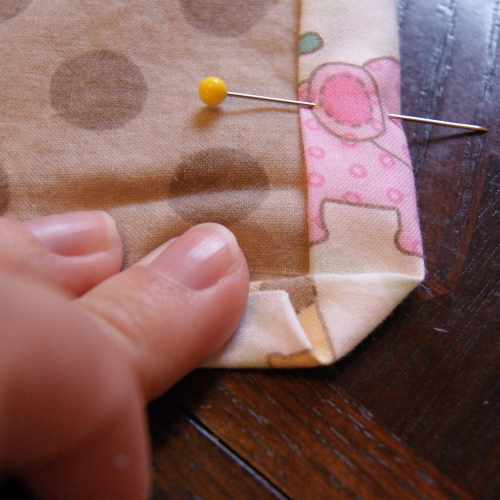
To bind it, start around the middle of one of your sides. Turn the backing up half an inch. Turn it up half an inch again. Pin.

Now, go all the way around like this. Leave a little space at the corners to do them last. This will be difficult to explain, so I have lots of pictures!
Make sure one edge of the binding is flat all the way to the end. Here, I’ve shown the side.


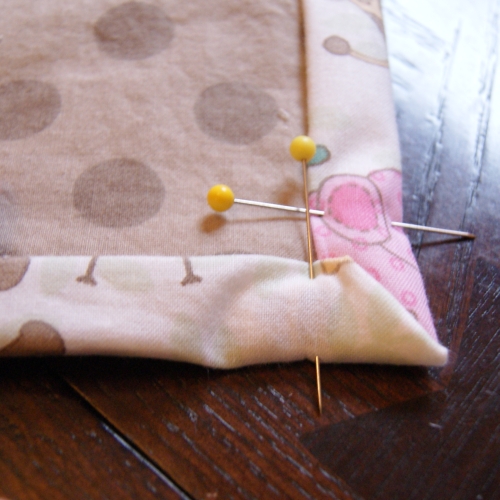
Whew! Don’t get intimidated, it looks more complicated than it is.
Okay, all pinned? Let’s bind it, and then you can take a break. It’s always tempting to me to stop here, but if you can avoid it, you should not put this away with a million pins sticking out.
The binding goes pretty quickly, especially on a baby size.
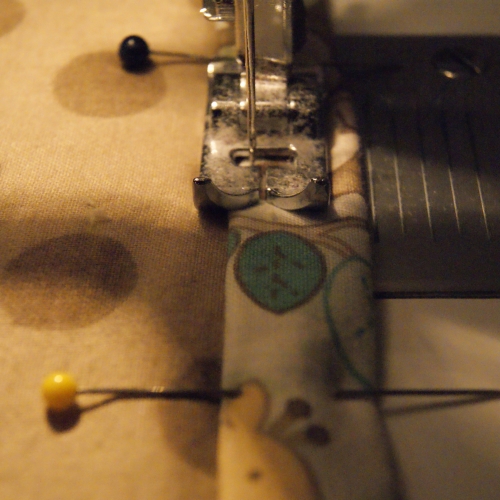
Stitch on the binding as close as you can to the blanket side without going off the edge. The closer you can get, the less noticeable your seam will be, but if you’re just beginning, it’s better to have a larger edge than to have spots where it didn’t get stitched, or you have to go over it.
The picture above is where I’m comfortable stitching, personally.
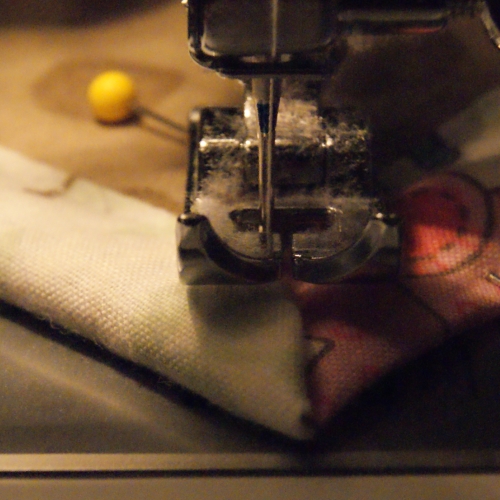
Here’s how I handle the corners. It’s probably not right, but I’m largely self-taught… so this is how I do mine.
When you get to the corner, leave your needle down and lift your presser foot. Turn the blanket so that you can stitch down the 45 degree angle.
(WOW that is dusty… I guess I’ve been hard at work and didn’t notice, sorry!) Now stitch down to the end.
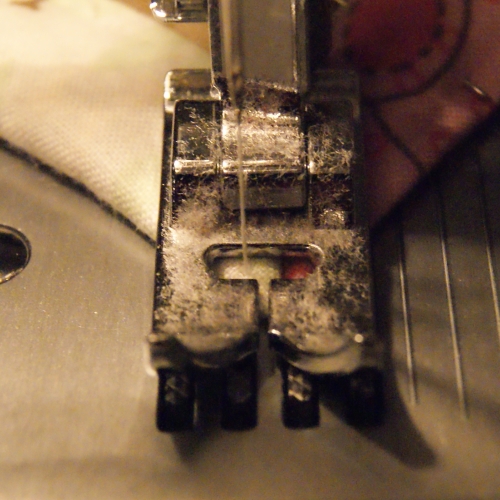
Backstitch back up to where you started. (You can also turn the quilt all the way around and stitch forward if you’re more comfortable that way.)
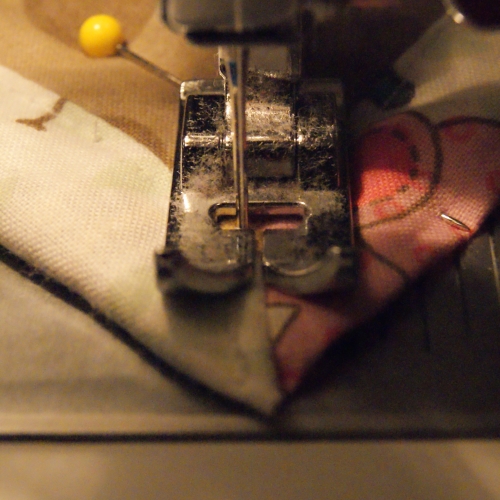
Now lift your foot (with the needle down) and turn again, and continue on to your next side.
Once that is done, take a break if you like! All that’s left is quilting.
Now the quilting can be a bit tedious, in my opinion. It’s tough when it looks like you have a finished blanket. But the quilting is critical; it’s what holds the layers together not just now, but long-term. It holds the batting together so it doesn’t bunch up or break up over time. (And when you’re talking about anything baby, you will probably have multiple washings, floor time, etc. When they are well-loved, they take some abuse!)
So you can break up your quiliting time however you like, but I find this part generally takes me an hour to 90 minutes. Except because this is a panel this time, I had lots of curves – so it was more like two hours. Whew!
I went around each of the animals and the trees. (Not sure if you can tell?)

Basically, you don’t want your quilt lines to be farther than 4-5 inches apart, maximum. Larger open spaces is where the quilt will wear thin over time. If you’re not sure about following the lines, you should look into free-motion quilting. I haven’t tried it yet personally, but it’s on my to-try list when I have enough time to practice a little. :)
I laid it out to photograph, which the dog took as an immediate invtation…

But that’s okay, because anytime you quilt, you should put it in for a final wash. It will really look nicer once it puffs up just a little after it’s been quilted! (Unfortunately – my blogging time is my final wash time so all these photos are pre-wash. Darn busy life, LOL!) The dog doesn’t get anywhere near that step.
I use Dreft to wash my baby quilts. My daughter never had a problem with regular Tide, but that’s not the case with every baby and I want my gifts to be as irritant-free as possible.
Now, I just have to wait to meet the little mama! :)
I link to these fabulous parties!
Thank you for this really useful post, the quilt is adorable and your binding technique is a real time saver!
Awe I love it and Im sure Emily will too! not to much longer :D Thanks
This is such a beautiful quilt! You did a beautiful job. I'm sure your niece is going to love this quilt, and I'm sure her Mom will be pretty pleased with it as well. Thanks for sharing!
How cute! This is a great tutorial! Thanks for the inspiration!
Oh, you did a wonderful job! How cute! I'd love to have you link up to a new kids decor party I opened. It's for everything in kids decor, at any age. Feel free to link up other projects to! Here is a direct link: http://playfuldecor.blogspot.com/2011/08/tuesdays-nursery.html
btw, I love the name of your blog – and do we do these projects with wine in hand, too? LOL! Nice to meet you!
My gosh that is too cute!! Congrats on the new family member!! :)
This is cute…I know a couple of babies that would love a special quilt…simple and easy. Would love it if you would link this up at our current 'It's A Rockin' Party” at RoCa and Company.
Carmen @ RoCa and Company
http://www.rocaandcompany.blogspot.com
Wow, that is amazing. I wish I could quilt. Actually, I wish I could just use my sewing machine to sew a straight line!
It turned out darling! Great job! Thanks for linking up with us!
Marie
mylilpinkpocket.blogspot.com
That is precious. I wish I could sew like that.
I apologize for I am running a little behind in showing my appreciation, but I wanted to stop by and thank you for participating in the Get Wired Blog Hop. I am following you.
I hope you have an excellent day!
Vickie
http://victoriasvoice44.blogspot.com
lovely!