

What you’ll need:
- 36″ of twine – mine is cotton, but you could use leather or hemp – whatever you like the looks of!
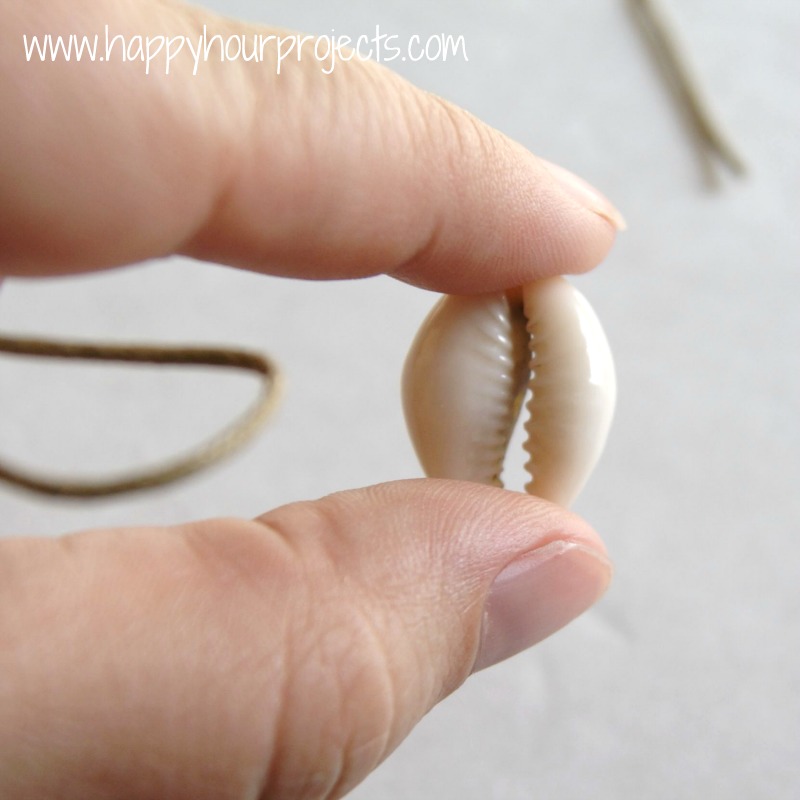
- A focal piece that is open on two ends. Mine is a shell that has been turned into a bead by having the back cut off, but raid your stash. You could use a washer, ring, or any connector that you can tie your cords to on each end for a more industrial or artistic look, depending in what you like. Just changing your focal piece will create and entirely different bracelet.
Let me recommend a good place to look for supplies for this project: I actually got my shell beads and twine from my local dollar store. I have plenty of supplies for several projects to come, and the total cost was only $2, making this a very inexpensive project!
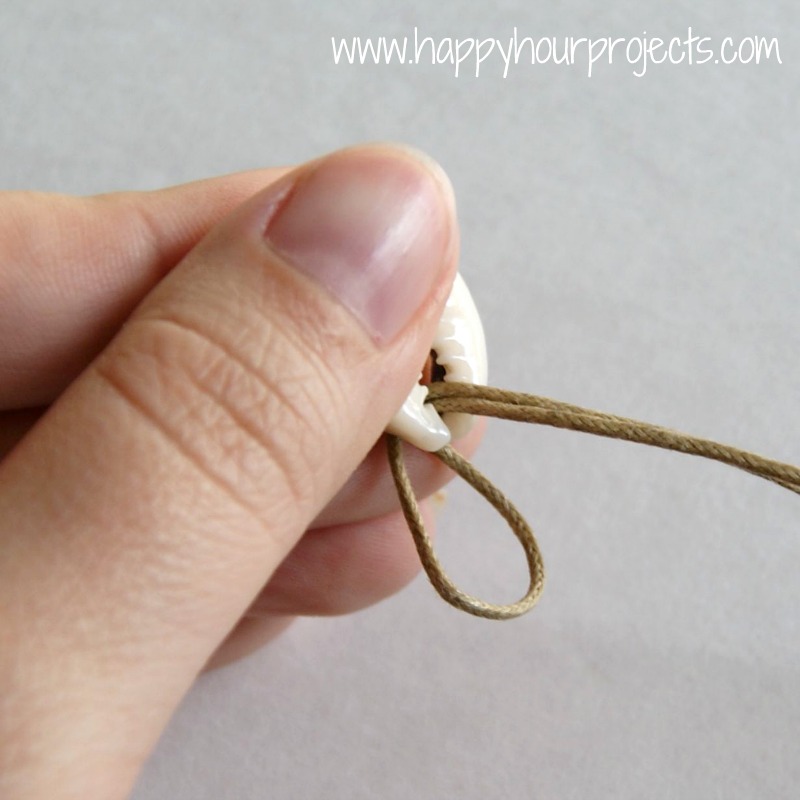
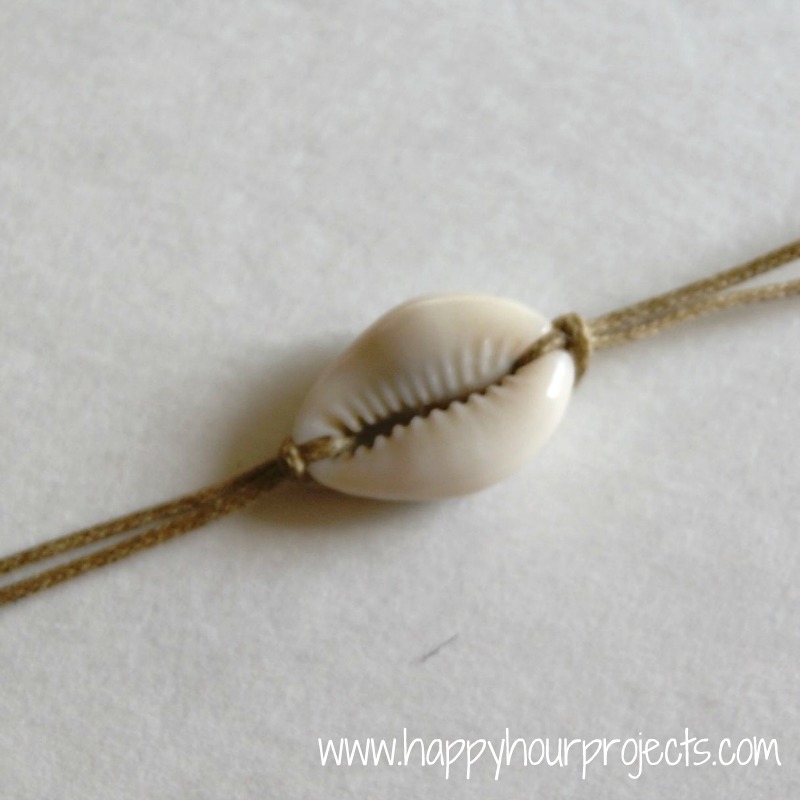
All you are going to do to make this bracelet is to tie two pairs of knots. The lark’s head knots that connect your cords to your focal piece are really easy. The sliding knot is also easy, once you get the hang of how it works.
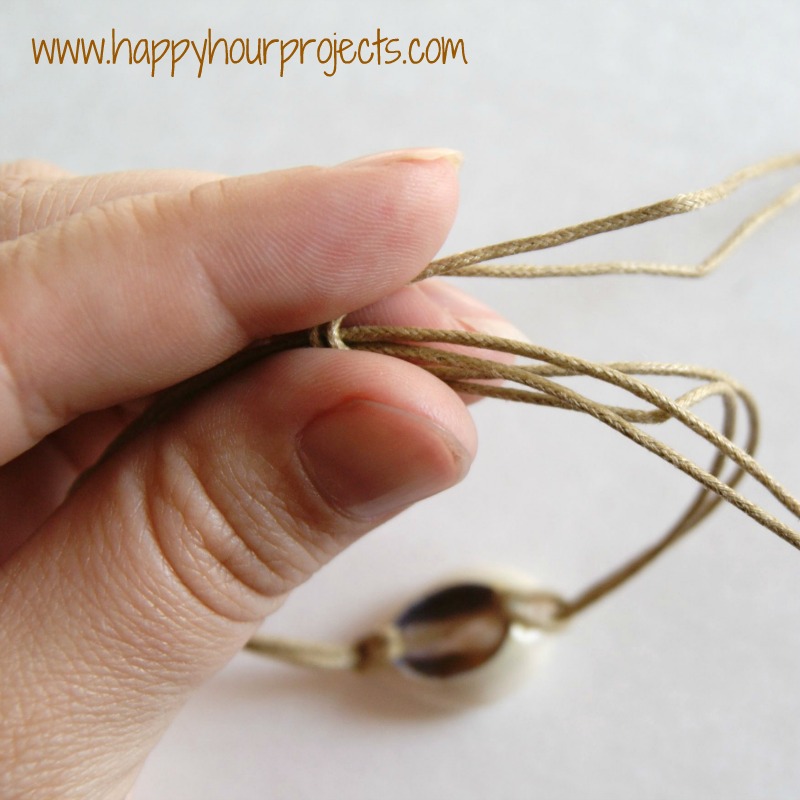
It can look confusing when I’m just showing you the photos – especially because for this bracelet, you’re working with a doubled cord. It’s easier if you practice a couple times on just one cord first – so before you begin, take two scrap pieces of cord, and get comfortable with the sliding knot. I’m using two different colors to differentiate my two cords below. The pink one is the one I’m going to knot, to slide along the brown cord.
Lay your cords next to each other, and double the pink cord back over itself. I find I have enough to work with when I leave about 3-4″ to make into my knot.


Try this a few times if you need to. Once you’re comfortable with how to make the knot, let’s move on to actually making our bracelet!
You’ll need to have a focal piece you can pass your cord through from front to back.


I saw some awesome bracelets with a knot like that and was wondering how to make them. Your tutorial has been very helpful, thanks!
do you have a book or something on these..i forgot how to do them?
Thanks! I had watched all these videos, even went to store and could not get it until your instructions.
Took me awhile to get the sliding knots done but once I got it it turned out great! Awesome tutorial! Very simple yet cute.
Thanks for the tutorial! I love sliding knot bracelets but I never knew how to make them before. Thanks so much for sharing at The Fun In Functional!
So cute! Thanks for sharing at the All Star Block Party!
Holly
My daughters have been making bracelets all summer and trying to make those sliding knots. I can't wait to show them how!
That's cool – brilliant photos and demonstration – thank you :)
Oh my gosh, you have saved me! I have 3 teenagers coming this week and I'm nervous about keeping them entertained. I have everything to make this bracelet and I'm pinning this tutorial so they can make their own! I love it, I think they will too! Thanks Adrianne!