
Hey friends! Hope your week is off to a great start. I’ve got a simple stacked bangle tutorial to share today that makes up quickly and adds some sparkle and shine to any wrist. Check out today’s DIY memory wire bracelet:
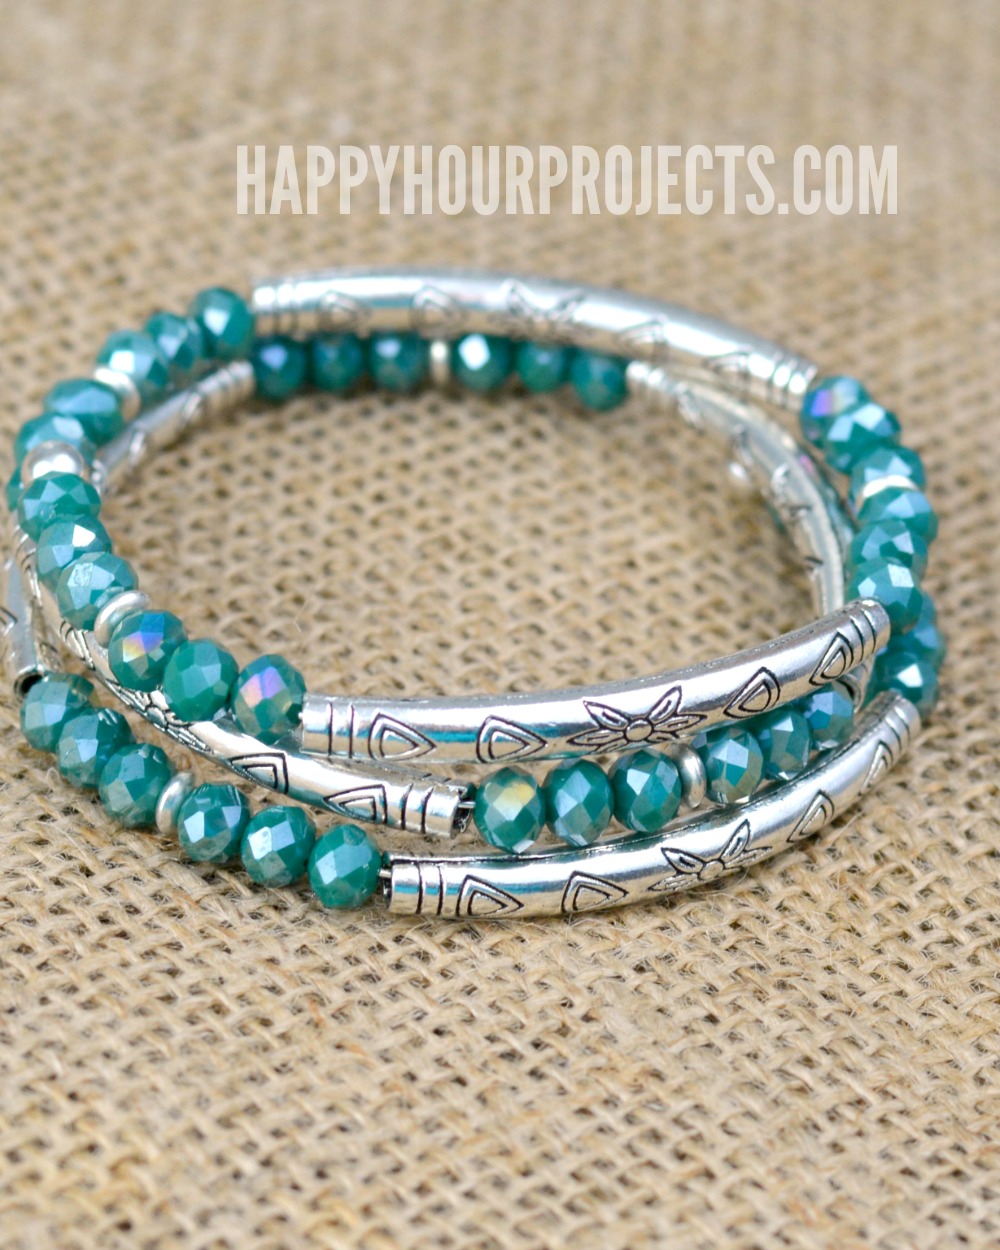
The glass and etched pewter in this design make it a polished-looking piece that you can make at home in abou 15 minutes. I got my supplies from today’s post sponsor, Happy Mango Beads. I’ll leave links to the products I used in the list below in case you’d like to do some shopping yourself!

For this DIY memory wire bracelet, you will need:
- 3 coils of bracelet memory wire
- 6 – 44mm pewter bent tube beads
- 42 – 6mm glass crystal rondelle beads (dark teal pictured here)
- 7 – 5mm pewter spacer beads
- 2 – glue-on memory wire end caps
- Super New Glue
- memory wire shears (or other heavy utility cutters)
Note: If you would like a larger bracelet, you can continue the pattern until you achieve the size you would like. The quantities listed are to make the exact size pictured in today’s tutorial.
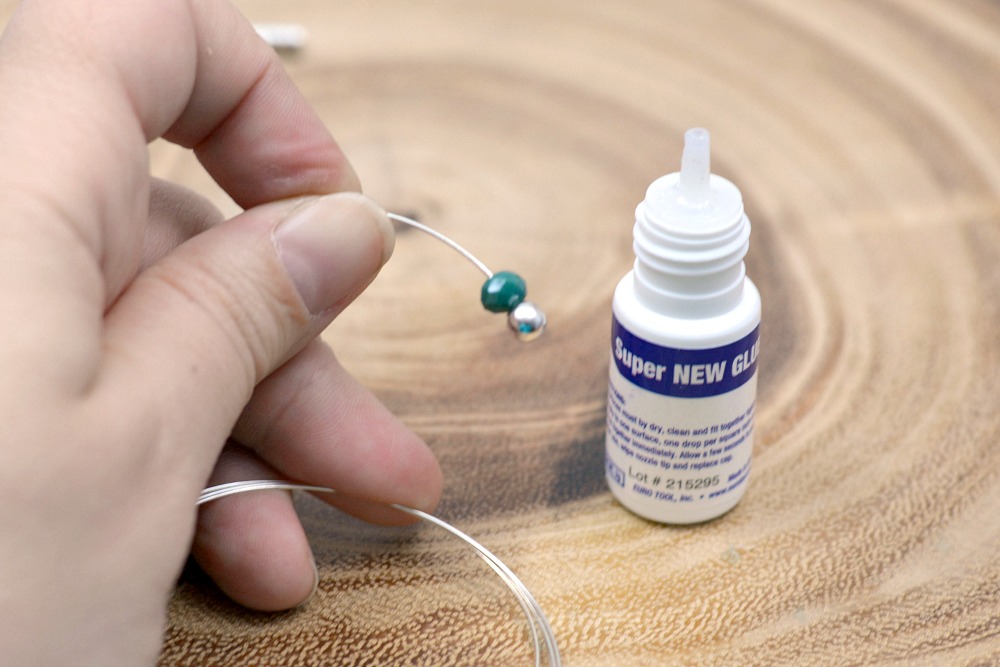
First, trim 3 coils of memory wire off to work with (or more, if you’re making a larger bracelet, or if you prefer to have a longer working wire). To one end, add a crystal bead, a drop or two of jewelry glue (anything that’s rated to bond metal to metal will work!) and then the memory wire end cap. Hold the bead and end cap together, securely at the end of the wire. You’ll need to keep holding it together until the bond is strong enough to hold on its own – depending on the glue type, this can take a minute or two.
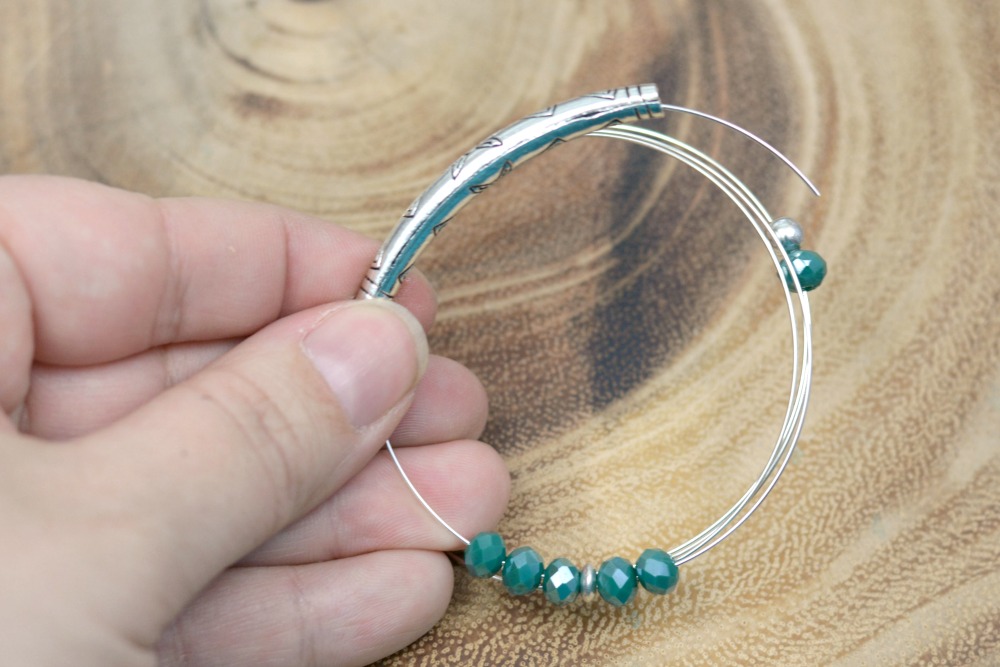
Once the end cap holds, begin beading. The pattern I used was 3 crystal beads, one pewter spacer, 3 more crystal beads, then a tube bead. You may of course vary this pattern according to your tastes!
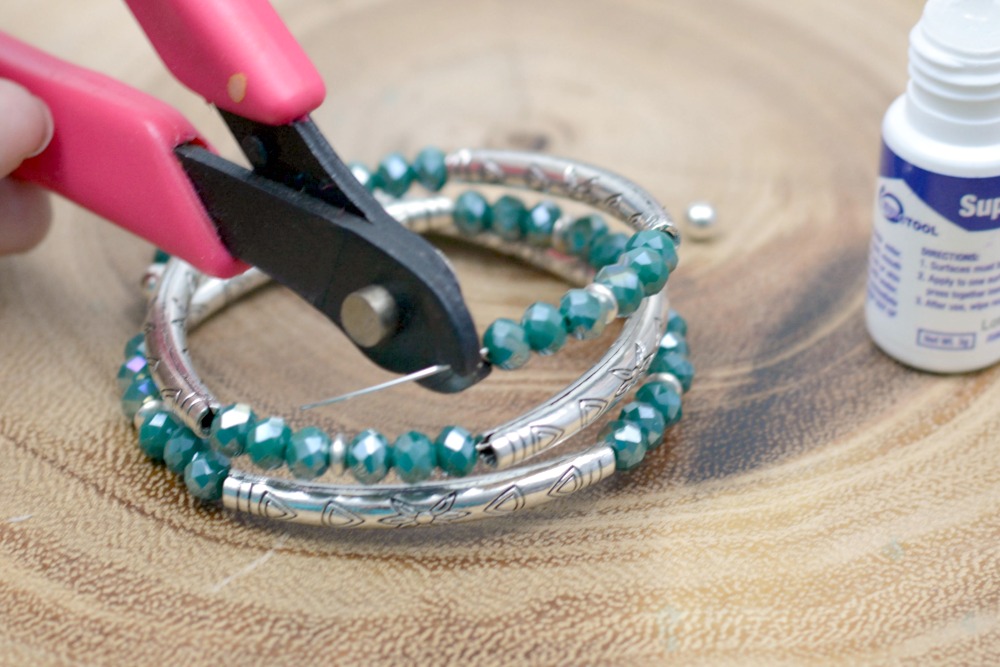
When you reach the end, use your memory wire shears to hold the wire without cutting it, and tighten the beads all the way to the first end to make sure there aren’t any gaps. Then, trim it off with about 3mm excess (which I know, is not much, so handle the piece carefully at this point). Add a few drops of glue to the wire and to the ending bead, and place the second end cap on the wire. As with before, you’ll need to hold it in place until the bond holds enough not to fall off. Allow the bracelet another 20-30 minutes to dry before wearing, but you can at least set it aside without it falling apart. (Note: if you find that it does want to come undone, then the glue isn’t set yet! Add another drop, and hold the end cap in place a little longer.)

This piece doesn’t have any difficult jewelry techniques, it just needs a steady hand and a few minutes’ patience with the glue. I hope you enjoyed this design, and I’ll see you again soon!

i like it
wow looking good
Just made Cyrstal + tube bead memory bracelet. It turned out very large. Way too big for my wrist. The tube beads are heavy maybe that’s why it is so big around . Did I do something wrong . Got all supplies saw listed from Happy Mango. Thanks.
Hi. i simply had to look at your page as i love handmade bracelets and have so many of them, a friend of mine used to make them in St,Martin and sell them on the beach, since then i can not be without them and buy them each country i go. This one is my favorite and gives me the insentive to actually have a go at making them. keep up the good work and thankyou for the tutorial.
Marty,
If you just Google metal jewelry blanks you’ll come up with so many options from which to order all kinds of supplies. Hope this helps!
Your work is beautiful. I watched your video on stamping your daughters emergency contact necklace. I’ve ordered my tools i.e. Lollipop stamps etc.
But where do I order the pewter blank and that pewter shaped flower that you used. I am so excited to get started.
Thank you so much,
Marty Graves