

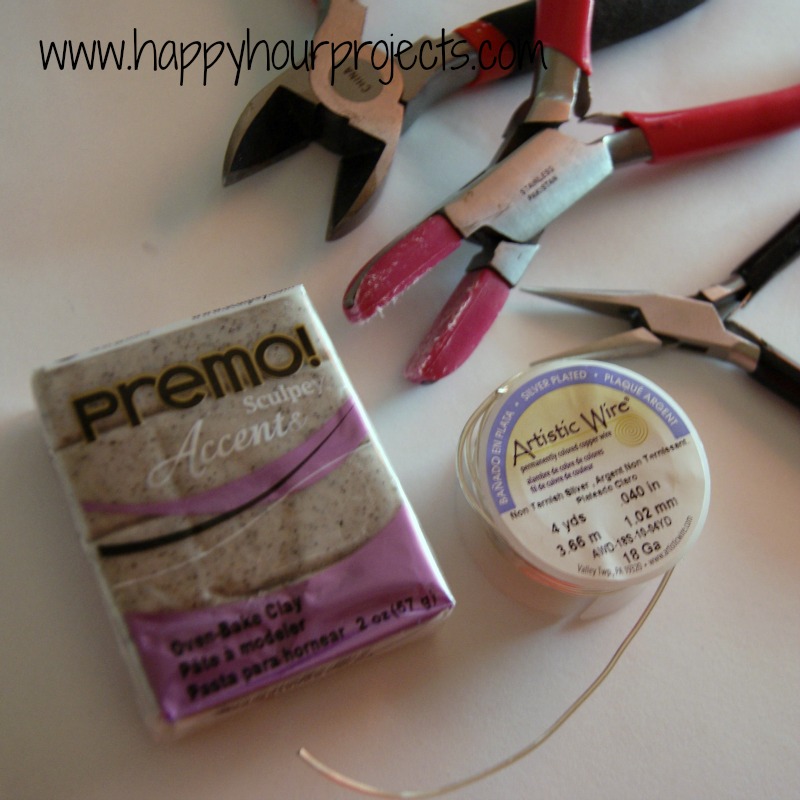
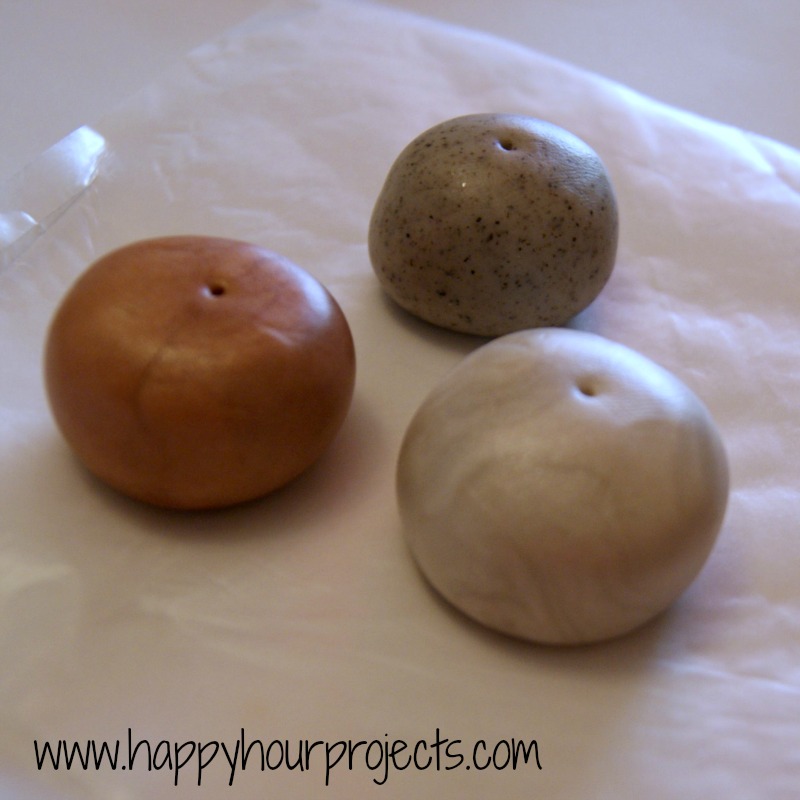
- Oven-bake polymer clay
- Wire – I used 18 gauge silver plated copper. I wouldn’t recommend aluminum wire for this.
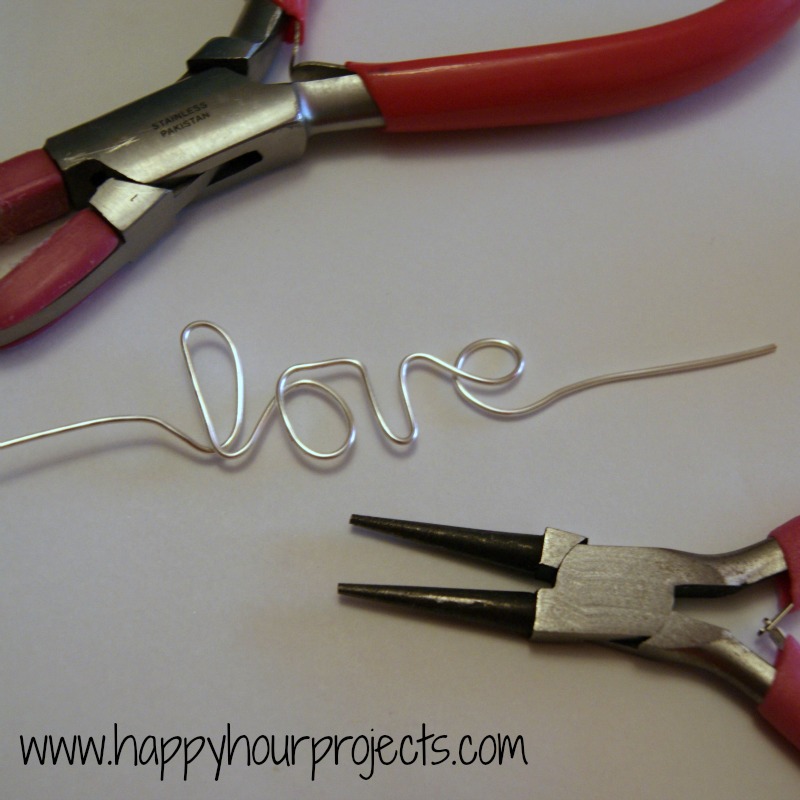
- Jewelry pliers and wire cutters
- Glue (optional)
Now, if you have to buy pliers specifically for this project, buy round-nosed pliers. They definitely worked best. But, if you don’t have any, you can certainly make do with flat-nosed pliers. (My flat pliers are pictured above.) I also used my nylon pliers to straighten the wire – but again, if you don’t have those, you can make do without. I just enjoy working with wire (as evidenced by my nylon pliers, which definitely need new pads), so I have all the tools already.
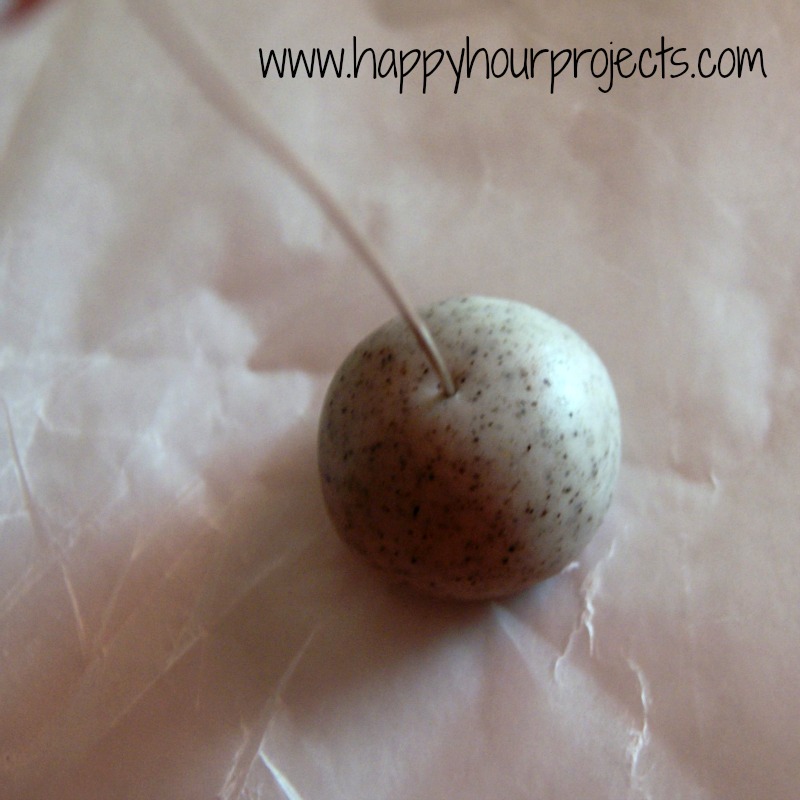
Now, poke a hole in the center with your wire, keeping it as straight as possible. Then, take the wire back out. We’re not going to bake these with the wires in there, but we do need to make sure there are holes before they go into the oven.
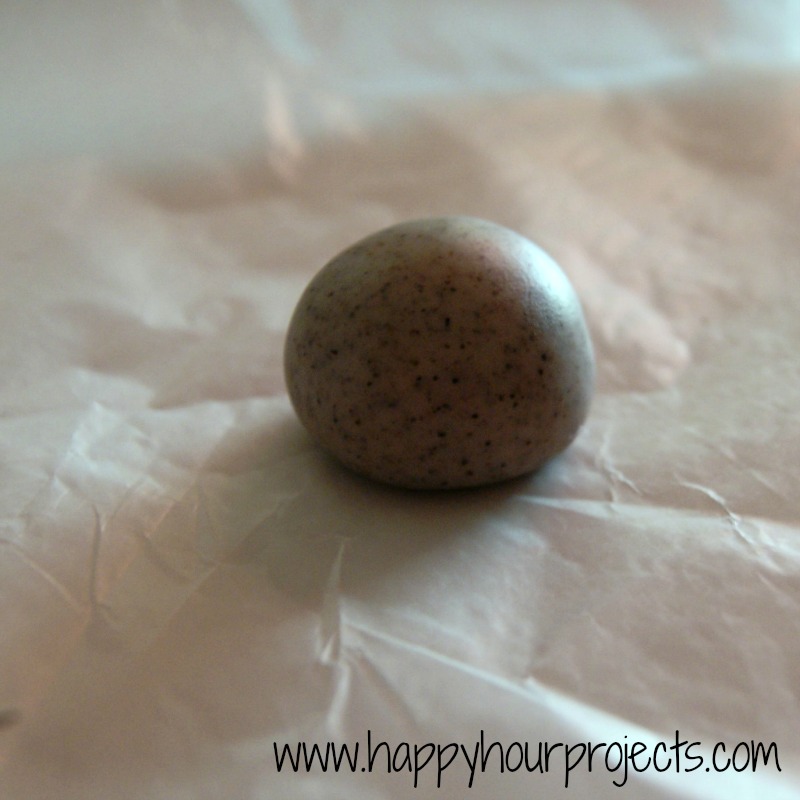
Check your package directions – Sculpey bakes at 275 F for 30 minutes per 1/4 inch (90 minutes total for these). But go by whatever your package tells you to, especially if you are using a different brand. I had three bases rolled out and ready to go in the amount of time it took my oven to preheat. Then, just let them bake while you play with your kids, clean your kitchen – whatever you need to work on for a while.
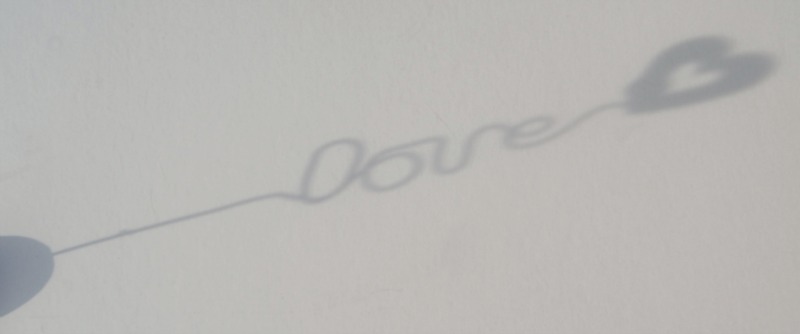
I got to work on the wire holder. I made a few different words, but the “love” one came out the best, I think. I don’t have a really good way of telling you how to do this… if you can write cursive, you should be able to bend your letters without a problem. It may help to write it out on a scrap of paper.
On my first try, I was a little bit short for my spiral holder at the end. It still works, but you want more tail than this. I can’t really tell you how much wire to use, because it will depend how big you end up making your letters. If you’re able to uncoil as you go along, that’s the best bet.
So, for my next one, I started at the end and made the spiral first. This one works great.
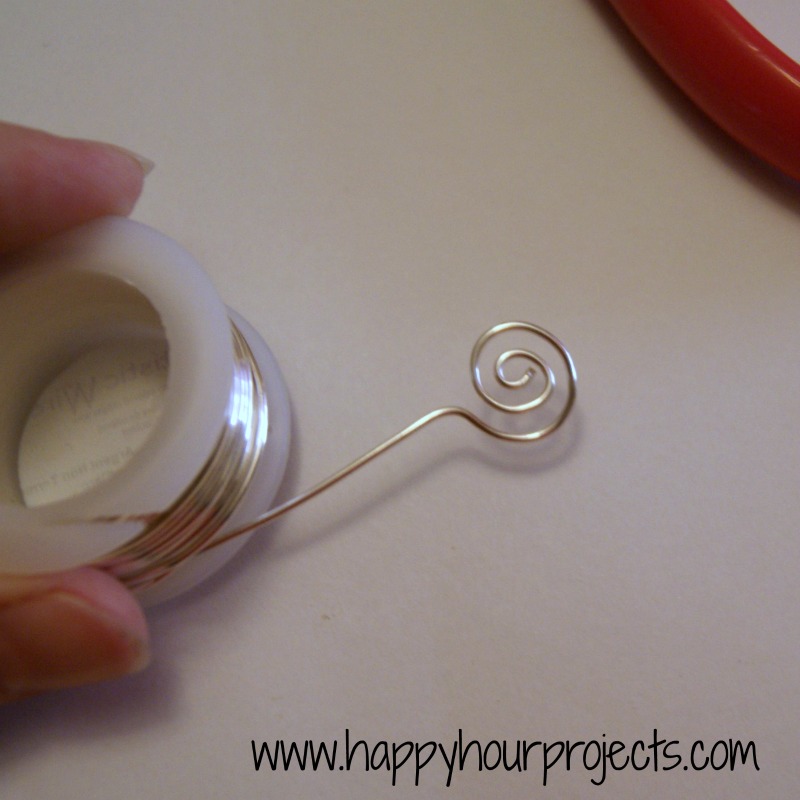
Apparently it didn’t occur to me to start with the end that would get stuck into the base. Because this meant I had to work backward, so then I *really* needed to write it out before getting to work. So, let me recommend this: Uncoil about 2 inches, and then start shaping the first letter (in the case of “love”, the “l”) and then when you get to the end, cut off another 3 or so inches to coil up into your spiral holder.
I tried a few things, and ended up spelling out the following:

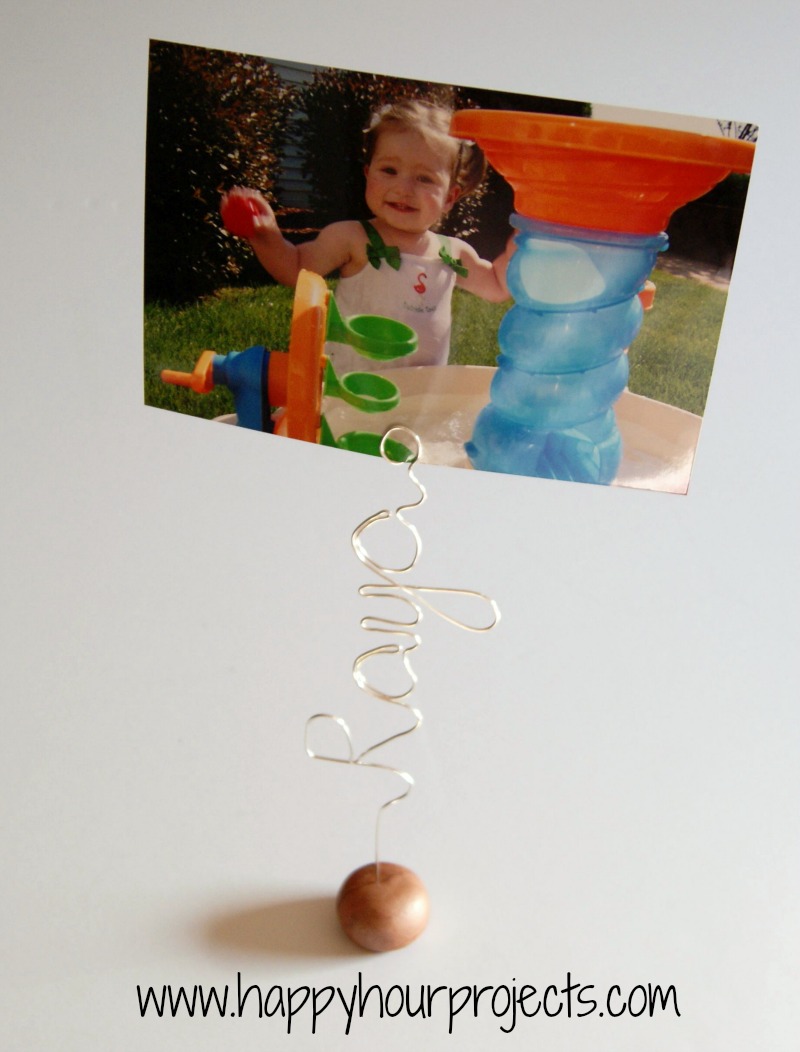
After testing all of them out – The word “love is really ideal for this project, because the letters are nice and simple. I also discovered, the smaller, the better. It gets less top-heavy that way if you’re going to use it for a photo or card. If you’re just going to put a little scrap in it (like the punched cardstock heart in the photo at the top of the post), then it won’t matter as much. Raya’s name was pretty wobbly. I ended up just putting a little heart on top, and put it on a shelf in her room. It’s really cute, but it’s too tippy to be functional – but take a look, it’s twice as tall as the “love” one.
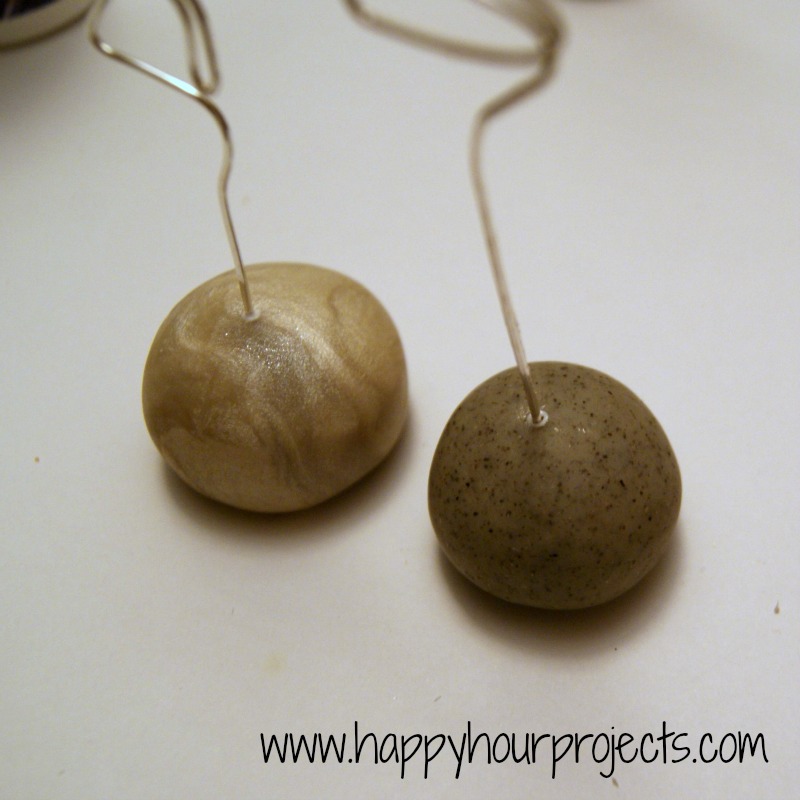
When your bases are baked and cooled, and your wires are made, you can assemble them. Well, “assemble” is a bit formal – it’s just putting a wire in a hole, LOL. I dipped my wire in some glue first to help keep it secure.
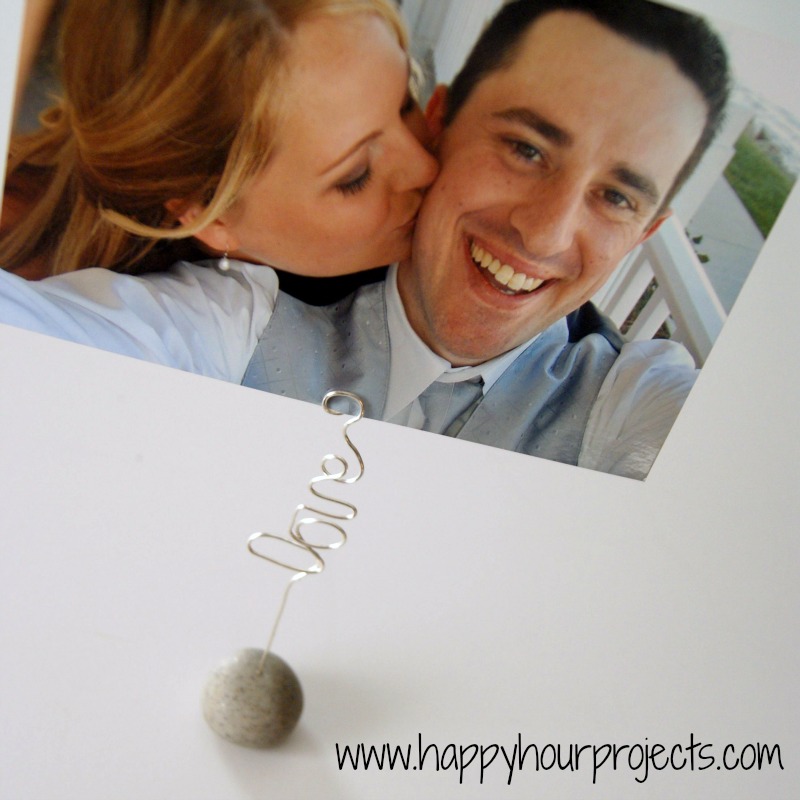
Now – it’s ready to add a cute new photo!
Or… an old favorite from a special occasion. Happy Anniversary, Kevin! :)
I link up to these great parties! 
It’s so beautiful! I’m planning to make but I can get only a kind of aluminum wire for this. Why wouldn’t you recommend it, as you mentioned it?
Thank you!
I love these. Have you made one with the year? I thought it would be a cute graduation idea to have the year instead of a word but not sure how to do it.
Congrats on your anniversary! Our 1 yr. anniversary is in about three weeks. :-) Those wire holders are great, so fun! Thanks for sharing at The Fun In Functional!
This is adorable! I can't believe I didn't see this sooner. I need to figure out why your fb posts don't show up in my feed :| This is such a wonderful personalized gift. I really love everything about it! Going to pin it now :) You're amazing! – Sarah
So cute! And I love that it's a project that you can leave for a little bit and come back to!
Thanks for linking up with us at Keep Calm & Link Up this week! We love getting to see your new projects and ideas each week!
A, these are aDORable! Love them x a million! Pinning and stumbling!
Happy Anniversary! Ours is Saturday. Wish I had time to make this for him! Thanks so much for the tut. I also pinned it since I will make one later. Thanks again.
Love these Adrianne – I've tried my hand at “writing” with the wire – but mine did not look great. You make it looks so easy – Love it. And happy Anniversary too – have a great time xxx Nat
I love these! Just added the supplies to my shopping list! Pinned.
These turned out soooo great!!!! Love it!
So cute! These turned out awesome! :)
Happy Anniversary! I love this craft idea too. Definitely want to make a bunch of these to display my pics :)
Love those! I agree with Danni and Kadie – the wire lettering is super cool! And I love the pic you took of the shadow! Happy anniversary to you and Kevin! Have a great day!
So cute!! I made some with wooden blocks but never thought to write words in the wire ~ BRILLIANT!! Love the shadow photo and the one of you two.:) Happy Anniversary.:)
I know you wrote this a very long time ago, but I have been trying to figure out how to make these with wooden blocks forever…..I have a party coming up and could really use someone’s help. I was going to buy some wire and make the spiral loops but I don’t know how to get them wire into the wooden blocks. some people said you can just twist it in, but that just seems to easy…..How did you get your wire into the wooden block.
Adrianne, I love these! The wire writing is so very cool! Love the shadow shot too! Great project!