I have a fun share for you today – I’m hosting a cookie swap with some blogger-friends and we are each posting a Christmas cookie or sweets recipe! I would like to share my Christmas Mice with you, and when you’ve pinned that for your holiday baking list (hint, hint… haha) there are a some more yummy-looking recipes below for you to check out! But first – on to the mice!
These chocolate cherry mice are simple to make and require NO baking! They impress every kid I’ve shared them with (and some adults, too). ;)
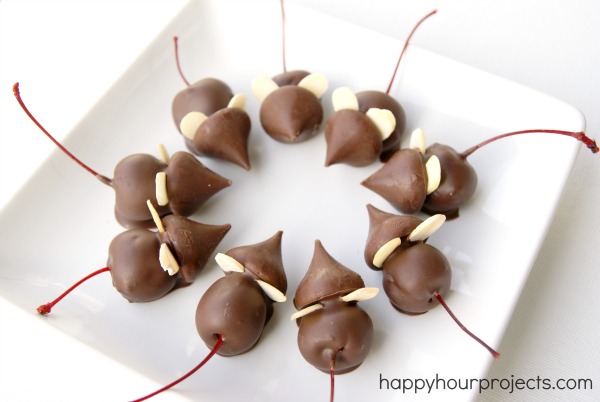
Chocolate Cherry Christmas Mice
yields: about 24 mice
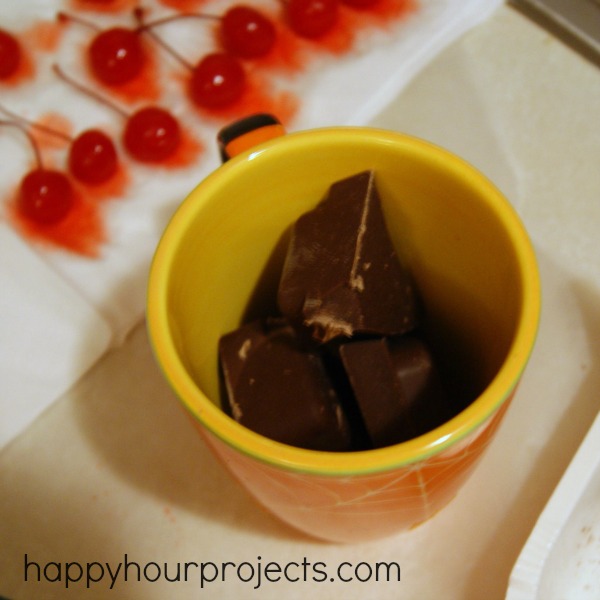
- Jar of Maraschino Cherries with stems
- Hershey Kisses – one bag is plenty, you will have lots leftover
- 4 oz. dipping chocolate (I used about 1/4 package of Candiquik)
- about 1/4 c. sliced almonds
How many mice you make will really depend on how many cherries and Hershey Kisses you have or want to use, because each mouse takes one of each. Each mouse also takes just two little slices of almond. I’m just offering measurements to give you an idea of how much dipping chocolate you will need to put them together – you can adjust this recipe and make as many or as few as you want, of course!
Lay your cherries out on paper towels to absorb as much juice as possible. Unwrap an equal number of Hershey Kisses. I wanted my mice to be really cute, so I also picked through my sliced almonds to choose the nicest, roundest slices and kind of sort them by size and shape so that each mouse would have 2 ears that looked about the same. ;)
Now, melt your chocolate. I melt mine in the microwave, but use whatever method you’re most comfortable with. The best tip I can give you is just to read the package instructions, follow them closely, and stir it often. It won’t just melt in your container without plenty of stirring, and it’s easy to overheat it if you don’t realize this and check it often. I am making chocolate sounds hard – and if I can do it, then it’s actually easy!! (LOL) I just want you to know the pitfalls if this is your first time using dipping chocolate.
Prepare a sheet of wax paper and let you chocolate cool for a minute or two. By allowing it to cool just a little, you will reduce the amount of “puddling” you get under your dipped mice. (If you still find it’s dripping off your mice, wait a few more minutes.)
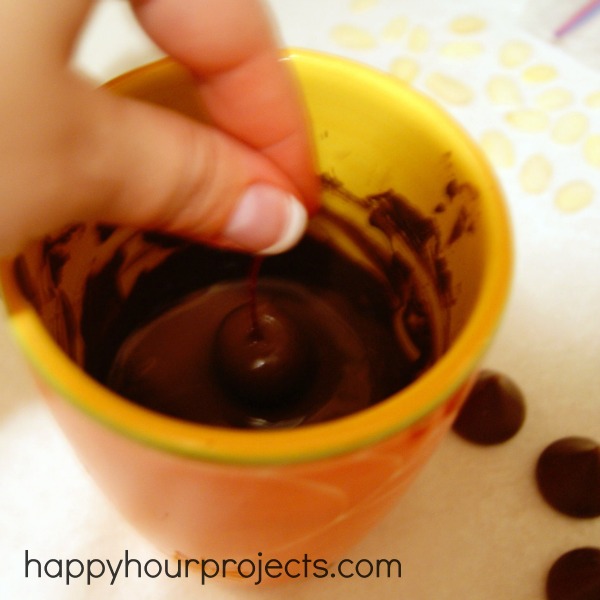
Now, hold a cherry by its stem and dip it in the chocolate. Let the excess drip off and also allow it to cool just a little. You will quickly get a feel for how long it should cool in your hand before you move on to the next step.
Once it’s done dripping, press a Hershey Kiss onto the cherry to make a head. Just attach the flat side of the kiss to the non-stem-end of the cherry.
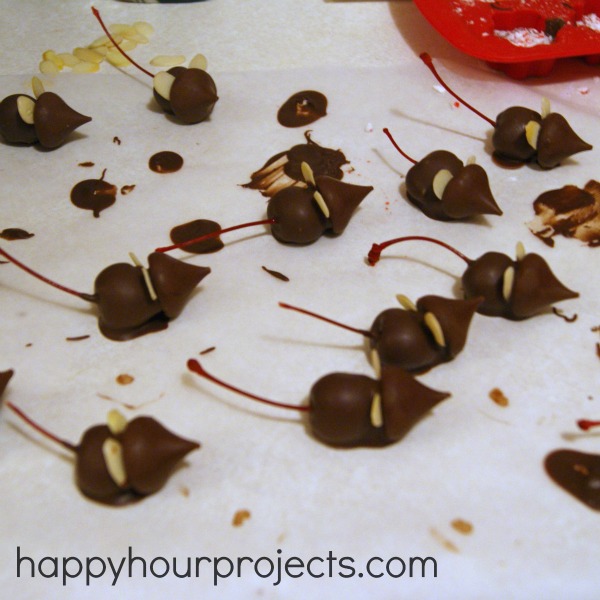
While it’s still wet, insert a pair of sliced almonds between the cherry and the kiss to make your ears. Keep an eye on it for a second, because if it isn’t quite cool enough, you may have to prop them back up a couple times. It will cool pretty quickly on your paper, though. (It sounds like a lot of fuss and it’s really not – just trying to offer troubleshooting tips if you’re new to dipping recipes like this. Those of you who do dipped recipes will find this to be really quick and easy!)
You can move on to the next mouse once you’re confident your current mouse will hold together. :) As you work, if you notice a large puddle underneath any of your mice, the best thing to to id just move it to a new spot on your wax paper, away from the drip. Any puddles will dry that way.
Now… if ever you feel inadequate, just remember that what you normally see are the later photos. Like this nice one.
But this is what your workspace will really look like. Not too photo-friendly… but I just want to assure you that you can still pull this off even when you start getting chocolate everywhere! ;)
Anyway – once you’re happy with your mice, just leave them to dry and set. This takes about an hour, but feel free to leave them overnight instead, if you want!
I hope you enjoyed this fun little treat, and that you take a look at the fabulous sweets my friends made today for our Blogger Cookie Swap!
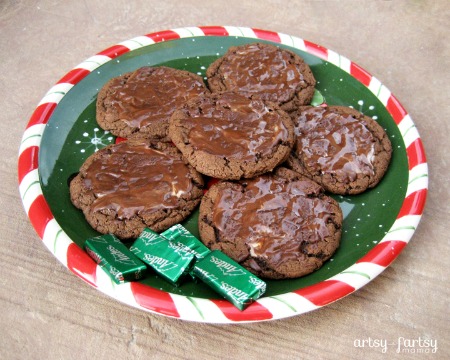
Andes Mint Cookies from Artsy Fartsy Mama
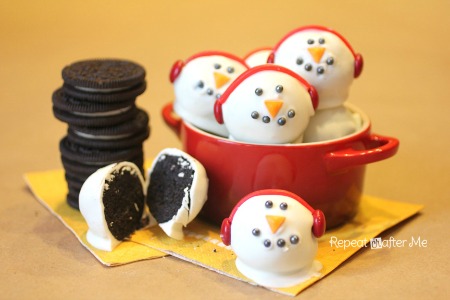
Snowman Oreo Truffles from Repeat Crafter Me
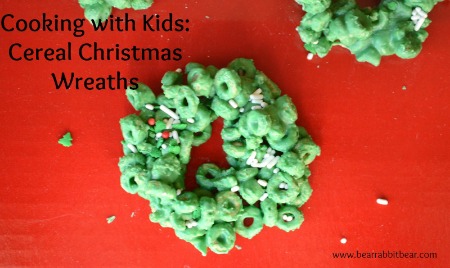
Cereal Wreaths from Bear Rabbit Bear
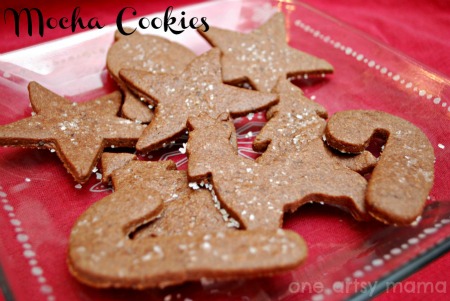
Mocha Cookies from One Artsy Mama
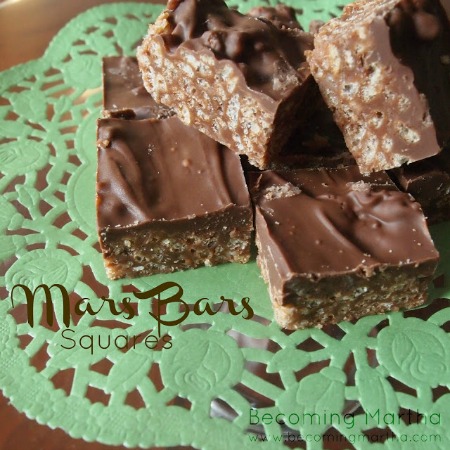
Mars Bars Squares from Becoming Martha
Thin Mint Cookies from Create.Craft.Love

Soft Gingersnaps w/Pumpkin Dipping Sauce from Ladybird Ln

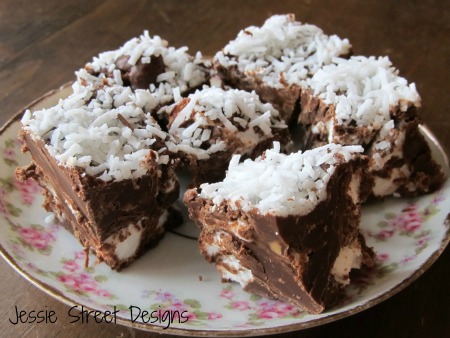
Marshmallow Chocolate Squares from Jessie Street Designs
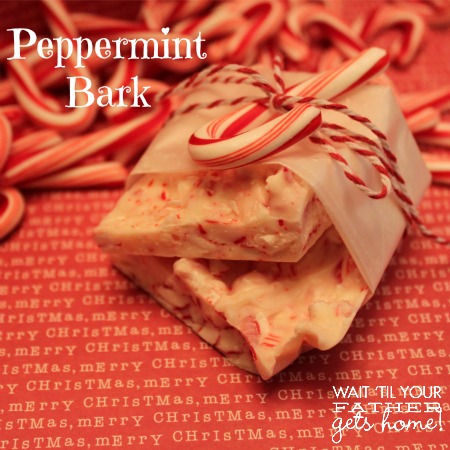
Peppermint Bark from Wait ‘Til Your Father Gets Home
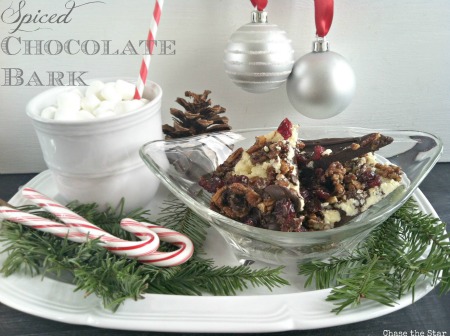
Spiced Chocolate Bark from Chase the Star






PEPPERMINT CHOCOLATE This is pure delight for your taste buds.
CHERRY-MINT CHOCOLATE a burst of cherry zest
Both are great flavour
Wow! They look just fantastic!
Adrianne, you rock! Everything you do is amazing and so encouraging! I’m utterly in awe and on top of it, you work full-time. I loved the other one with lining the ice cube tray w/chocolate and filling it, elegant. Now this is just too cute. My 6 year old son is going to love this. I might do this for Valentine’s Day. How sweet.
I wrote earlier asking where to purchase cherries with stems. Publix in South Florida simply does not carry them – not in the cherry aisle, not in the baking aisle, not in the wine/liquor aisle – nowhere. I kept asking around and someone told me to look in a liquor store. I was so excited to finally find them (sad how something as simple as a stemmed cherry can make a person jump for joy). The saleslady brought me to an aisle and pointed to the cherries. But……I thought there must be a reason they were labeled “Tipsy Cherries”. Reading the label I discovered they were marinated in Whisky. That wasn’t gonna work. Eventually I found the aisle (in the liquor store) with regular stemmed cherries. YEAH!!!
Can these be made a week in advance? Can they beleft in an air tight container or do they need to be refrigerated? I want to make them for Christmas, but i want to make them today. Thanks!
These are absolutely ADORABLE!! I’ve seen them before at a bake sale! I might have to make my own this year! Thanks for sharing!! =)
Hi! I’m your newest follower and was kinda maybe sorta hopin’ that you’d hop on by my blog and follow me back!!
xoxo-
Sarah
http://www.enjoyingtheepiphany.com
I love these!
Someone mentioned needing a nut-free alternative for the ears; I am making these for birthday treats for my daughter’s class, and her school requires treats in the classroom to be nut-free, so I’m using Wilton jumbo confetti sprinkles (the ones that are about 1/2″ circles) for the ears.
OMG, those are too cute! I love it! Thanks for sharing at The Fun In Functional!
Super cute!! love it!
Every Christmas I look for cherries with the stems. Still haven’t found them. Any idea where to purchase them? If you do – pls. send to my e-mail. Thanks very much.
Literally every grocery store in my town has them. They’re almost always with the baking supplies or the pie filling (which may or may not be the same location), not with the other canned and jarred fruits. Look by the pie filling, and look by the chocolate chips and chopped nuts. Possibly also by the ice cream cones and sundae toppings! They’ll be in *one* of those places — you just have to figure out what the stockers think is logical.
I love the mice..been making them for many years! They are always so popular with everyone. Thanks for calling out Candiquik ;). Just curious, where did you see these originally?
I make these every Christmas! My kids are grown now and they still ask for these every year! :)
SOOO cute! And tasty! :D
Pinned! Merry Christmas :)
Adrianne, do you think Wilton Candy Melts would work as well?
Also posted top photo and link back on Trueblue and my Holiday Blog.
I have now done these with Wilton melts and Candiquik, and while both are workable, I’d recommend the Candiquik. Wilton melts don’t get quite as liquid, and it’s harder to get the cherry smoothly coated, although you do get less of a puddle around the cherry on the waxed paper for the same reason, and also it’s not quite the same color as Hershey’s Kisses — the regular cocoa flavor is lighter, and the dark is darker, whereas Candiquik chocolate flavor matches very nicely. Candiquik just gives you a prettier result all around, I think, so it’s worth getting it, unless you’re just trying to use up some Wilton’s that you’ve already got on hand.
Sooo stinkin’ cute!! Love them! Pinned and stumbled! Love that pic of you by the way!
Okay, these are so stinkin cute, I think the kids and I are going to have to try these out!
Carlee
These little guys are too cute! Sounds pretty tasty, too :)
So cute, Adrianne!
Love these! Except I would need to find a no-nut alternative for the ears! Thanks for sharing with us!
I’ve used small shavings of peppermint bark in the past.
try honey nut cheerios instead of almonds
If the point is to be nut-free, Honey *NUT* Cheerios are not going to meet the criteria.
I made these for my daughter’s class, which requires classroom treats to be nut-free, and we used Wilton’s Jumbo Sprinkles, the ones that are pastel circles about 3/8″ wide and a millimeter thick. They worked *great* — actually cuter than the almonds. And the product does not contain nuts, although it *does* have one of those “may be made on shared equipment” warnings (we have been specifically told that that’s okay, by the parents of the specific affected child who’s the reason for the rule, but YMMV as some people are more allergic than others).
Adorable! And they look yummy, too Rox