• Skip to primary navigation
  • Skip to main content
  • Skip to primary sidebar

  • home
  • about adrianne
  • buy the books
    • DIY T-Shirt Crafts (2015)
    • DIY Stamped Metal Jewelry (2016)
    • Rock Painting for Beginners (2019)
  • videos
  • crafts
    • diy beauty projects
    • kids’ crafts
    • paper craft projects
    • polymer clay
    • sewing projects
  • jewelry
    • bracelet projects
    • earring projects
    • necklace projects
    • jewelry tools & supplies
  • metal stamping
    • beginners’ tutorial
    • video tutorial
    • project ideas
    • metal stamping supplies
  • recipes
    • cocktail recipes
    • appetizers
    • main and side dishes
    • sweets and treats
  • by season
    • birthdays
    • new year
    • valentine’s day
    • st. patrick’s day
    • easter and spring
    • mother’s day
    • patriotic
    • fall
    • halloween
    • christmas
    • thanksgiving
  • privacy

Happy Hour Projects logo

07/25/2012

Stamped Polymer Clay Bracelet

Okay.  Polymer clay just rocks.
Be warned – I’ve had such great success with a few polymer clay charms that I will be bringing you a few different ideas in the coming weeks.  It’s inexpensive (and on sale at Michael’s this week!), easy to work with, and really versatile.
My husband, while certain to miss Peyton Manning, is really excited that the Colts just signed Andrew Luck. He is a die-hard Colts fan.  Which means that I am by association, also a Colts fan.  (Unless he is being a jerk, then I tell him I love Drew Brees.  Teehee.)  So he enjoys when I have girly fan gear too.

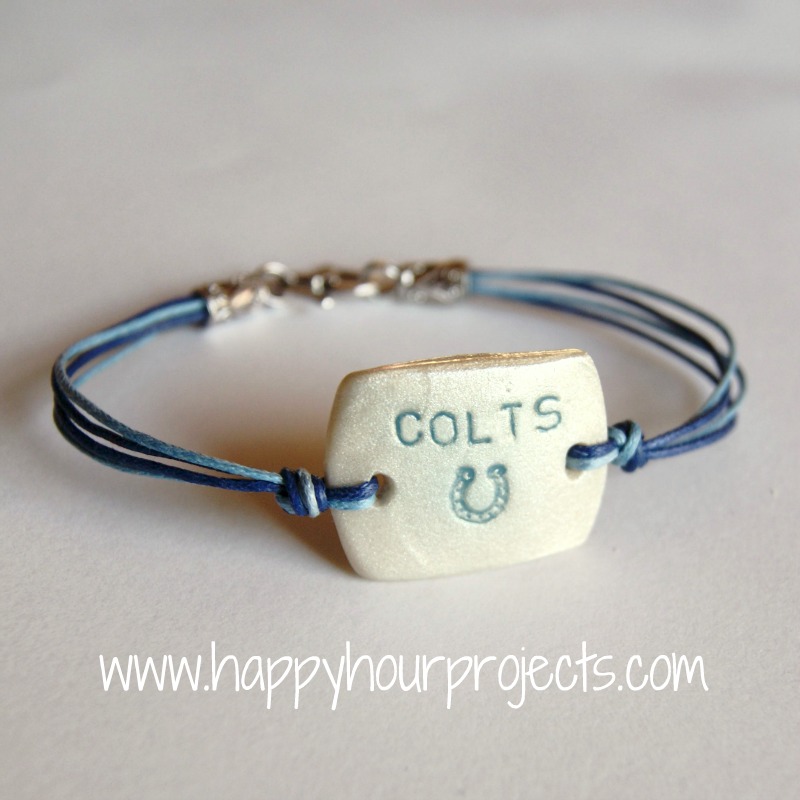
This was a fun little bracelet I whipped up with my metal stamps.  The letters are from my original basic set (a simple, industrial font seemed to be the best fit for football) and the horseshoe is from ImpressArt Metal Stamps.  (If you’d like to read more about ImpressArt, I reviewed some of their stamps earlier this month.)  If you’ve been struggling as a beginner with metal stamping, another medium you may want to try is clay – because if you goof it up, all you have to do is squish it and roll it back out again – and no hammer necessary!

What you’ll need:
Polymer Clay – this is just a pinch out of the package of silver Sculpey clay I’ve been working with
Roller and Wax Paper
Small clay cutter
Toothpick for making holes
Metal stamps
Acrylic paint, a fine paintbrush, and paper towel
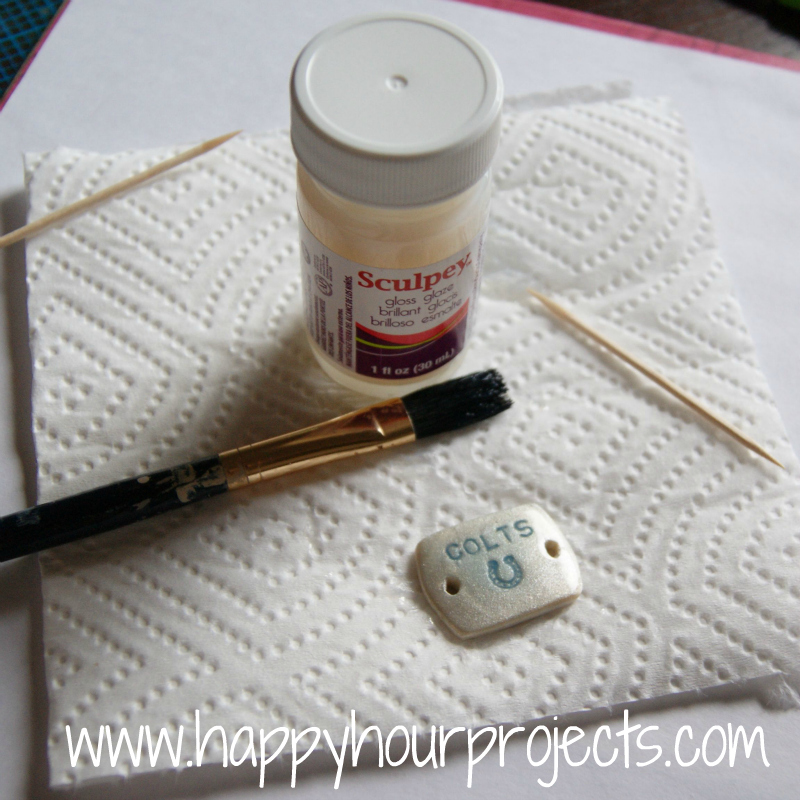
Gloss Glaze
Cotton or hemp twine
Optional crimp ends or end caps

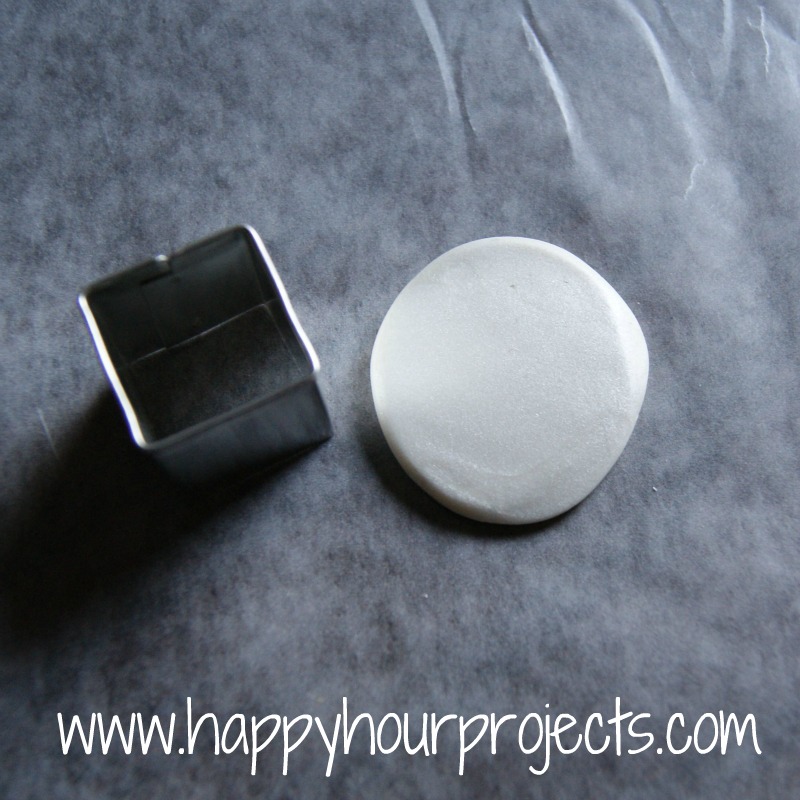
Pinch off a bit of clay.  The package come divided into four bricks, this was about 1/4 or 1/3 of one brick.  roll it out to 1/4 inch thick.

I didn’t have the exact shape cutter that I wanted, so here is how I improvised.

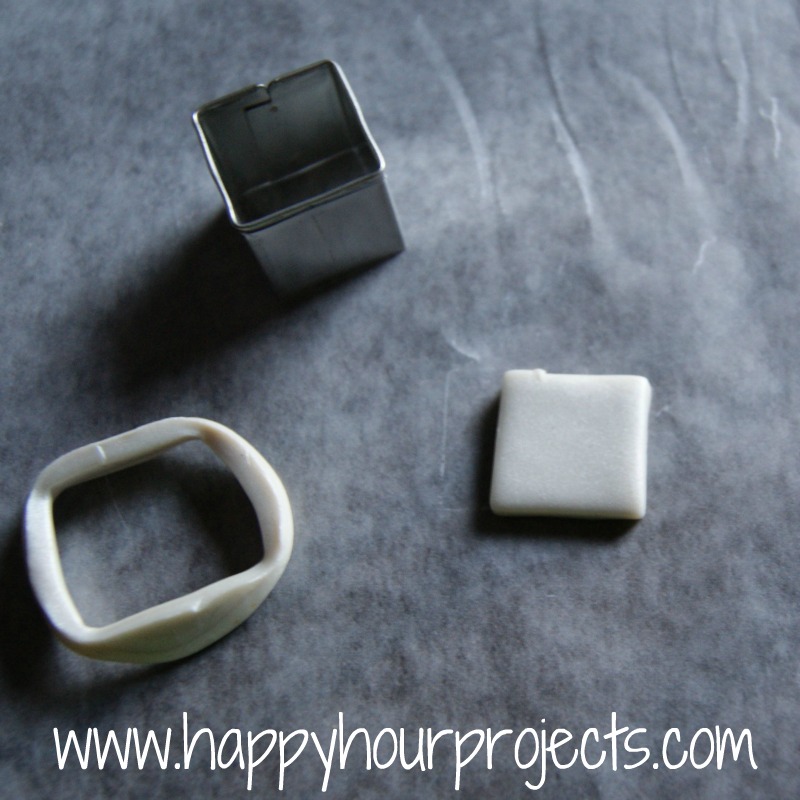
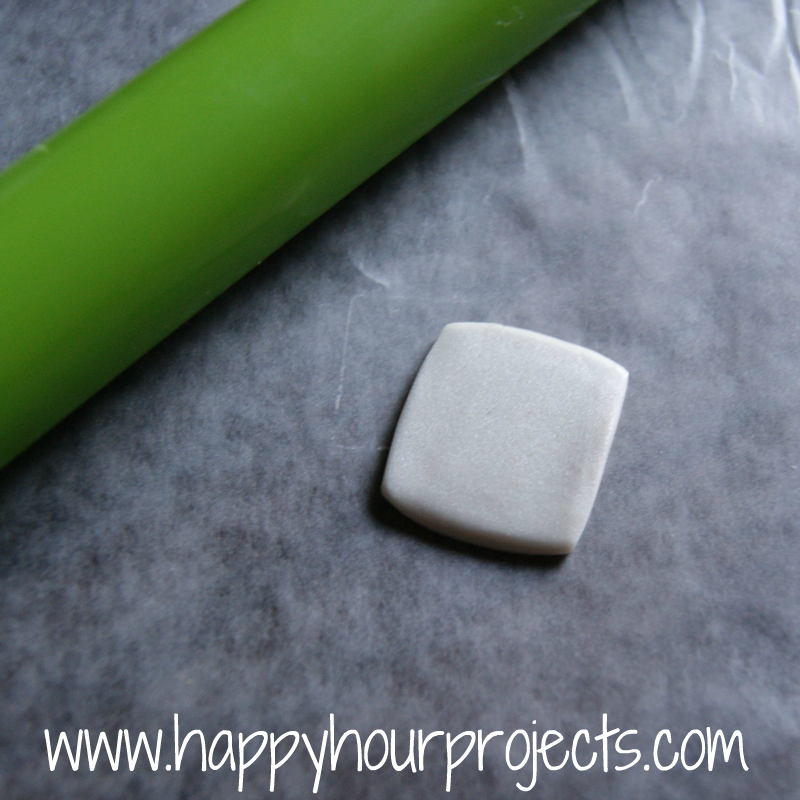
I cut it square, and then rolled it out a little more so that it became more rectangular, and slightly rounded on the ends.  You can use a toothpick to push your edges into place if anything looks uneven.

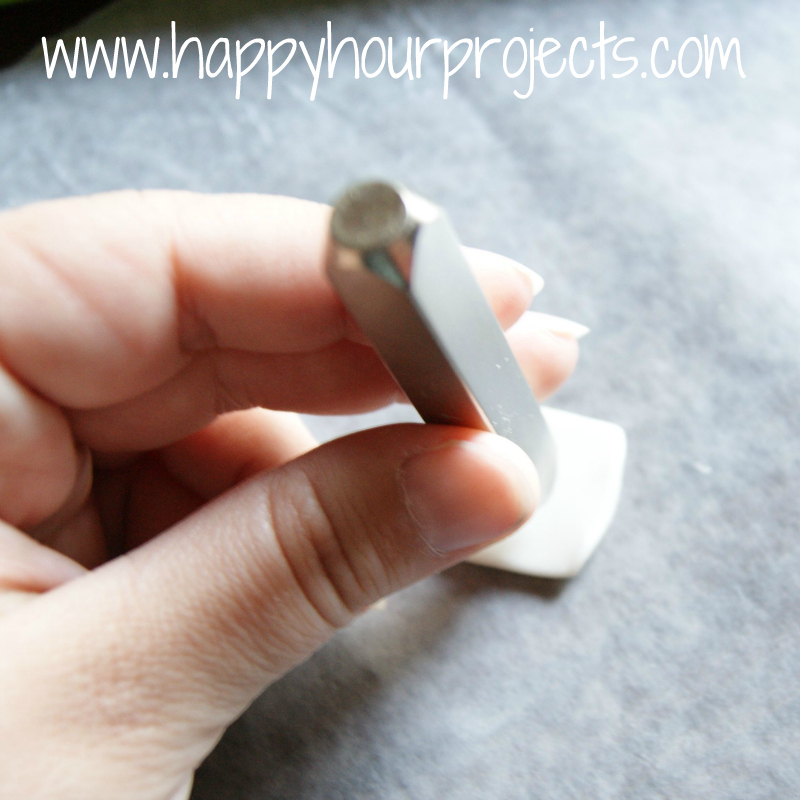
Then, I used my stamps to carefully press my design in.

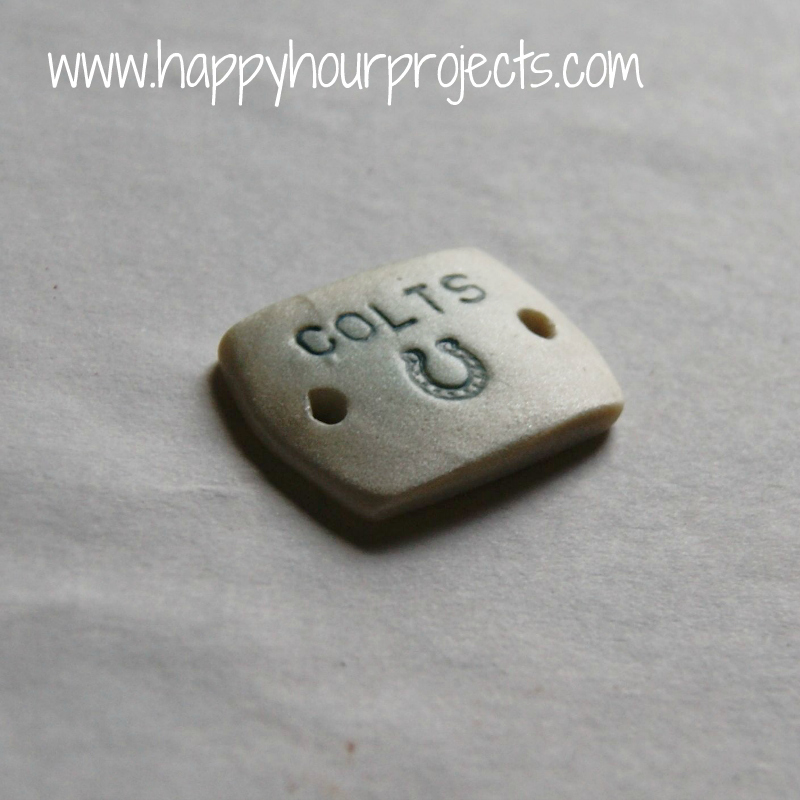
Tadaa!  Now, use a toothpick or something similar to make holes big enough to accommodate your twine.  Then, bake your charm according to the package directions.


Once it cooled, I used a fine-tipped paintbrush and some blue acrylic paint to darken my impressions.  I just used a damp paper towel to wipe away the excess.

Then, add a coat of gloss glaze to your charm to protect it, which will also give it a nice shine.  You can find it in the clay aisle.  Make sure the glaze doesn’t pool in your holes.  If it does, clear it out with a toothpick.
Once the glaze has dried, you can assemble your bracelet.  Cut off a few strands of coordinating twine.  I sed two colors, and cut off about 8″ strands because I’m adding end caps.  If you’re planning to tie this instead, be sure to make your strands longer.
I doubled them up, and threaded them through.  If your hole is big enough, or if you’re only using one kind of twine, you could make a lark’s head knot here.  But I didn’t have enough clearance to double up the twine – so I just threaded it through – 
And made an overhand knot.  Do this on each side.

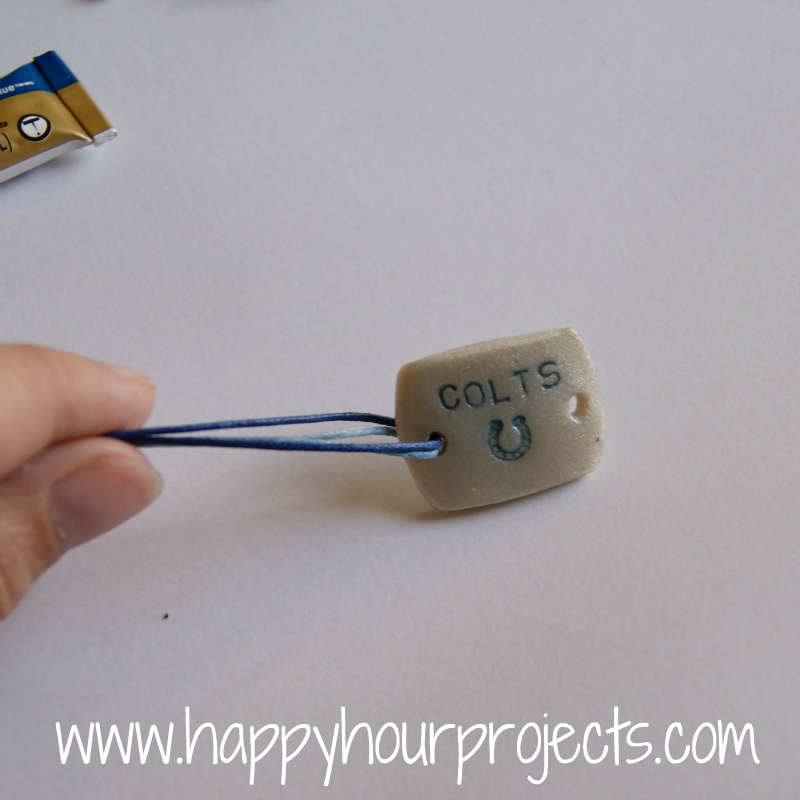
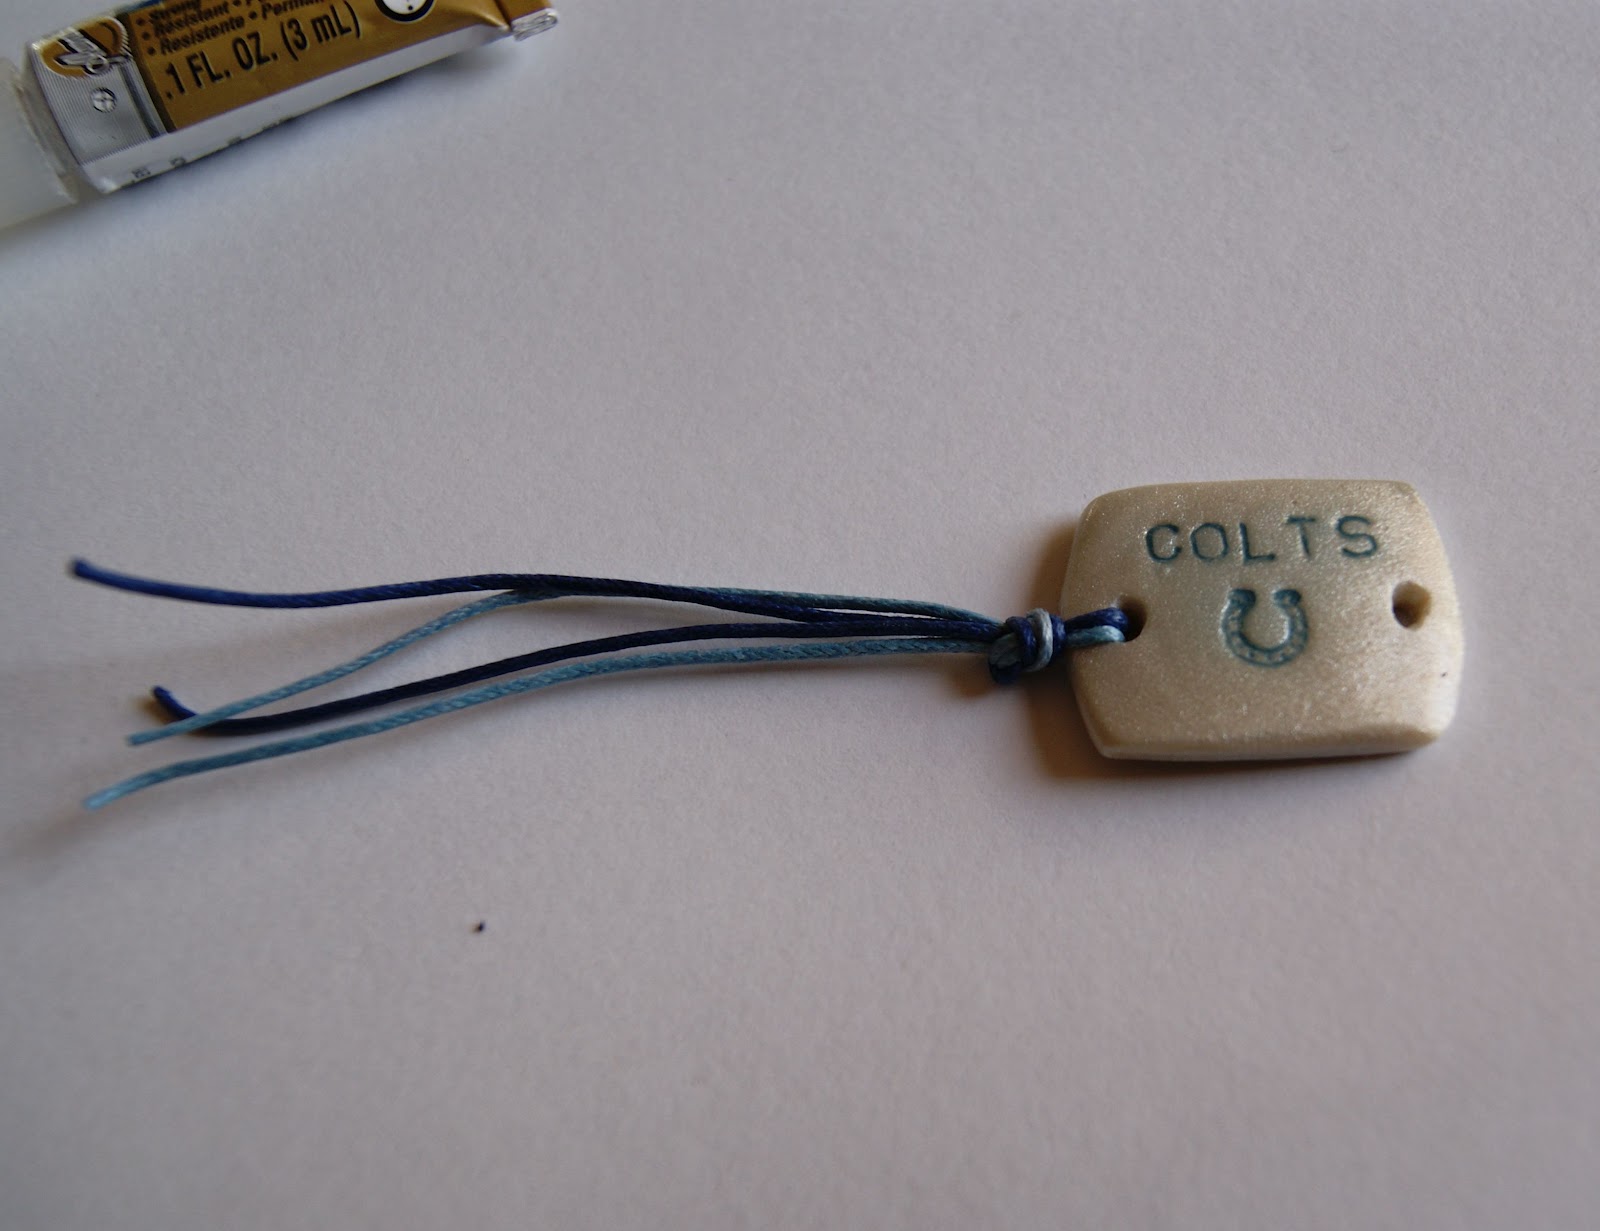
Then, determine exactly how long you need your bracelet to be, and trim up the ends evenly.

I was using a standard end cap, so I need to add a dot of glue to the inside first.  If you are using a crimp end cap, you probably won’t need to do this.
Then, just attach your clasp and you are ready to go!

What piece of fan gear would you like to make?
I link up to these great parties!

Filed Under: Bracelets, Jewelry, Polymer Clay, Tutorials Tagged With: stamped

copyright policy and terms of use

I love it when you love my work! All tutorials and photos published at Happy Hour Projects are copyrighted. If you would like to feature my tutorial on your website or share it on your social media you may use one photo to feature, as long as you provide a link back to the original post.

If you feature a photo, it may not be accompanied by the project tutorial or recipe, whether in my own words as it originally appears or paraphrased by you. This also includes personal sharing on social media and Pinterest. Publishing multiple photos from a project, or including instructions with an accompanying photo are not permitted and you will be asked to remove them.

I love to share my projects, and my tutorials, recipes, and e-books are ALL free for your personal use. However, photos and ideas that are published to this site are my protected intellectual property. You may print them at home, but please do not copy or distribute them. I also allow all designs to be made and sold at fundraisers, craft fairs, etc. If you are selling a piece made from one or more of my free tutorials in your online shop, I require that you use your own, original photography, and include a link back to my website to credit me as the designer.

I hope you enjoy what you read here, and please be fair when you share!

Reader Interactions

Comments

  1. Julie says

    03/22/2013 at 7:20 pm

    This is SUPER cute! We just added metal stamps to our store – what a great idea to use them in clay!

    Reply
  2. superblessedmommy says

    09/04/2012 at 9:47 pm

    Sadly, I didn't see a Steelers stamp or I would have to figure out how to make this. :(

    Reply
  3. Sarah Popovich says

    08/22/2012 at 11:23 am

    Thank you very much! My favorite team is the Colts as well and this caught my eye right away! Thank you so much for the tutorial!!

    Reply
  4. Adrianne at Happy Hour Projects says

    08/22/2012 at 10:59 am

    Hi Sarah – it's a stamp, like the letters. If you're looking for one, mine is from ImpressArt.

    Reply
  5. Sarah Popovich says

    08/22/2012 at 6:10 am

    How did you go about making the horseshoe symbol?

    Reply
  6. sumshine130 says

    08/07/2012 at 11:01 pm

    I am so going to make these for all the girls we tailgate with at Oregon Duck games! I can't wait to make and share with them ;-)

    Reply
  7. Kimberly says

    08/03/2012 at 2:21 am

    Oh my gosh, my daughter would LOVE that!! She's forever getting flack for her love of the Colts, but she proudly wears her shirts/hat anyway. :)

    Reply
  8. Adrianne at Happy Hour Projects says

    07/31/2012 at 3:50 pm

    I've found the glue-on ones like this at both Hobby Lobby and Michael's. My Hobby Lobby tends to stock a bigger selection, but it will depend on the size of the store!

    Reply
  9. heather says

    07/31/2012 at 3:46 pm

    These would be so fun for my daughter to make for her friends. Where do you find the end caps? I've tried searching my local craft stores but the selection is minimal. Thanks!

    Reply
  10. Jessi Wohlwend says

    07/26/2012 at 4:53 pm

    Awesome! I have never tried making stuff out of clay, but you make it look so easy! Thanks so much for sharing this at The Fun In Functional!

    Reply
  11. Gail Purath says

    07/26/2012 at 1:58 pm

    Love it! Great idea and I'm already thinking of the many ways these could be used (the different symbols that could be stamped). Thanks, Gail (BibleLoveNotes.com)

    Reply
  12. Kelsey says

    07/26/2012 at 3:19 am

    Cute!! Now I need some of this polymer clay! This is a great idea and it would look great in some green and yellow with a Green Bay G on in ;)

    Reply
  13. Tamika Rybinski says

    07/26/2012 at 12:05 am

    what a great idea, thanks for sharing this!

    Reply
  14. Christine Bryant says

    07/25/2012 at 7:54 pm

    New follower from GFC!!

    Reply
  15. Christine Bryant says

    07/25/2012 at 7:54 pm

    Super Cute!!…L.O.V.E. this…may have to do this with my girls in my youth ministry group…Thanks!!

    Be Blessed <3

    Reply
  16. Bev says

    07/25/2012 at 7:51 pm

    hi. i'm following the welcome wednesday blog hop. i would love for you to visit my blog and follow back if you like it.

    http://www.blackinkpaperie.blogspot.com

    thanks
    new follower bev

    Reply
  17. Heidi says

    07/25/2012 at 7:15 pm

    Adrianne, you're killing me! I have some polymer clay that I picked up on sale awhile back, but I swore that I wasn't going to start ANY new projects until I finish organizing and cleaning up my new craft room (and that's still going to take a few full days!)…but I may just have to break that promise to whip one of these out because they're just too cute and easy! Thanks for sharing!

    Reply
  18. Meredith says

    07/25/2012 at 6:13 pm

    So cute! I need to revisit my clay from the fingerprint charm! I basically still have a whole package. That stuff really does go a long way! :o)

    Reply
  19. Terry says

    07/25/2012 at 4:55 pm

    You could likely make a small fortune making these for the gals who want to show support but don't want to wear masculine jewelry to do so. Turned out really great.

    Reply
  20. Kadie says

    07/25/2012 at 2:16 pm

    My husband loves it when I wear football things!! {anything sports related really!} I like that this is feminine enough with out loosing the football theme. Great job. I just happen to have some polymer clay laying around hmmmmmm…….

    Reply
  21. Jill says

    07/25/2012 at 12:30 pm

    That is adorable! I am a Bears fan (the hubs likes the Chiefs). I think I want one of these for myself!

    Reply

Leave a Reply Cancel reply

Your email address will not be published. Required fields are marked *

Primary Sidebar

Hello, and welcome! I'm Adrianne, an artist, author, designer, and blogger in mid Michigan. I work from home, chase my two kids, and this once-city-girl is learning how to care for chickens and adjusting to life out in the country. I have a compulsion for daily creativity... sometimes it's jewelry-making, paper crafting, metal stamping, mixing and baking, or giving new life to recycled items. But with 2 young kids, time is short! My goal here at Happy Hour Projects is to share projects and tips that you can do in an hour or less. The ideas you find here are designed to add a little creativity in your day, no matter how much (or how little) time you have!

BUY MY BOOKS!

Copyright © 2026 Happy Hour Projects on the Brunch Pro Theme