
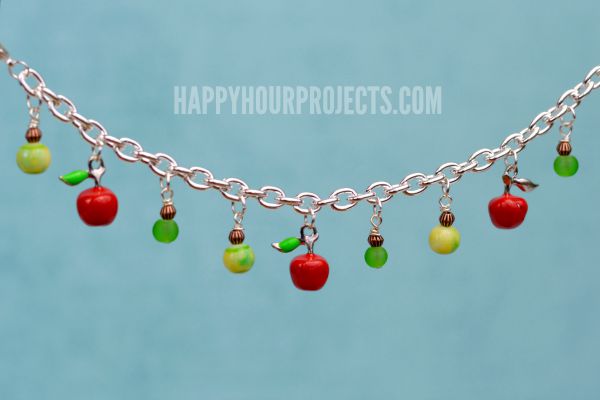
Hey guys! I’ve got a fun apple-themed project today for fall or for back to school. This simple charm bracelet is made from a combination of wire-wrapped bead charms and apple charms, and it makes up in just minutes. It’s a little outside my usual style, but I was inspired by the beads and charms that came in my August Blueberry Cove Bead box!

If you read here often, you probably already know about Blueberry Cove Beads, which is a monthly subscription mystery box of beads, charms, findings, and other jewelry-making elements. Isobel of Blueberry Cove Beads sends me a box each month so that I can share the goodness inside with all of you, so – full disclosure – I get my box for free. But, the subscription is just $22 plus shipping each month, and you will receive a fabulous themed collection of coordinating elements. Best of all, your Blueberry Cove Beads box is always a surprise!

August’s theme was FARMLAND and it contained lots of charms – so immediately I started picturing a charm bracelet! But, this city girl was a little overwhelmed by the roosters, lanterns, wheat, corn, and cows… what really caught my eye were these cute apples. (I keep going back and forth about whether they’re apples or cherries. I finally decided they’re apples. Either way, they’re adorable.) I know the animals will come in handy for a project down the road, so I stashed away all but a few beads, and the apple charms. You will also need the following for this project:
- 2 inch head pins (one for each beaded charm – I used 6)
- 7mm jump rings (I used 9)
- Round nose pliers
- Chain nose pliers
- Wire cutters
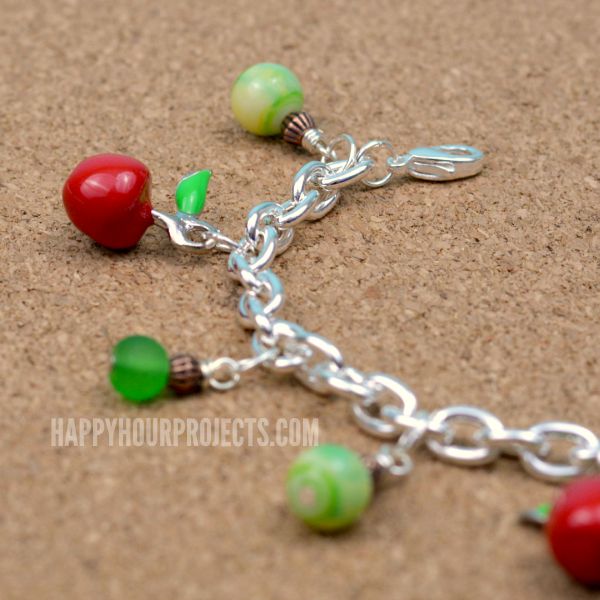
- 7 inch charm bracelet

First, I used the beads in my box to make up a half dozen beaded charms. If this is a new process for you, let me show you how. Add a bead or two to the head pin, and then close your round nose pliers onto the pin just slightly above the beads. Take the end of the pin, and wrap it around one side of your pliers, forming a loop.
Next, wrap the tail end of the pin around the pin itself, filling the gap between the loop you formed and the beads themselves. Wrap it as many times as you need to fill that gap – it only needs 1 wrap to be secure, but filling the gap will help give it a polished look. Finally, trim the excess wire with your wire cutters.
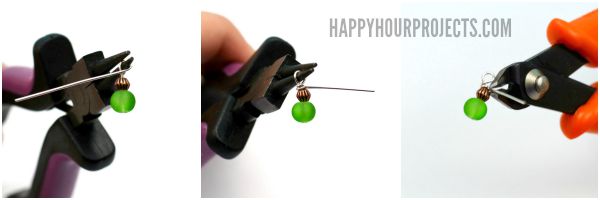
Once you’ve made a few charms, you can attach them to the bracelet with jump rings. Just twist open the rings with your pliers, attach them, and twist them closed again.

Here’s a tip: try to space them evenly, and try to attach them all to the same side of the chain. Spacing them an even number of links apart will help them to lie flat when you wear the bracelet.
You don’t have to choose an apple theme – you can create any theme you like! This basic wire wrapping technique will allow you to design anything you can think of. :)
I hope you enjoyed this cute apple project, and I’ll see you again soon!

nice post
looking good
This is super cute. Would make a nice gift for sure.