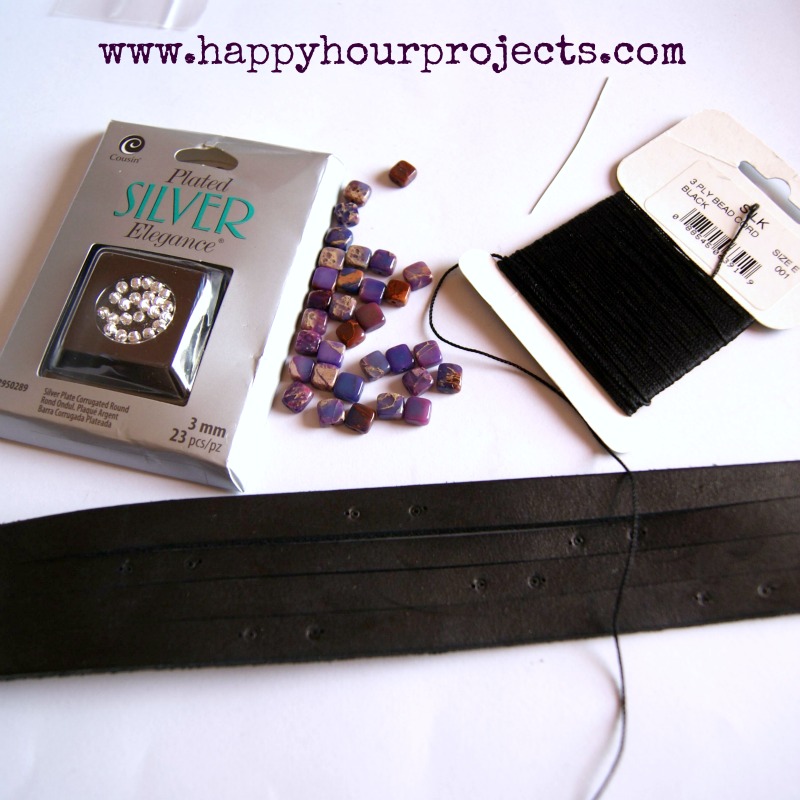
• Skip to primary navigation
  • Skip to main content
  • Skip to primary sidebar

  • home
  • about adrianne
  • buy the books
    • DIY T-Shirt Crafts (2015)
    • DIY Stamped Metal Jewelry (2016)
    • Rock Painting for Beginners (2019)
  • videos
  • crafts
    • diy beauty projects
    • kids’ crafts
    • paper craft projects
    • polymer clay
    • sewing projects
  • jewelry
    • bracelet projects
    • earring projects
    • necklace projects
    • jewelry tools & supplies
  • metal stamping
    • beginners’ tutorial
    • video tutorial
    • project ideas
    • metal stamping supplies
  • recipes
    • cocktail recipes
    • appetizers
    • main and side dishes
    • sweets and treats
  • by season
    • birthdays
    • new year
    • valentine’s day
    • st. patrick’s day
    • easter and spring
    • mother’s day
    • patriotic
    • fall
    • halloween
    • christmas
    • thanksgiving
  • privacy

Happy Hour Projects logo

05/21/2012

Beaded Leather Cuff

I have a nice simple jewelry project today.  I think I’m wrapping up my leather kick… maybe.  But the 2-pack of cuffs I picked up at Hobby Lobby was just screaming, “bead me!” so I had to find a way to make it happen. :)  (If you read here often, you’ll recall that I braided the first one – another quick and simple idea.)

What you’ll need:

  • Leather cuff
  • Bead Cord (I used a 3-ply silk cord in black so that it wouldn’t show)
  • Beads of your choice – mine are silver plated and stone
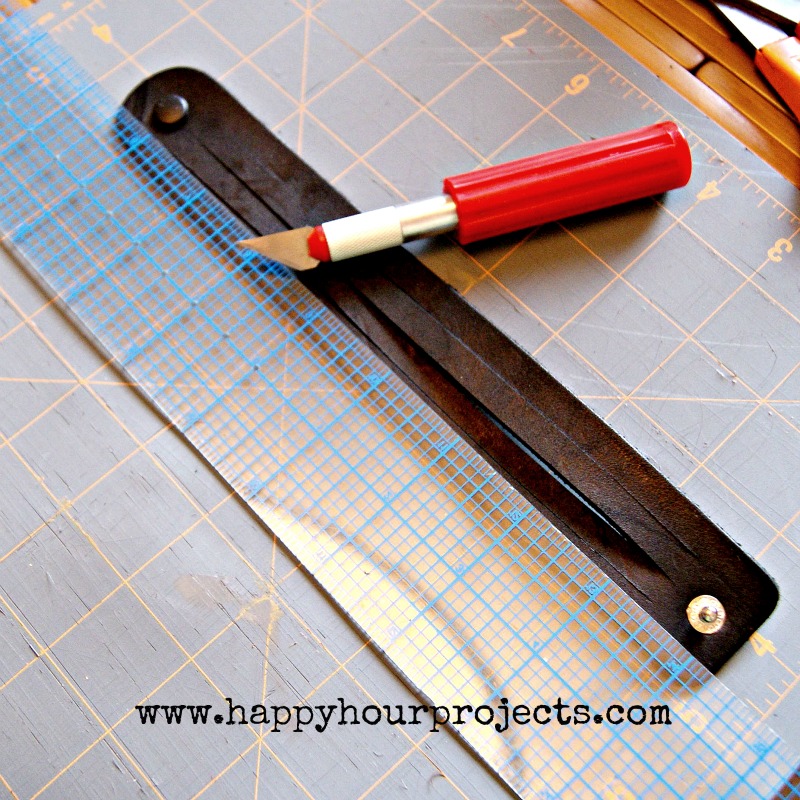
  • Sharp utility knife and a ruler
  • Sharp, thick needle (I just used the biggest one that came in a regular pack of sharps needles)
  • Hammer
  • Self-healing mat or several layers of cardboard for your cutting and hole-punching

By cutting an existing cuff (I found mine in a 2-pack for less than $3 at Hobby Lobby), you get the look of a wrapped bracelet out of one cuff really inexpensively.  But if you prefer a wrap, you can certainly go that route, too.  To trim your cuff, measure where you want to cut, and place your ruler as a guide so make sure your cuts are nice and straight.  You’ll want to do this on a self-healing mat or several layers of cardboard to protect your work surface.  And please be careful anytime you use sharp objects, of course. :)

Now, next I actually attempted to use a 2mm leather punch for my holes.  I scored them first and then realized – they would be way too big at 2mm.  So what I ended up doing was this – I used a large, sharp needle as a makeshift awl (you could obviously use a real awl if you have one) and I just hammered it in to make my holes.

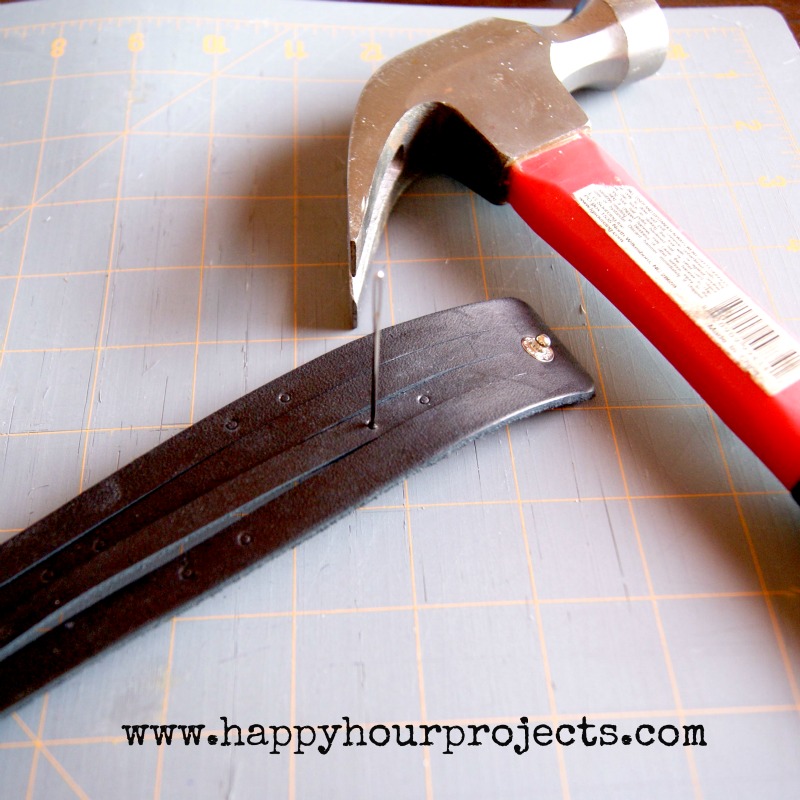
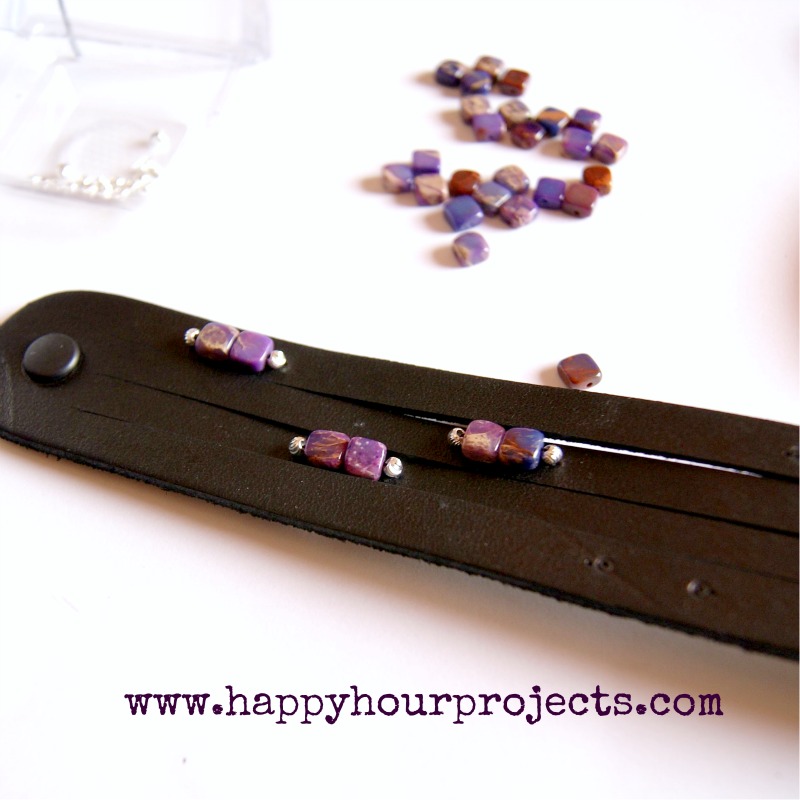
You’ll see the circles where I was planning to punch my holes.  I spaced them 1/2 inch apart from each other for my bead distance, but do whatever you like here.  I just put a hole in the center of each of those, and a second hole slightly outside – so I punched two small holes for each circle you see.  You shold be able to see an extra hole just outside each circle below.

I made two holes each, because I wanted to tie a small knot on the underside of the cuff on either side of the bead.  I threaded it through (if your beading needle is having trouble passing through the hole you made, you may want to use pliers to help pull it through).

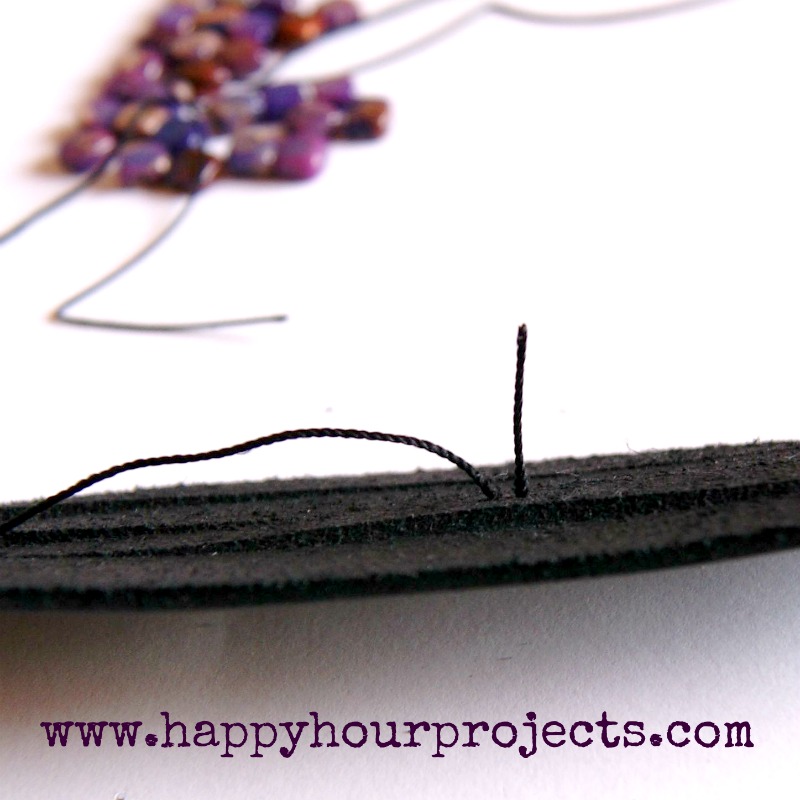
Then I tied it off, and threaded my cord back through to the top of the cuff.  Then, I added a couple of beads, and tied off the other side.  I did this for each set of holes I made.

Beading went pretty quickly, though I’m not going to say it was really easy.  Threading through leather was a little bit of a challenge – not difficult, it was just a tight fit so you’ll have to coax it through, is all.  This project only took me about 30 minutes, though, and I was left with a fabulous cuff at the end.

I link up to these great parties!
~ Adrianne

Filed Under: Bracelets, Jewelry, Tutorials

copyright policy and terms of use

I love it when you love my work! All tutorials and photos published at Happy Hour Projects are copyrighted. If you would like to feature my tutorial on your website or share it on your social media you may use one photo to feature, as long as you provide a link back to the original post.

If you feature a photo, it may not be accompanied by the project tutorial or recipe, whether in my own words as it originally appears or paraphrased by you. This also includes personal sharing on social media and Pinterest. Publishing multiple photos from a project, or including instructions with an accompanying photo are not permitted and you will be asked to remove them.

I love to share my projects, and my tutorials, recipes, and e-books are ALL free for your personal use. However, photos and ideas that are published to this site are my protected intellectual property. You may print them at home, but please do not copy or distribute them. I also allow all designs to be made and sold at fundraisers, craft fairs, etc. If you are selling a piece made from one or more of my free tutorials in your online shop, I require that you use your own, original photography, and include a link back to my website to credit me as the designer.

I hope you enjoy what you read here, and please be fair when you share!

Reader Interactions

Comments

  1. Six Sisters says

    05/30/2012 at 5:50 pm

    So cute! Thanks for sharing your ideas on “Strut Your Stuff Saturday!” We'll see you next week! -The Sisters

    Reply
  2. Evelyn says

    05/27/2012 at 12:47 pm

    I am loving this. At first glance I thought you just glued the beads but wow you went and really secured them with your cord. Very durable! Thank you for sharing another one of your great tutorial at Freedom Fridays!

    Reply
  3. Jana Faith says

    05/25/2012 at 6:47 am

    Very cute! Way to add some femininity to an otherwise edgy bracelet. :o)

    Reply
  4. Jill says

    05/25/2012 at 3:37 am

    That is so pretty! I love how simple it is, but is so cute and can go with so many things! Thanks so much for sharing this as well at Thursday's Temptation.
    Jill

    Reply
  5. monsterscircus says

    05/22/2012 at 2:41 pm

    What a great DIY, lovely blog you have a very Nice tutorials!

    Reply
  6. Sue and Danny O'Mullan says

    05/22/2012 at 5:40 am

    Fantastic! If I tried to do this – I would need a case of bandaids! You made this beautifully!

    Reply
  7. Maureen Hayes says

    05/22/2012 at 2:41 am

    Adrienne,

    I went to vote for you. Just so you know, I subscribe via email and I don't get your posts until the late evening/night of the day they post. If you decide to sell these leather bracelets, I would love to buy one! Really beautiful, as usual with your work!

    Reply
  8. Kadie says

    05/21/2012 at 2:29 pm

    I love these beads with the leather! They look great together! Great tutorial!:)

    Reply
  9. Michelle says

    05/21/2012 at 12:57 pm

    Love!!! I'm going to look out for a leather cuff :) x

    Reply
  10. Jill says

    05/21/2012 at 12:56 pm

    Super fun! Love it!

    Jill @ Create.Craft.Love.

    Reply
  11. Terry says

    05/21/2012 at 11:37 am

    Clever switchup. Your tutorials are so awesome – so easy to follow.

    Reply

Leave a Reply Cancel reply

Your email address will not be published. Required fields are marked *

Primary Sidebar

Hello, and welcome! I'm Adrianne, an artist, author, designer, and blogger in mid Michigan. I work from home, chase my two kids, and this once-city-girl is learning how to care for chickens and adjusting to life out in the country. I have a compulsion for daily creativity... sometimes it's jewelry-making, paper crafting, metal stamping, mixing and baking, or giving new life to recycled items. But with 2 young kids, time is short! My goal here at Happy Hour Projects is to share projects and tips that you can do in an hour or less. The ideas you find here are designed to add a little creativity in your day, no matter how much (or how little) time you have!

BUY MY BOOKS!

Copyright © 2026 Happy Hour Projects on the Brunch Pro Theme