

I have a few other projects I have already made that I’ll be showing you in the coming days and weeks, but I LOVE how this one turned out (no pun intended there).
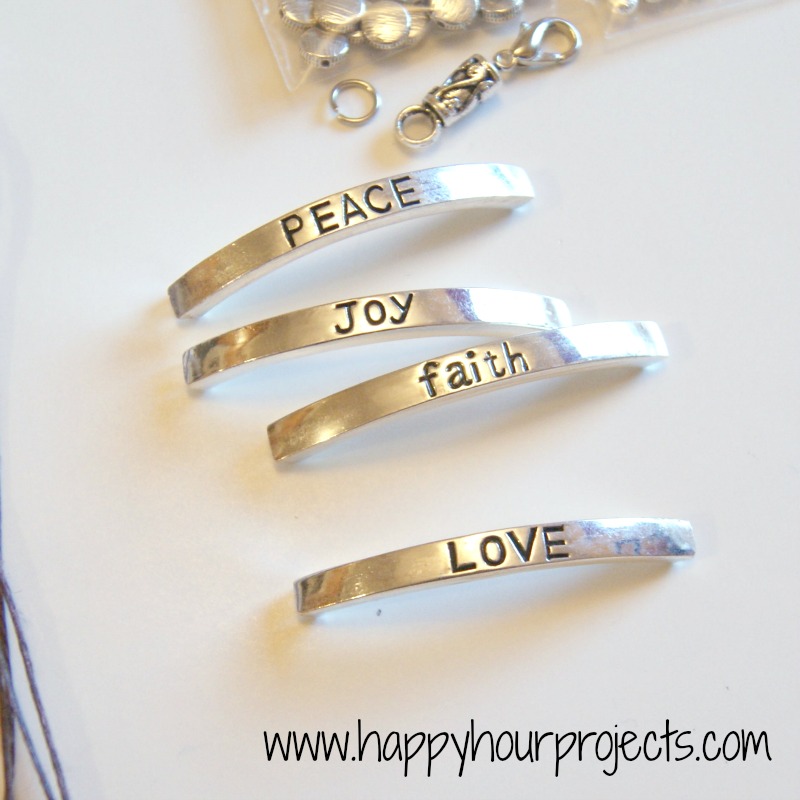
Consumer Crafts has a full line of craft supplies – not just jewelry components. But being the jewelry fan that I am, that’s where I headed first! These bar beads caught my eye and went straight into my cart – these are unlike anything I’ve seen in stores, so naturally, I *had* to have them. ;)
I made up a little list of things I used for this bracelet in case you’d like to check it out for yourself. If I didn’t use the product from Consumer Crafts, I made a note below that it was from my stash. :)
Word Bar Beads – it’s a pack of 4, so you can make several!
Waxed Linen Cord (I agonized, but finally decided on brown – though I bought both brown and black)
Glue-on End Cap and clasp (I used another brand from my stash for this project)
Jewelry Glue
Purple faceted Czech glass beads
Round silver-plated beads
Textured silver-plated beads
Star-shaped beads – the ones I used are from my stash, but the website does have hematite or silver-plated star-shaped beads that would work.
You will also need some scissors for this project, but no specialty tools.
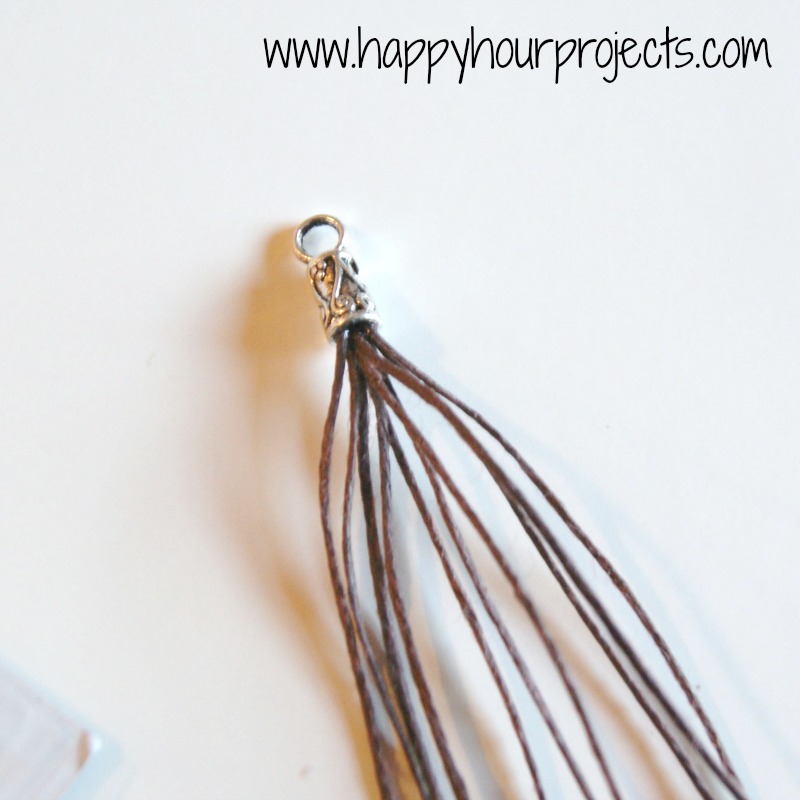
For multi-strand bracelets like this, I really like to use glue-on end caps. This is one of the things I didn’t get from Consumer Crafts because I have a lot on-hand already, though they do sell them. Trim up some bracelet-length pieces of cord to see how many your end caps will fit. I cut my cord to about 9″ to work with, and trimmed it down at the end. My caps accommodated 10 strands. Just add a bit of glue in the end of the cap, I tend to fill it about halfway. Make sure the ends of your cord are even, and put them in there. Jewelry glue is just like superglue – it dries really fast with a strong bond, so don’t get any on you. :) Just twist the cord around in there to make sure all the strands are secure.
Take a moment to separate your strands. Your bracelet will look better if it’s not all twisted when you start – a little twisting is good, but you just don’t want it looking really tangled.
Now, begin threading your beads on. I went for a totally random beading, and added about 15-20 beads to each strand. I really liked working with the waxed linen – it holds its shape. If it starts to unravel, all you have to do is press it back together and it holds a point well enough to thread your beads onto easily.

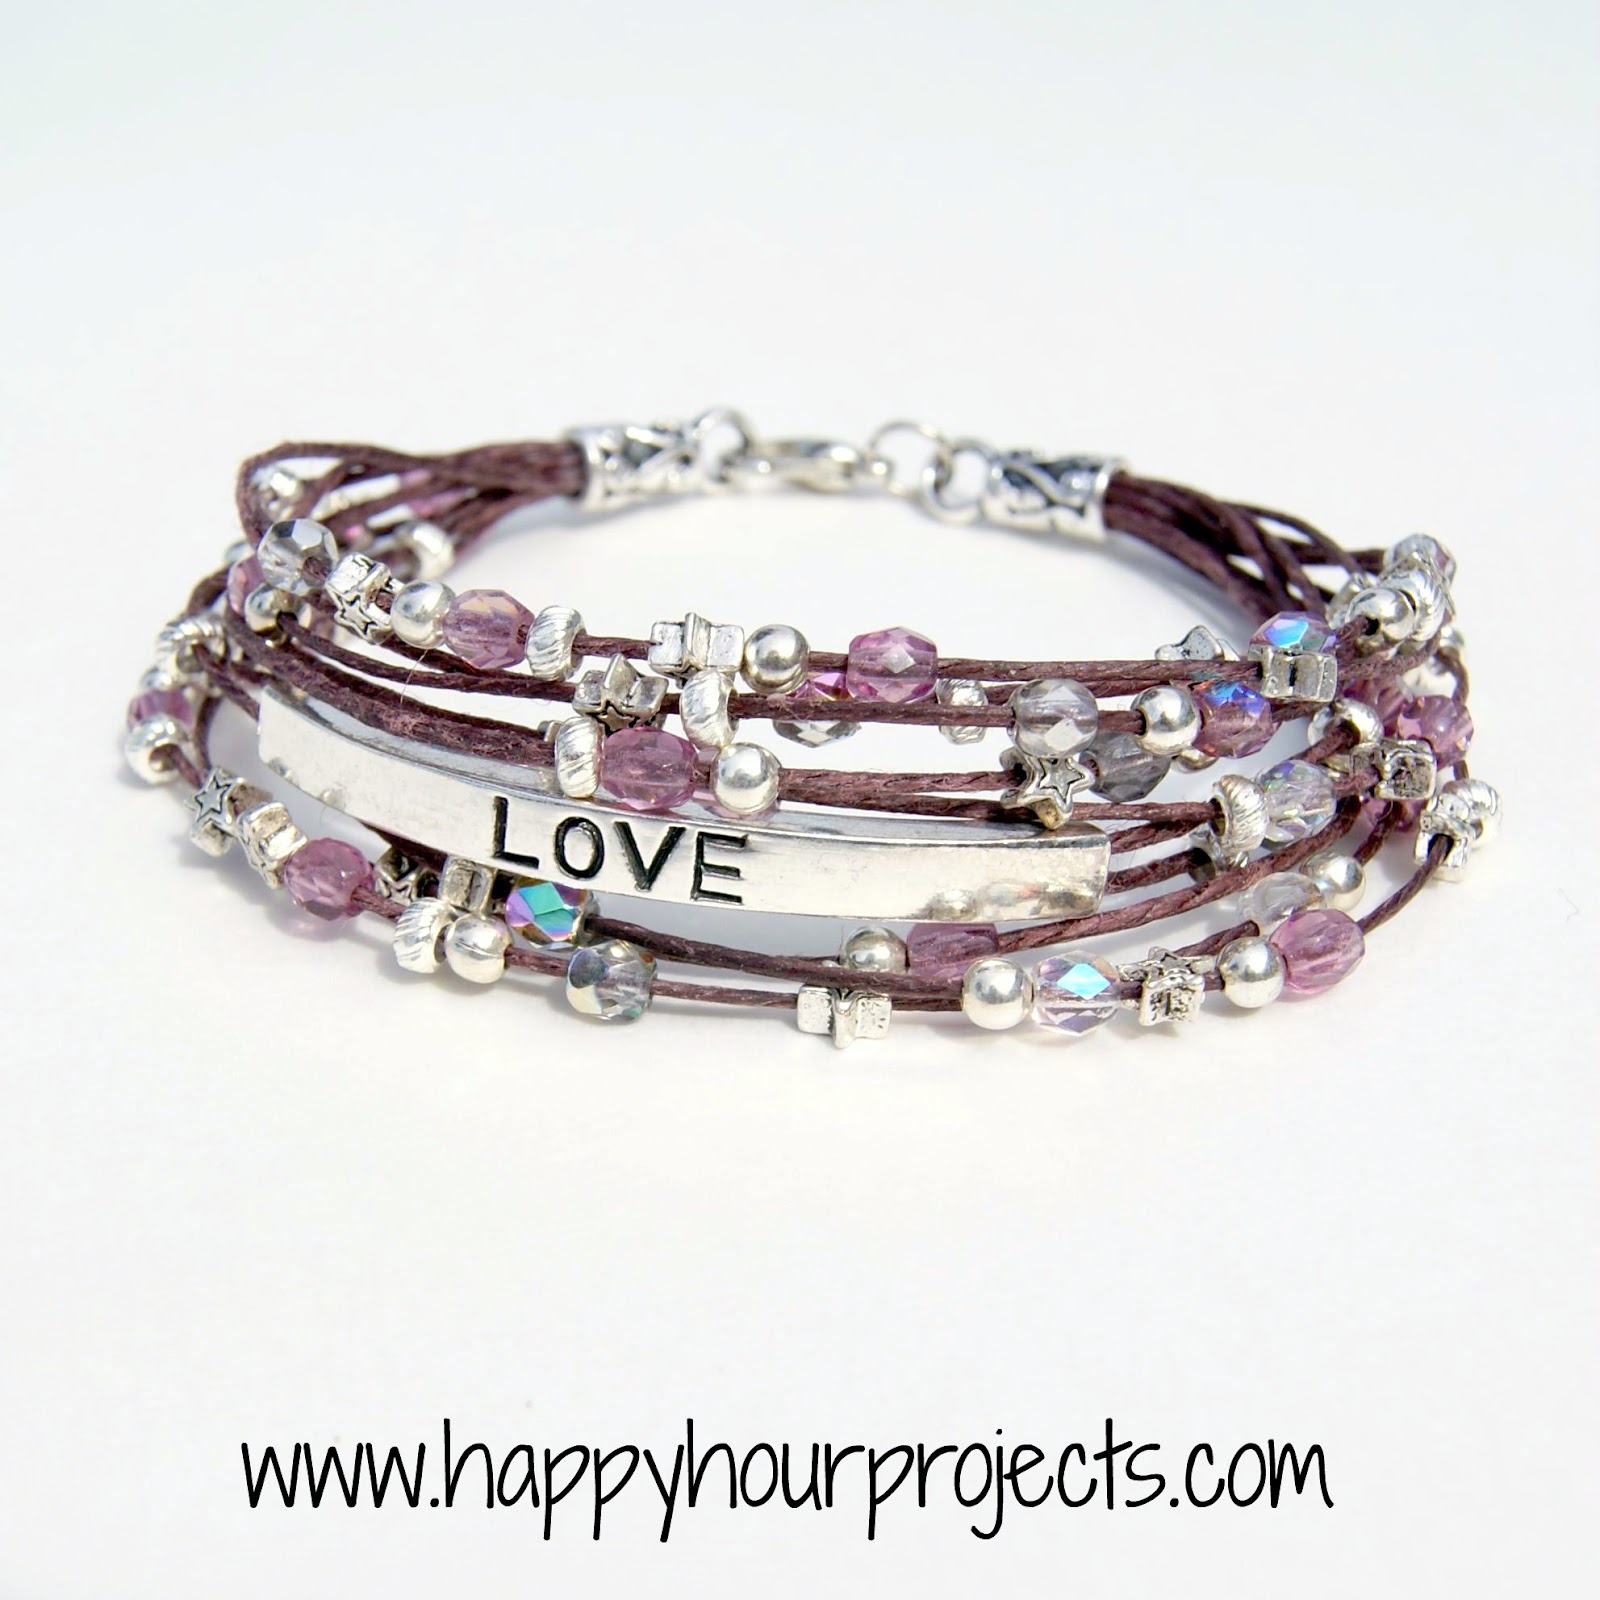
When I got to adding the “Love” bar, I just put a few beads on first, then threaded it onto two strands (they have two holes each). When you like the looks of it, arrange your strands however you like – mainly, you just want to make sure they aren’t all twisted up. Double-check your length against your wrist to be sure it’s going to fit. Then, just trim the ends, and glue the other end cap on.

That’s it! It makes up really quickly, for such a fun effect!

I wrote this post as part of a paid campaign with Consumer Crafts and Blueprint Social. The ideas & opinions are 100% my own.
I link up to these great parties!  Want to see what some other great bloggers are making with supplies from Consumer Crafts? Check them out in the linky below!
Lovely bracelet! Would like to make it with hemp and a button and loop closure. Do you think it would work?
hi what is the mm thickness of the waxed cord please? xx
I’m so glad I found you! Ha ha! Thank you for the tutorial on this beautiful bracelet! I read it last night, bought my supplies today and have made two of these bracelets for my sisters for Valentine’s Day! They turned out great! You’re very talented! :)
Love your ideas. Beautiful. Pin and will be shopping tomorrow. Thanks for the inspiration.
I had the same question Karen did … how do you keep them from all sliding together? It’s beautiful … thanks for sharing!
They do move some, but they don’t bunch together or all fall to the bottom. The wax on the linen isn’t slippery at all, so it does help them to stay put. If you want more control over exact bead placement, You can tie knots after each bead, or you could add some crimp beads. That would keep each bead in its own section. But personally, I prefer the random look.
LOVE this! But here’s a stupid question—how do you keep the beads from all bunching up together? are there knots between them? I like how they are spaced out, but will they stay that way when the bracelet is being worn?
I need to take lessons from you! This is so pretty!!
Thank you for linking up and supporting Artsy Corner! You're the best! :)
this is so very cute! thanks for sharing :-)
I love this one Adrianne! I would buy this for sure!! Love the bars!
Thanks for joining the fun at Keep Calm and Link Up!
Barbara at Chase the Star
chasethestar dot net
Love it! I am featuring this tonight at the Back For Seconds Social! Thanks a million for linking up and sharing with us!
Love this project – looks like holiday gifts to me! Joining from Inspire Me Monday. http://allthoseartsygirls.blogspot.com/
I was going to say the same thing Kelley just did… Must be a Kelley thing – lol! Do you have an Etsy shop? My husband always needs ideas for Christmas!
Can I just buy this from you? Its gorgeous! And Im not nearly as talented to make my own! :D
Ahh Love this!! You always create beautiful pieces!
oh my goodness, LOVE this!!! thinking I should send you my address, so you can mail me one for Christmas, hehe! :) I'm such a sucker for anything trendy and these bracelets are trendy AND timeless at the same time! Great job!
Love this little bracelet! Thanks for the tutorial.
Stopping by from the Embracing Messy hop! I love your projects!
Wow, what a gorgeous bracelet! I just love it! Thanks for sharing at The Fun In Functional!
Gorgeous! I've never seen the word bar beads. Off to add them to my cart!
Oh my GOSH!!!! I am in love. It's gorgeous!! You did such a great job. I'm off the check out their site. :)
Oh my GOSH!!!! I am in love. It's gorgeous!! You did such a great job. I'm off the check out their site. :)
Love it! I've actually been “shopping” around for a cute “arm party” I guess I will just get the supplies and design my own, although your creation is kind of what I've been looking for :D
I love how this bracelet turned out! I wish I had your jewelry making skillz!!
Pinning now :o)
Oh this is fabulous. I must try this – love the layered look.
Gorgeous! I agree with Jill….my favorite to date!
Wow, I love this! I've never attempted a bracelet before, but I may have to give this one a try. It would make a great gift for my sister.
Adrianne that is one fun bracelet! Nice job!
I love this! So pretty :)
I LOVE the word bars, so cool!
Adrianne – I think this is my favorite bracelet to date! I love it! The word bars and how you spaced the beading is just fabulous! Great job! I would totally buy this!
What great beads! It seems like they have a good variety of things to choose from!
This is so very pretty! I just love the style. I might just have to give it a go. Thanks for sharing.
PS: I'm so ordering those word bars and their silver plated stars!
Adrianne, I LOVE this! Soooo gorgeous! I would totally buy it…and now I want to make it! I'm pinning and stumbling it for later!