
Thank you OnlineLabels.com for sponsoring today’s hour-or-less project.
Good morning, friends! I’ve got a fun DIY for you today that is probably a lot easier than you think. Have you made your own lip balm before? I’ll be sharing the basic formula with you, the process, and also – how to truly make it yours with personalized labels from OnlineLabels.com! This “queen Bee” theme makes for great girly party favors or gifts for teens, tweens, girlfriends – you name it!

I love this blend. It’s moisturizing, with a bit of gloss to it. But what I loved even more was making it sassy, with a “Queen Bee” theme! I used the perforated lip balm tube labels (the kind that separate when you use them for the first time, so your friends know they’re the first ones to open them) but there are all kinds of lip balm labels available, including some for round pots and non-perforated tube versions as well – just search “lip balm” on the OnlineLabels.com site for several options!
You can personalize your labels any way you like to match your party theme – use your theme colors, add your own images and text, your guests’ names, even a nod to an inside joke. If you want to keep it super easy, though, I’ll share the printable template that I used for my “Queen Bee” labels.
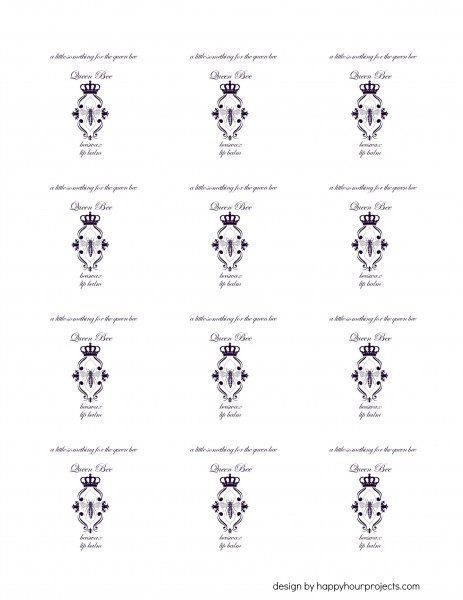
(just click the image to open a .pdf download in a new tab)
To make your own beeswax lip balm, you will need just a few things:
- Small saucepan
- Small glass measuring cup – this must be heat-safe, and preferably have a handle that can hook over your pan
- Measuring spoon(s)
- Protection for your hand – a potholder, heat glove, etc.
- Lip balm tubes or pots
- Small Funnel (optional)
- Beeswax
- Coconut Oil
- Vitamin E Oil (optional – acts as a preservative to extend shelf life)
- Peppermint oil (optional – for flavor/tingle)

There is so much room for variation to make this recipe your own! The video below is part of this week’s Crafty Hangouts – a craft-along team of video bloggers. Check out CraftyHangouts.com for party-themed ideas using print-at-home labels all week long. You can catch videos going up all week with the same theme. My idea is just one of many on the party theme!
Thanks for joining me today! Do you have any other DIY party ideas to share? Leave a comment below with your favorite DIY tip!

This is a sponsored post brought to you by OnlineLabels.com, but the project ideas, photos, printables and video offered today are all my own.

When I make lip balm, it sometimes crystallizes over time. How do I keep it from doing that?
Can you add honey to this? If so can you tell me how much? Thank you
Find your Apple ipad tablet or even Ipad tablet Mini using a pre-paid passport giftcard.
Hi, thanks for you lovely post, I have a question for you… How do you know what size lip balm label to order?
This is the kind of project my daughter and granddaughter would do as gifts. Great DIY.
My DIY tip is always make extra!
cute idea !!!! Will have to pin this for future use. Thanks !!!
Great project! I love making my own makeup and creams and stuff :) And anything with bees wax
OH! Thanks for sharing your lip balm recipe. These will be an ideal gift at our family reunion next week,
Pinned :)
I LOVE these little lip balms! They’re so cute!
Perfect party favor idea for sure!! I’m excited to try out your recipe :)
You are adorable and that lip balm is such a great idea for a party favor!!
My tip is just to plan in advance. It’s hard to DIY at the last minute!
Man – isn’t that the truth! Besides, I feel like planning in advance lets me enjoy the whole party process more. The actual party is over within a few hours, but enjoying the prep makes it last longer. :)