• Skip to primary navigation
  • Skip to main content
  • Skip to primary sidebar

  • home
  • about adrianne
  • buy the books
    • DIY T-Shirt Crafts (2015)
    • DIY Stamped Metal Jewelry (2016)
    • Rock Painting for Beginners (2019)
  • videos
  • crafts
    • diy beauty projects
    • kids’ crafts
    • paper craft projects
    • polymer clay
    • sewing projects
  • jewelry
    • bracelet projects
    • earring projects
    • necklace projects
    • jewelry tools & supplies
  • metal stamping
    • beginners’ tutorial
    • video tutorial
    • project ideas
    • metal stamping supplies
  • recipes
    • cocktail recipes
    • appetizers
    • main and side dishes
    • sweets and treats
  • by season
    • birthdays
    • new year
    • valentine’s day
    • st. patrick’s day
    • easter and spring
    • mother’s day
    • patriotic
    • fall
    • halloween
    • christmas
    • thanksgiving
  • privacy

Happy Hour Projects logo

10/15/2017

I Believe In Myself Unicorn Necklace | Design A Custom Jewelry Stamp

Hey friends! I have a magical project to share with you today. This unicorn necklace is a fun piece of DIY stamped jewelry, and I am excited to tell you how I got my hands on such a cute unicorn stamp from today’s sponsor, ImpressArt!  ImpressArt has recently made custom metal stamps an available option, so that you can put your own logo or design on your jewelry pieces.  You can get great detail on these stamps in sizes from 3mm – 12mm, and so I decided… well, I need to add a fabulous unicorn to my stamp collection.

I Believe In Myself Stamped Unicorn Necklace | Design Your Own Custom Jewelry Stamp | happyhourprojects.com

I am not going to get too heavy into metal stamping for beginners in this post – I have dozens of tutorials here if you browse the metal stamping category from the navigation menu above, or you can also check out my YouTube channel if you want to hear me go into a bit more detail about tools and techniques.  And, of course – you can order my book, DIY Stamped Metal Jewelry for yourself or for someone you love.  Lots of options to explore more!  I’ll list the tools and supplies I used for this unicorn necklace below, so feel free to click through the affiliate to learn more, or to order supplies.

I Believe In Myself Stamped Unicorn Necklace | Design Your Own Custom Jewelry Stamp | happyhourprojects.com

Here’s what I used for my unicorn necklace:

  • 6mm ImpressArt custom-ordered standing unicorn stamp
  • 4mm ImpressArt Lollipop font
  • 2.5mm ImpressArt heart outline stamp
  • Steel block
  • 1lb brass stamping hammer
  • 7/8 inch round Alkeme stamping blank
  • 3/8 inch Alkeme tag blank
  • Stamp Straight Tape
  • Stamp Enamel
  • Round Nose Pliers
  • Chain Nose Pliers
  • Side Cutters
  • Hole Punch Pliers
  • Awl (for detail, alternately you can use a period stamp)
  • 3″ jewelry head pin
  • 2×3 mm rondelle crystal bead
  • 4mm round crystal bead
  • 3 – 10 mm jump rings
  • 26″ 2mm cable chain

I Believe In Myself Stamped Unicorn Necklace | Design Your Own Custom Jewelry Stamp | happyhourprojects.com

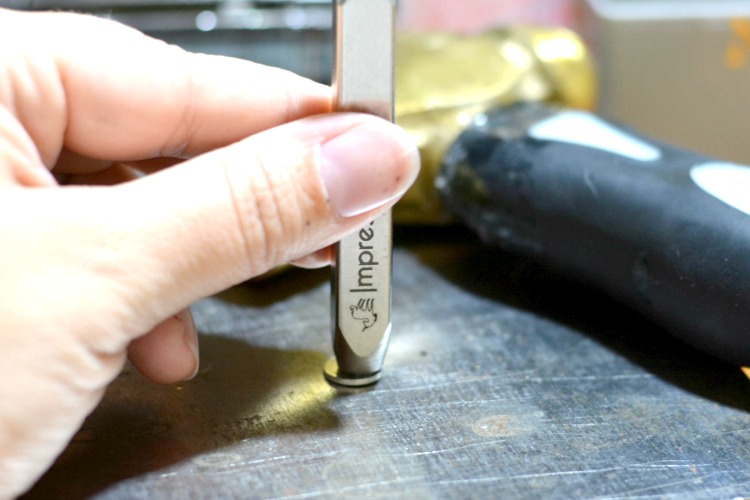
The custom stamps come with an excellent capacity for fine detail.  I found that even with a single hammer tap, I was able to get a great clean impression.  When I used the tilt and tap method (where you tilt the stamp to put more emphasis on the outer edges of the design) I found that my impressions were so deep and clear that the blank actually stuck to the end of my stamp.  Depending on the detail and size of your stamp (more detail and a larger area will need more force), tilt and tap may be the preferred method – but try a single tap first when testing your new stamp. I think you’ll be pleasantly surprised.

I Believe In Myself Stamped Unicorn Necklace | Design Your Own Custom Jewelry Stamp | happyhourprojects.com

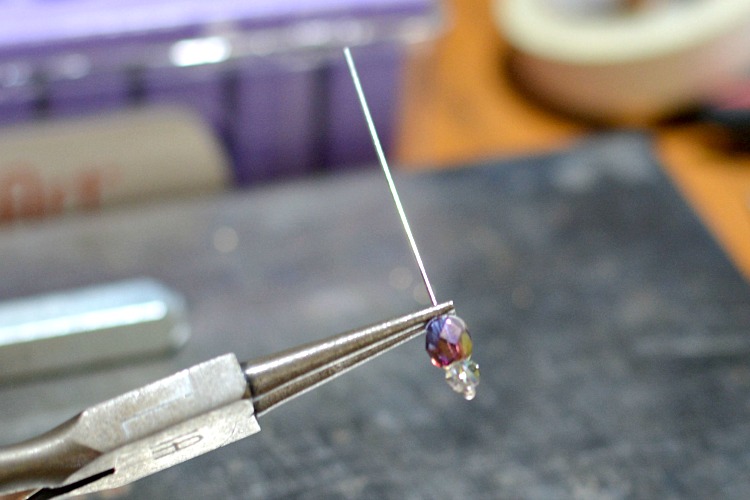
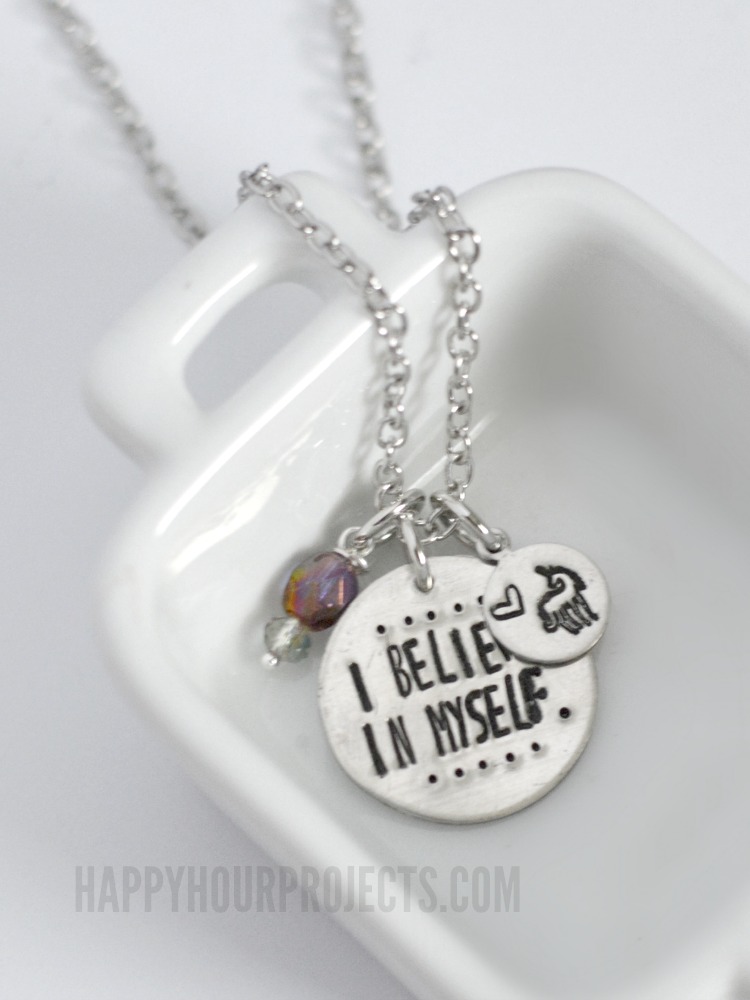
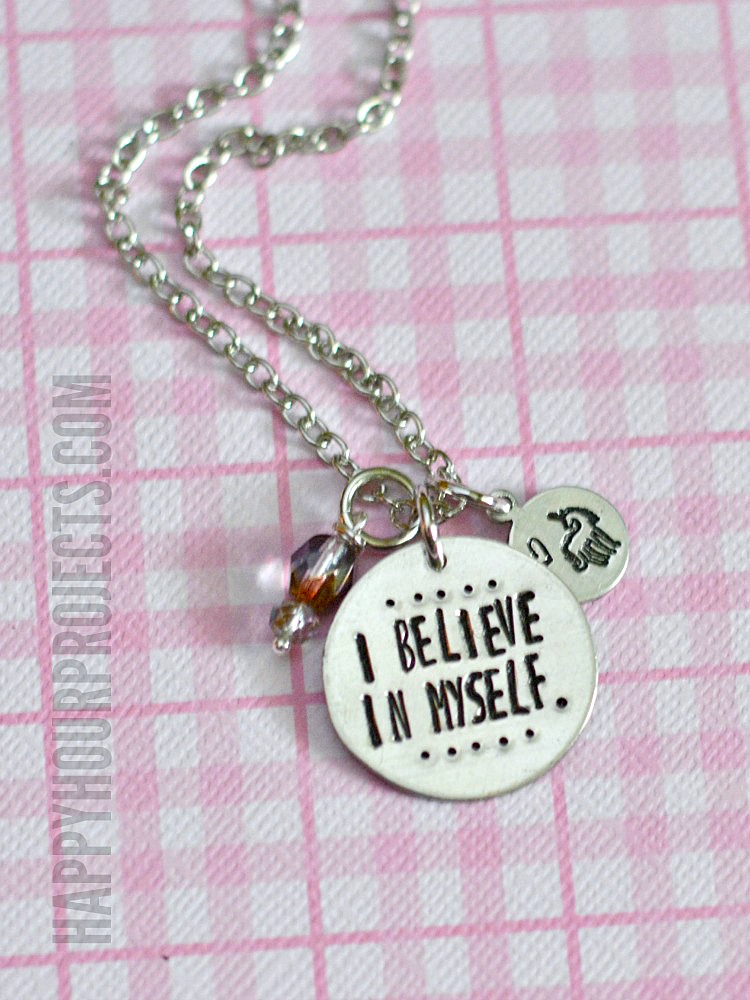
I stamped my message, “I believe in myself” using the Lollipop font on the 7/8 inch blank, and added a few dots to set off the design.  On the smaller tag, the unicorn was the star, and I added a little heart as well.  Finally, I added a couple small beads to a jewelry head pin to create my own beaded charm, added a 10 mm jump ring to each, and strung all three on 26″ of 2mm cable chain for a long hand stamped charm necklace.

I Believe In Myself Stamped Unicorn Necklace | Design Your Own Custom Jewelry Stamp | happyhourprojects.com

Please feel free to browse the archives for more instructions on how to make stamped jewelry!  Today’s post was meant to be more of a review of the custom stamp that ImpressArt has begun to offer, and I’m a huge fan of it.  It’s the same great quality as their other design stamps, and I can express myself exactly how I like.  If you have a custom logo you’d like to stamp onto your jewelry, or you have a design you’d like to use for cause pieces or fan pieces, you should definitely check out what you can create with this new offering.

I Believe In Myself Stamped Unicorn Necklace | Design Your Own Custom Jewelry Stamp | happyhourprojects.com

Meanwhile, keep on believing in yourself, you magical beasts!  If you try this design or something similar, or if you order your own custom stamp, be sure to tag me on Instagram or Twitter @HappyHrProjects or use #AdrianneSurian so that I can see your awesome work. 

Have  you tried designing your own stamp with @impressart? I converted a unicorn sketch to a custom stamp! #ad #unicorn #HappyStamping #AdrianneSurian

A post shared by Adrianne Surian (@happyhrprojects) on Oct 17, 2017 at 8:47am PDT

I’ll catch you guys again soon!

Adrianne Surian

Filed Under: Fashion, Jewelry, Metal Stamping, Necklaces, Tutorials Tagged With: accessories, beads, charms, DIY, gifts, jewelry, metal, metal stamping, necklace, unicorn

copyright policy and terms of use

I love it when you love my work! All tutorials and photos published at Happy Hour Projects are copyrighted. If you would like to feature my tutorial on your website or share it on your social media you may use one photo to feature, as long as you provide a link back to the original post.

If you feature a photo, it may not be accompanied by the project tutorial or recipe, whether in my own words as it originally appears or paraphrased by you. This also includes personal sharing on social media and Pinterest. Publishing multiple photos from a project, or including instructions with an accompanying photo are not permitted and you will be asked to remove them.

I love to share my projects, and my tutorials, recipes, and e-books are ALL free for your personal use. However, photos and ideas that are published to this site are my protected intellectual property. You may print them at home, but please do not copy or distribute them. I also allow all designs to be made and sold at fundraisers, craft fairs, etc. If you are selling a piece made from one or more of my free tutorials in your online shop, I require that you use your own, original photography, and include a link back to my website to credit me as the designer.

I hope you enjoy what you read here, and please be fair when you share!

Reader Interactions

Comments

  1. Hole IO says

    08/27/2024 at 3:31 am

    The more objects you consume, the larger your hole becomes. Growing in size allows you to consume larger objects and other players’ holes.

    Reply
  2. freecodesmarket.com says

    10/19/2018 at 3:50 am

    Hey really such a nice post dear Thanks for sharing this amazing post.

    Reply
  3. kanchipuram sarees says

    08/16/2018 at 3:23 am

    nice post

    Reply
  4. golu dolls says

    08/16/2018 at 3:23 am

    looking good

    Reply
  5. Marana Adams says

    08/05/2018 at 3:48 pm

    so nice i made my unicorn that looks like plastic with mod podge i drew it first

    Reply
  6. Whatsapp says

    07/16/2018 at 5:07 am

    Thanks for such a great info..

    Reply
  7. MADELINE NEWTON says

    03/16/2018 at 2:07 pm

    wow i am going to try a lot of new things with the jewelry part wow ….can’t wait…thank you for sharing..

    Reply
  8. coconut jewelry says

    11/14/2017 at 2:31 pm

    Think about what the other person will like, rather than what you like.
    The city of spires is filled with festive joy with the Oxford Christmas
    Market in the heart of the city on beautiful and historic Broad Street.

    Complete as many or as few as you wish (such as “Liking” my
    Cleveland Women’s Fashion Examiner page on Facebook or tweeting about the giveaway) – the more you complete,
    the more entries you receive, and the bigger your chances are of
    winning.

    Reply

Leave a Reply Cancel reply

Your email address will not be published. Required fields are marked *

Primary Sidebar

Hello, and welcome! I'm Adrianne, an artist, author, designer, and blogger in mid Michigan. I work from home, chase my two kids, and this once-city-girl is learning how to care for chickens and adjusting to life out in the country. I have a compulsion for daily creativity... sometimes it's jewelry-making, paper crafting, metal stamping, mixing and baking, or giving new life to recycled items. But with 2 young kids, time is short! My goal here at Happy Hour Projects is to share projects and tips that you can do in an hour or less. The ideas you find here are designed to add a little creativity in your day, no matter how much (or how little) time you have!

BUY MY BOOKS!

Copyright © 2025 Happy Hour Projects on the Brunch Pro Theme