
If you have ever seen my Star Wars Pinterest board… you know it’s a “thing” around our house. :) My husband collects the toys action figures, and they needed a better home than the “temporary” shelf unit he started using like two years ago.
So I built these bad boys over the weekend, and He. Is. Geeked. (No pun intended, but it really works, don’t you think?)
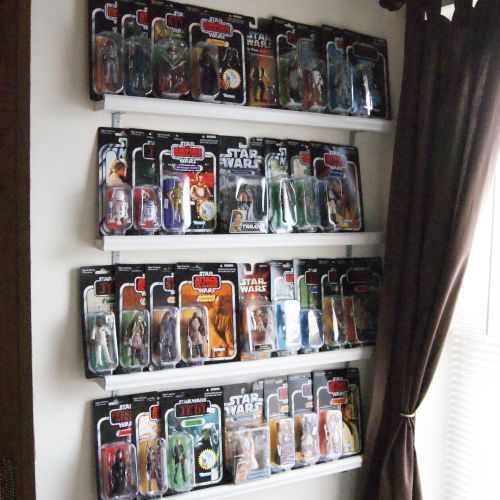
They are light-duty, won’t support a ton of weight, but they don’t need to since these guys are so lightweight. But don’t you think it’s a whole lot better than this?
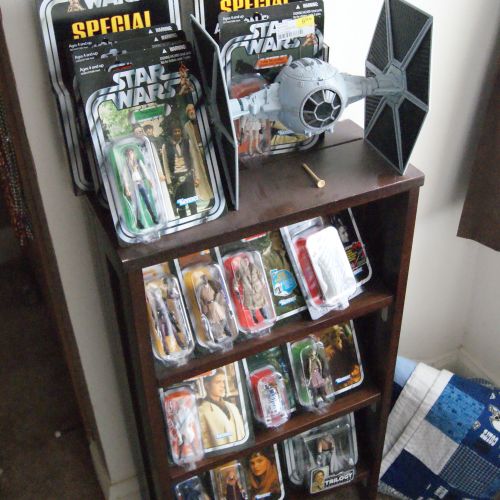
I didn’t make room for the big toys collectible spacecrafts yet… yes, plural, that tie fighter is the smallest one. The Millenium Falcon and his AT-AT still need homes as well, but for now, this gets them up and out of Raya’s reach (temporarily, at least) and even takes up less space.
If your kids (or husbands, or even you!) have similar, lightweight items you’d like to see on shelves, I’ll show you the run-down of how I made these (including tips on hanging shelves) if you care to keep reading!
This actually was only about an hour of total work, once I shopped and brought my supplies home. There’s some drying time in between, and the time it takes to haul out all the tools, but really – these went together and hung up quite quickly. I had *none* of the supplies (aside from my tools) – but even having to buy everything: wood, brackets, wall anchors, spray paint and wood glue, and I still made it out of Lowe’s for $32, which I made 6 – 30″ shelves with. Not only did I get exactly what I wanted for my space, but $5 a shelf is darn reasonable, in my opinion.
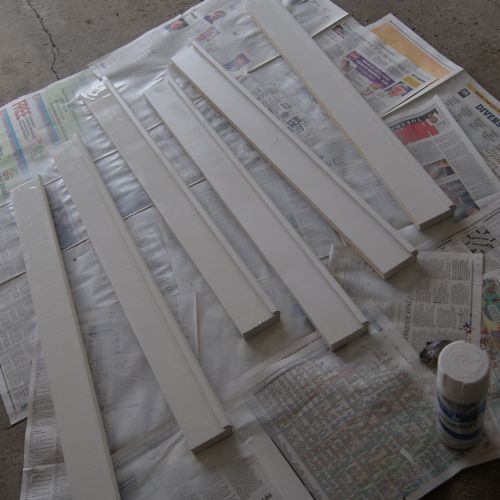
First of all, I went to Lowe’s and picked up 2 1x3x8’s and two 8′ pieces of trim. I’m sure there’s a name for the particular kind of trim this is, but I don’t know it and I don’t especially care. What I was looking for was something that looked nice, but also made a sort of “lip” on the front, so that I could keep them very shallow (after all, the boxes are only about 1″ deep) and also make sure they didn’t just fall right off the front of the shelf. The guys at Lowe’s cut my 8′ pieces down into 6 boards, 30 inches long (that’s the size I asked for to fit the little bit of wall that can accommodate things being hung).

I just used wood glue to attach the two pieces together, since each shelf will hold well under one pound. If you’re looking at anything heavier, you may want to add a couple nails – I just didn’t want to fuss with puttying the holes in afterward.
Once they were dry, I sprayed them white. I *should* have sanded them down first, but the rough edges would be in the corner anyway, and they really weren’t bad! :)
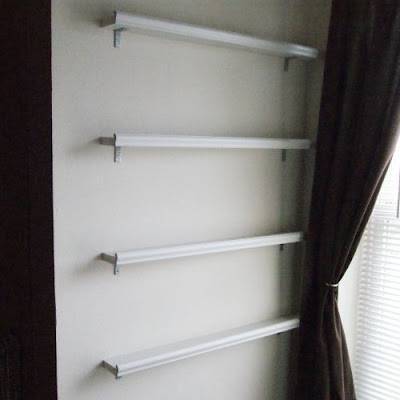
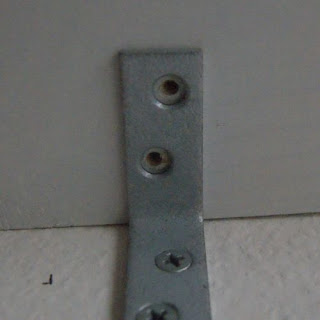
Then, on to hanging. I picked out these “L” brackets (corner braces) to support my shelves. They are small. I was a little bit nervous, but I bought the galvanized ones, and again – not much weight here.

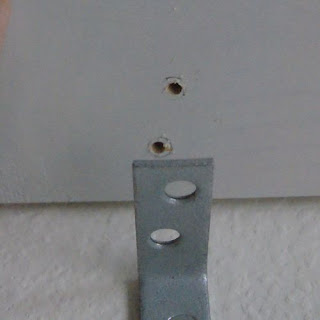
Now – measure, measure, measure. Measure again. Mark where you want your brackets to go, and then hang your wall brackets. I opted to hang four instead of all six. So I went ahead and did the wall brackets:

And I tested them out, to make sure. Your brackets are big enough if they can hold the shelves without screws. Mine did, whew. :) You don’t want to keep them that way, you will still need to secure the board to the bracket – that’s just the test to make sure you’re headed for success!
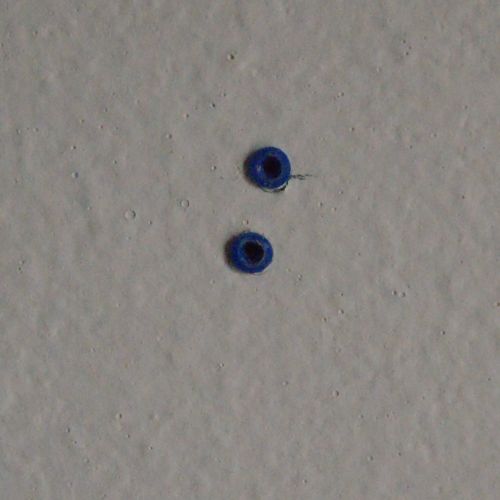
A note about your brackets. Once you’ve marked out where you’re going to drill, you’ll want to insert wall anchors to make sure the screws don’t just pull right out of the wall. The exception to this is if you are drilling right into a stud, but when you’re talking about decorative shelves, more than likely, you won’t hit studs when finding what looks nice. Just plan on using anchors and do NOT skip this step. You don’t want to wake up in the middle of the night to a crash. :) It seems like a hassle, but it is well worth it. (And you know I’d be honest with you if that happened to me, but it didn’t because I used anchors, LOL.)
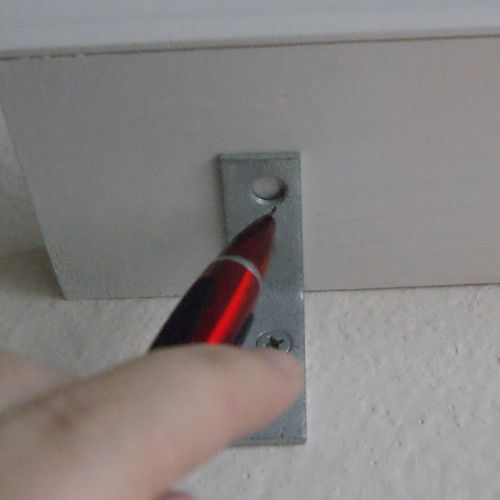
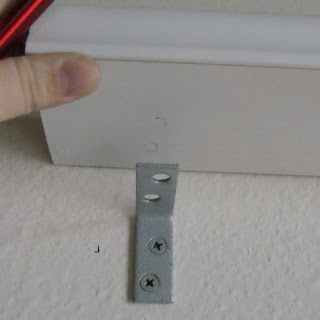
Once you’ve done that, go ahead and screw your brackets in.

Then, set your shelves on top, and mark the bottoms of your shelves to know where to drill your holes.
Now, drill your shelves. You need to take a moment first to make sure the screws you will be using in your shelves ARE NOT LONGER than the height of your shelf board so that they don’t poke through! My screws were 7/8″ on a 1″ board. And you only need to drill deep enough to get your screw started – you don’t want to risk drilling all the way through your shelf. I drilled about 1/2″ in.
Now, just screw in your screws and admire a job well done. :)

All that’s left is to let your collector get to work arranging his toys collectibles.
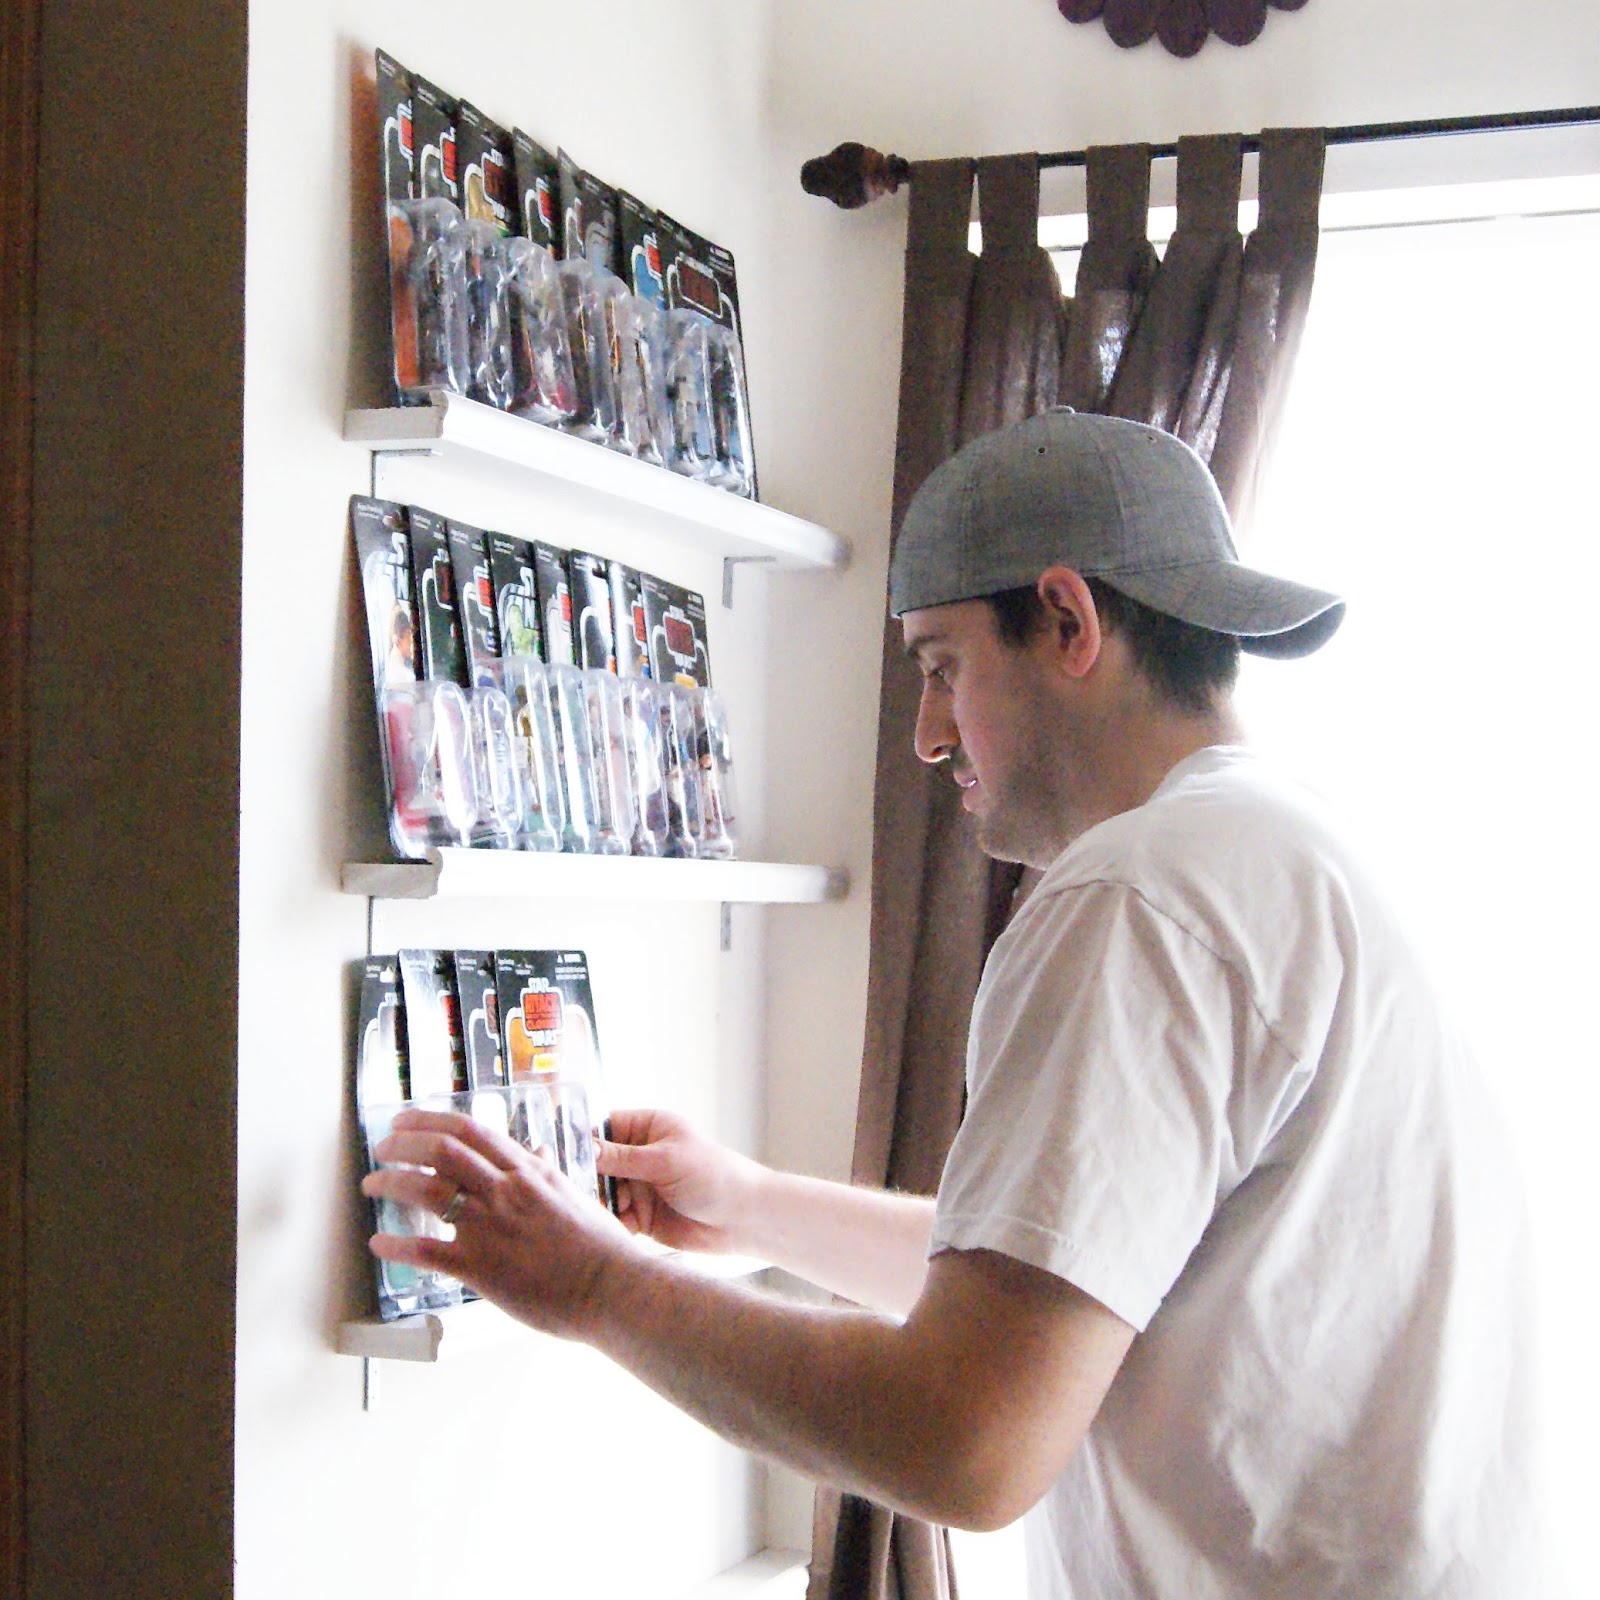
My husband was so happy, his first request was to share his new display with all of Facebook. What do you think?
He says he has room for at least three more guys. And then, apparently, I will need to hang him a fifth shelf. ;)
I link up to these great parties!
~ Adrianne
Very well done and a practical solution. Will the light fade the packaging? We had Star Trek collectibles stored on a high shelf with no direct light, and the outward sides all faded alot. Just a thought, but your display looks awesome!
I like the anchors.Looks might awesome! I mean the whole shelf in particular :)
A job well done, handywoman! And yes, having been woken up at 2am when a guitar falls off the wall and crashes into plasic cases containing highly collectible hot wheels, I can attest to the need for wall anchors. P.S. It wasn't me who hung the guitar brackets without the wall anchors. ;)
These are great! They would make great picture ledges too! Well done!
That looks great. You must have been crowned the queen of awesome this weekend. I love those wall anchors too, just to make sure nothing comes crashing down.
Well you are just so handy! Maybe I should try to make something like this inside my cabinet for my sprinkles ;) Your hubby has to be so proud of his new display!
You are the coolest wife ever. The shelves are awesome!