
Well, this is only going to seem like a partial project, and it sort of is. I’m on the lookout for the perfect branch to create our Egg Tree, but I haven’t found it yet. Which isn’t a big deal – I won’t really start decorating for Easter until the weekend – but I do have something I need to do ahead of time, and that’s to make the Egg Ornaments! So I thought I’d show them to you now, so in case you like the idea you still have time to make some too.
When I was a kid, my Gram had a tulip tree out in front of her house. Around Easter, it was just beginning to bud, but still looked a bit scraggly from the winter. So one year, we made plastic egg ornaments and hung them on the tree. She always used them after that.
Plastic Egg Ornaments sound kind of tacky, don’t they? I don’t care if they are, they have a special place in my heart, so this is one project I’ve looked forward to making. :) This is an inexpensive and simple project (plastic eggs were 52 cents for a dozen at Hobby Lobby this week, and all the other supplies are pretty common ones, so you probably have them already), and because they are plastic, they are also weatherproof, so you can use them outside if you would like – my Gram’s eggs lasted for years.

What you will need:

- Plastic eggs
- Sequins and small beads
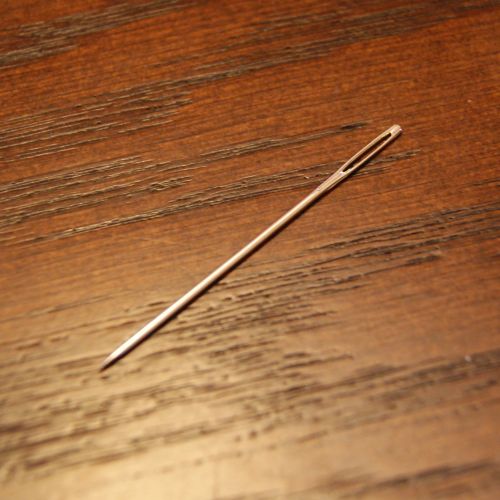
- Heavy-duty needle or pin
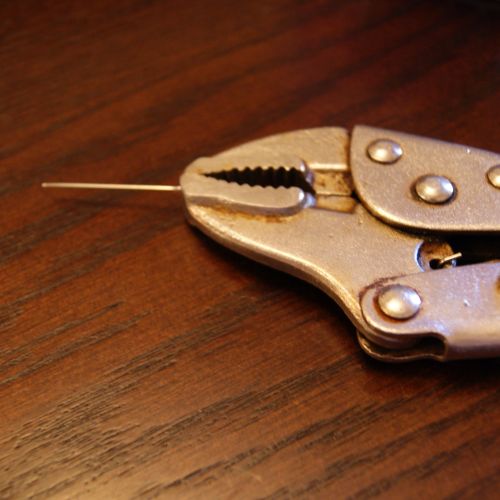
- Vice Grips (the pliers that lock down)
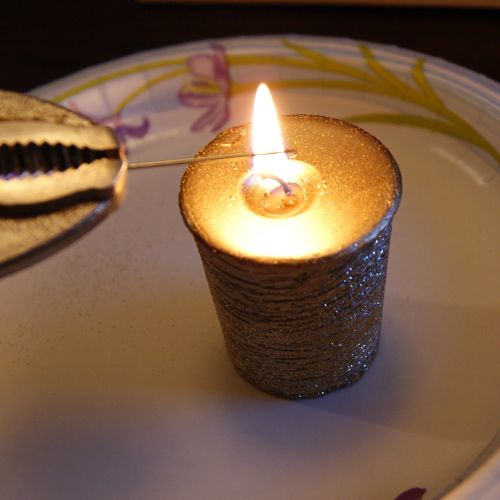
- Candle
- Fishing line or invisible beading cord
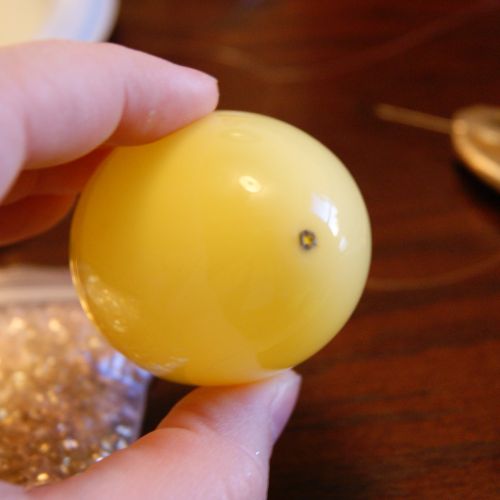
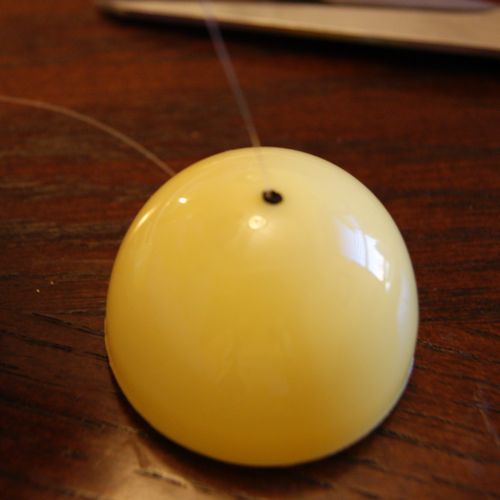
First of all, we need to put holes in both the tops and bottoms of our eggs. The easiest way to do this is to melt a small hole, which is where the odd necessities of candles and vice grips come into play.
You’ll need to find a needle to sacrifice. It’s never going to recover from what we’re going to use it for. :)
Clamp your vice grips onto it firmly.
Now hold the needle over the candle flame to heat it up. This is why we’re uing the vice grips, so we don’t accidentally burn ourselves on a hot needle.
Then, melt a hole in each end of your egg. A note anytime you’re trying to melt plastic – open a window or work in a well-ventilated area. A couple of holes in each egg isn’t much (it didn’t even stink up my kitchen) but safety is safety!
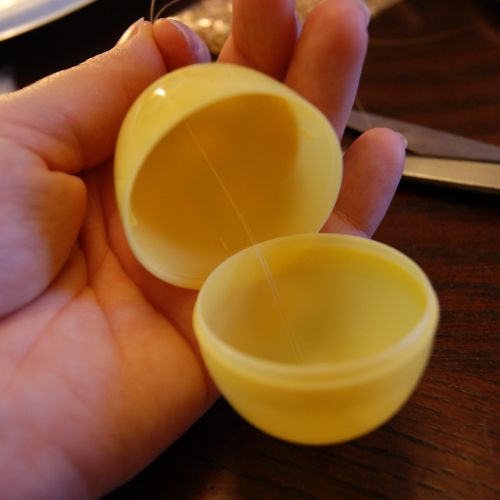
Pop your egg halves apart, and thread about an 18″ length of fishing line/bead cord through the bottom half. The reason I recommend this over ribbon or thread is that fishing line is stiff enough you can thread it easily through the holes without a needle.
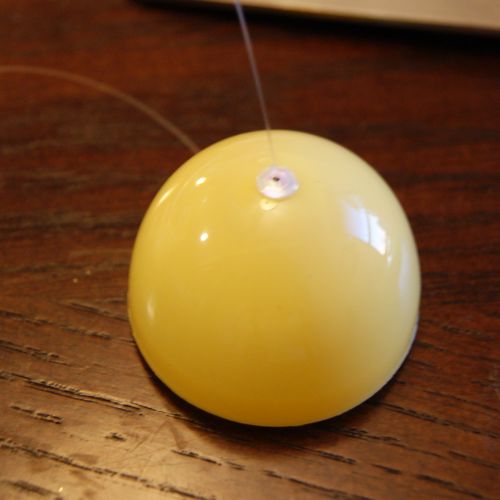
Now, on the bottom of the egg, thread a sequin on over top of your melted hole. (Your sequin acts much like a washer, preventing your bead from pulling through the hole.)
Now, add a bead. You can really choose anything you like the looks of to coordinate with your egg… or, just the first ones you happen to grab, which was the case for me. :)
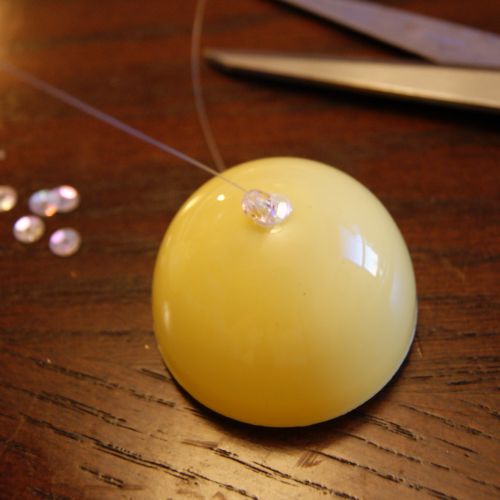
Now, thread your line around the bead and back through the sequin. The bead anchors your line in place.
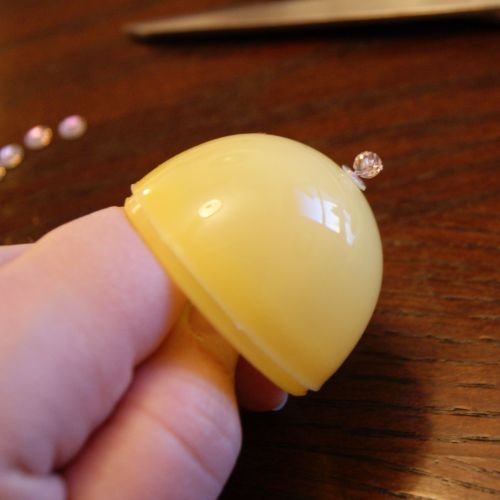
Take a moment to make sure your two ends of your line are pretty close to the same length. Now, feed both ends up through the top half of the egg.
Go ahead and close your egg halves, then add a sequin to the top, threading both ends of your line through the hole in the sequin. Then, add a bead to one line only.
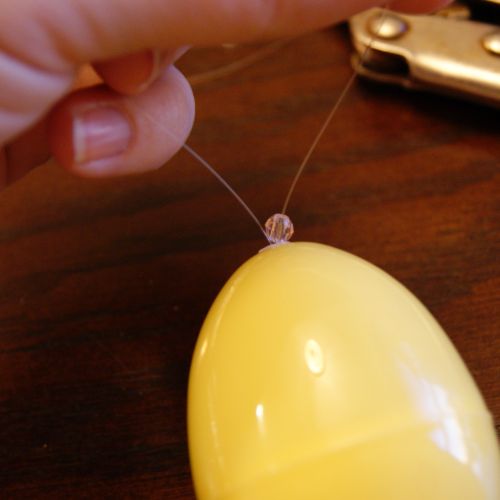
Tie a double-knot over the bead to secure the whole thing. Then, move up to the ends of the fishing line and add another knot, so that you have a loop to hang your ornament.
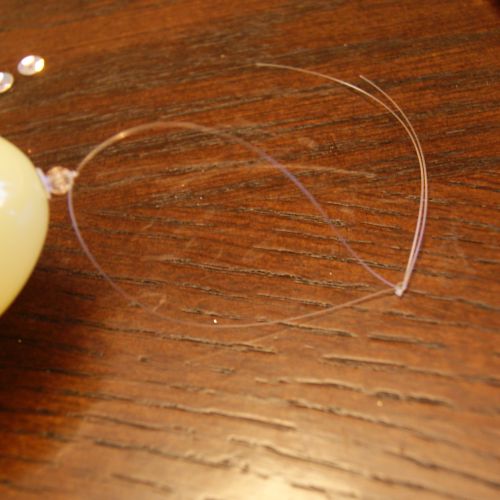
Trim up the ends, and that is it!
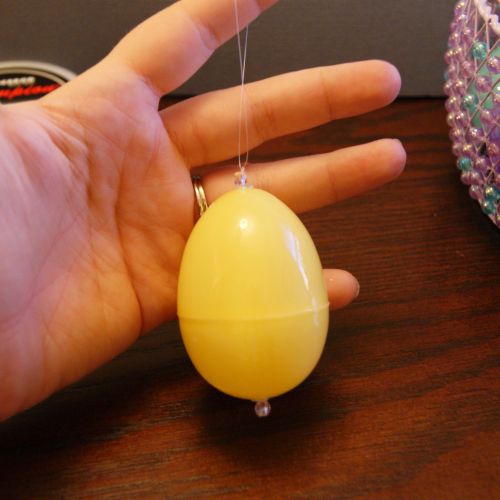
This is one egg, start-to-finish, but you’ll want to work assembly-line-style, first melting all your holes, then moving on to stringing your eggs. I found that each egg took me about five minutes, but that was at the end of a pretty long day with my tired eyes, LOL. :) If you have older kids who are coordinated enough to help with the stringing, that will make your job a lot easier!
I can’t wait to find just the right tree for these – I’ll share when I do! Hope your Wednesday is off to a great start!
I link up to these great parties!
~ Adrianne
So fun and festive! Thanks so much for sharing at Mom On Timeout!
I am sixty one years old and my grandmother also hung real dyed eggs in a small tree in her backyard.
Following the Linky Follower party hop. I am now following you on Linky Follower.
http://itstimetoreadmamaw.blogspot.com/
What a great idea!! I love these! Thanks for sharing at Thursday's Temptation.
Jill
Cute! Just pinned this!
http://trendymomreviews.blogspot.com
I can't wait to try this! Looks so cute!
Love this!! It looks addicting. :)
So cute! Such a great idea!
Sarah @ http://www.allthingsblogs.blogspot.com XOXO
This is really fun!! Remindes me of my grandmas house. She used to ALWAYS put Easter Eggs on her tree branches!! Would LOVE to have you share this at my party thats going on right now!
http://www.pincushioncreations.com/2012/03/homemade-by-you-4.html
I love the step-by-step pictures that you've posted. This looks like a fun project. I'm stopping by from cheri's blog hop and am following you.
Rebecca
http://www.paranormalmuse.com
Great tutorial. If you need a branch, come over to my house. We have plenty that got knocked out of the trees last week I wouldn't mind sharing. Bring your friends too :)
Stopping by from the hop.
New LF follower :)
Theresa
http://www.theresasmixednuts.blogspot.com
I love simple projects that bring back such great memories, I just have to make at least one or two:)
I am hopping over from the Its so cheri blog hop and am still following you.
My Turn (for us)
http://myturn-evelyn.blogspot.com/
How fun! My kiddos would LOVE to make some. A little inside tree would be so fun to put them on.
How neat! What a great idea! My Gma loves tulips, so neat that your Gram had a tulip tree that yall got to decorate!
I love the idea of these eggs on an outdoor tree and your story about your grandmother's tree is beautiful.
Very cute…I think I'll make an egg tree! :D
These are really cute! Thanks for sharing how to make them.