
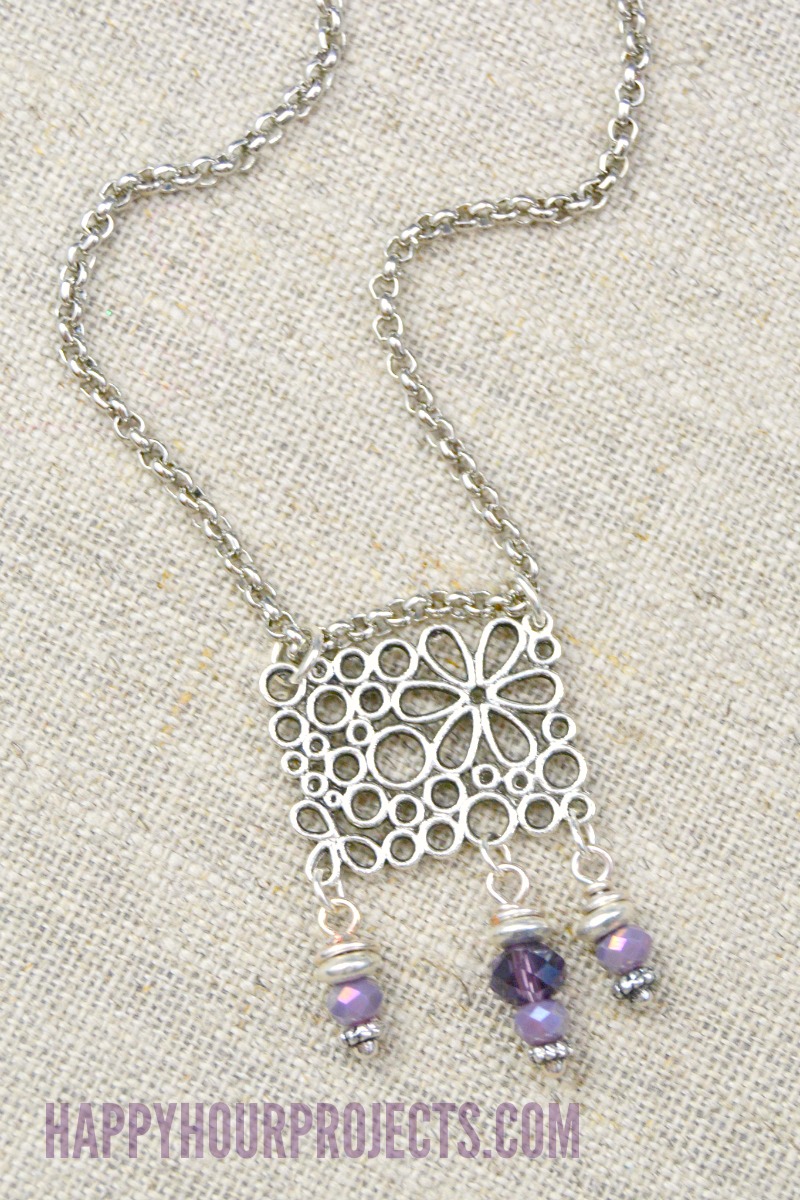
Hey friends! You know what they say, April showers bring May flowers, right? Well, we’re going to have some floral fun with today’s DIY. This is a simple necklace tutorial – all we are going to do is make a few bead charms and connect a couple of components from today’s project sponsor, Happy Mango Beads. The end result gives the same vibe as a ladder necklace or a delicate take on the bib necklace – the pendant makes a statement without being bulky or dramatic.

I’ve had my eye on this rectangular floral connector for some time now, and suddenly decided exactly how I wanted to use it. I wanted the asymmetric floral pattern to be the star, and it is, with the addition of just a few beaded charms!
If you’d like to shop for these supplies, there are links you can click in the list below that will take you to Happy Mango Beads to make it easy to locate just what you will need for this easy DIY jewelry project.

Supplies from Happy Mango Beads:
- 22mm pewter floral connector piece
- 3 – 5mm pewter beads
- 3 – decorative pewter headpins
- 3 – 4mm Czech rondelle beads (shown in lavender)
- 1 – 6mm Czech rondelle beads (shown in purple)
You will also need:
- 3 – 4mm jump rings
- 2 – 6mm jump rings
- 18″ necklace chain (2mm rollo chain shown in today’s project)
- Chain nose pliers
- Round nose pliers
- Wire cutters

The first step is to create your bead charms. I’m using Czech beads in shades of purple for this necklace tutorial, but get creative! Use your own favorite colors and textures to personalize yours.
To make beaded charms, slip the beads onto a decorative head pin. Grip the pin with your round nose pliers just above the top bead, and wrap the wire end around one side of the pliers to form a loop.

Next, wrap the wire end around the pin in coils between the bottom of the loop and the top of your beads. Trim off any excess wire with wire cutters.

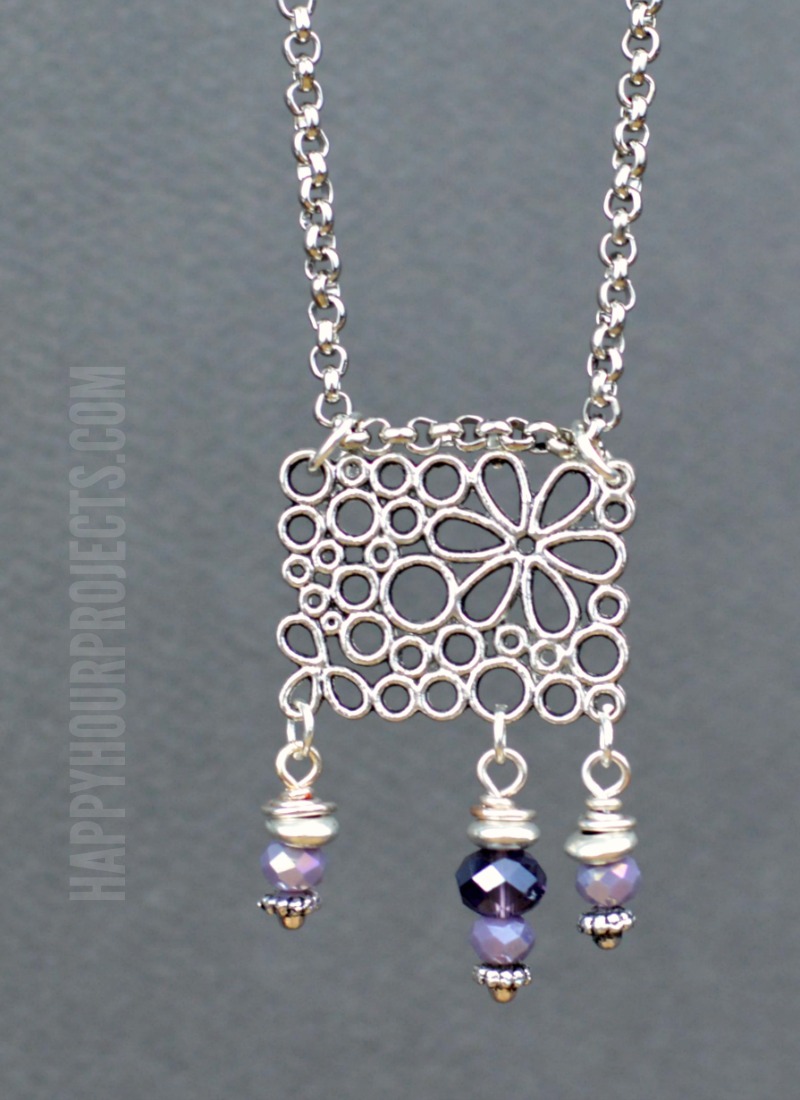
Next, connect your pieces! Use the 4mm jump rings to connect your bead charms to the bottom of the connector piece. Note: there is no specific “top” or “bottom” to this connector. You can see that I positioned the floral design in the upper right corner, with a horizontal orientation. You may certainly rotate the connector to the position you like best.
Connect the smaller bead charms to each side of the bottom of the connector. Add the larger bead charm to the ring below the flower (or wherever you prefer to position it).
Connect the larger jump rings to the upper corners, and string a 2mm necklace chain through the top rings to enjoy a delicate floral accessory to fit any wardrobe!
Thanks for joining me to check out today’s necklace tutorial, and I’ll see you guys again soon!

nice post
wow looking good
looking good
Adrianne! This necklace is so cute…and your tutorial is amazing, as always! I’m trying to get caught up on the unicorns…they are an amazing group! :)
I love the shape of the necklace. It’s fun and different. I need some better glasses so I can make all of these amazing crafts.
That’s pretty. I love anything with purple, so I love the purple beads at the end of the necklace.
Hi Adrianne, thanks for posting this. Your pieces of jewellery are always so pretty and inspiring. This necklace is beautiful and I especially love the rectangular floral connector. I was wondering if you must string the necklace chain through the jump rings in the upper corners, in rectangular connectors such as this, maybe to balance it? Instead, could we cut the chain in two same lengths, then connect each (cut) end of the chain directly to the jump rings in the upper corners? Just to avoid the chain running over the top of the rectangular floral connector. All the best, and keep up the good work.
You most certainly can! I’d go with 16-17″ of chain if you’re attaching it at the sides. The reason I like to string mine is that if I have a bag or anything on a shoulder, it tends to shift my necklace chain. By having it strung rather than in a fixed position, my necklace doesn’t get all turned around. But if you don’t have that problem then by all means – eliminate the need for the chain across the top!