
Time: 20 minutes
Supplies:
- 18″ square of pumpkin-appropriate material. I used a rusty orange twill. This makes a smallish pumpkin, it’s around 6″ in diameter, so scale up as you like.
- 1 lb. beans. Or some stuffing of your choice. I wanted something heavy enough for it not to be toppling over. (Plus I’m out of polyfil… but I had a bag of beans. And if you recall, we always try to use what we have!)
- Scraps of felt for leaves and coordinating yarn/string/twine.
- Scissors.
Optional but helpful in construction:
- Plastic wrap.
- Rubber bands.
- Hot glue gun.

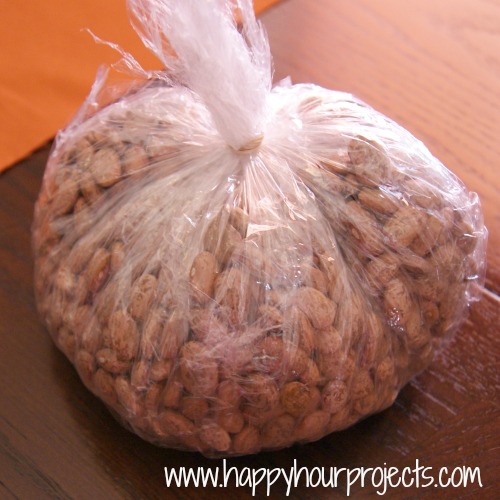
I don’t know if I’m being paranoid, but I want the beans to stay dry and not get gross later. So I wrapped them up in 2 layers of plastic wrap first. If you have another form of stuffing, this step is totally unneccessary. It might be unnecessary anyway, but I figure, better safe than sorry.
Use a rubberband (or if you don’t have any on-hand, a piece of yarn would probably work fine too) to gather up a small point in the center of your square. This is the center underside. By creating pleats/ruffles here, your whole pumpkin will have more pleats instead of being smooth on the lower half. But test it out both ways of you want and see which look you prefer.

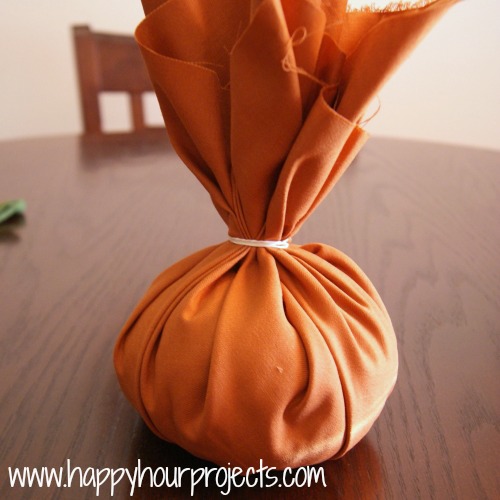
Put your bag-o-beans in with the rubberband side on the inside and draw the sides up, arranging your pleats as you like.

Pleaty.

Close with a rubber band. Once again, not essential, but having the rubbery surface will help things grip better.
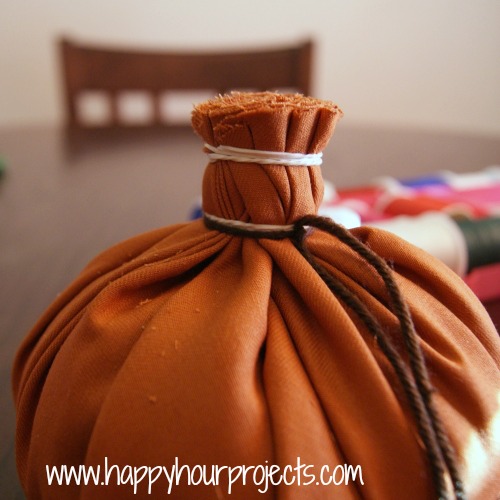
Cut off your top to whatever stump-size you like the looks of. It’s thick, this can be kind of tough, just use sharp scissors. I closed off with a second rubber band to keep it nice and gathered. Then I tied a bit of yarn around the bottom so I could begin attaching my felt leaves.
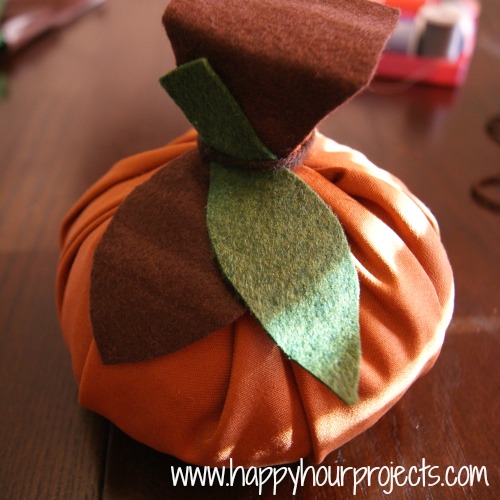
Cut some leaves to the shape you like, leaving a nice long tail so they can be wrapped into your stump for security, and over the top of the stump where yarn-wrapping isn’t really practical. I am using brown yarn, so I made the brown leaf tail long and fattish, because I want it to wrap all the way over the top of the stump with fabric to spare. Doing this will ensure I don’t have ends poking out at the top later.

Tie them on how you like them so that everything is fairly secure. See how the brown leaf tail will cover over the stump?
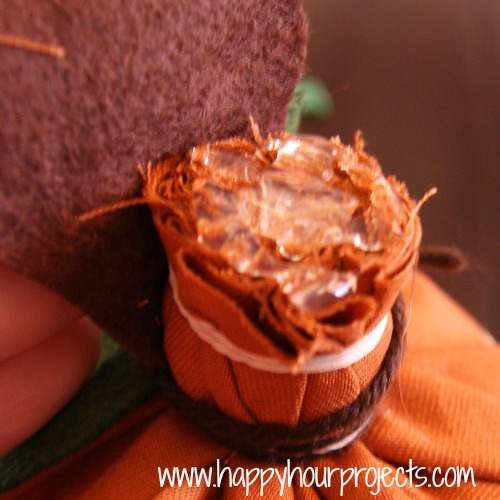
I used my hot glue gun to glue the brown felt around the stump. You can probably accomplish the task without hot glue (or any glue, for that matter) and just do a really snug wrap, but securing it now should make wrapping much easier without having to hold those edges down.
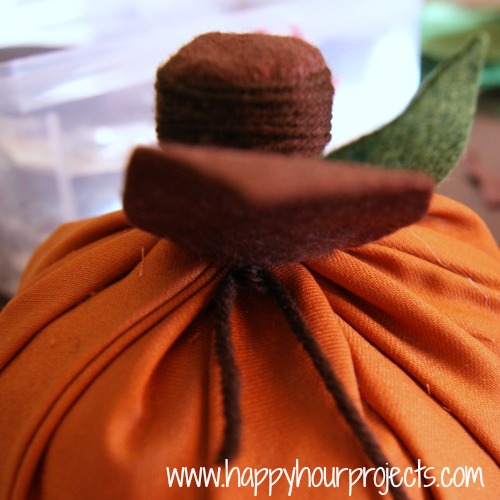
Then, I tied a bit of yarn underneath the leaves, and began wrapping the long end around the stump, wrapping upward.

Honestly, I don’t know how much yarn I ended up using, since I unraveled it right from the skein but I would estimate it was a good 6 feet or so? When I got to the top of the stump, I wrapped it back downward, until I got back to the bottom, where I tied the yarn off with that loose end from the beginning. I trimmed the ends.
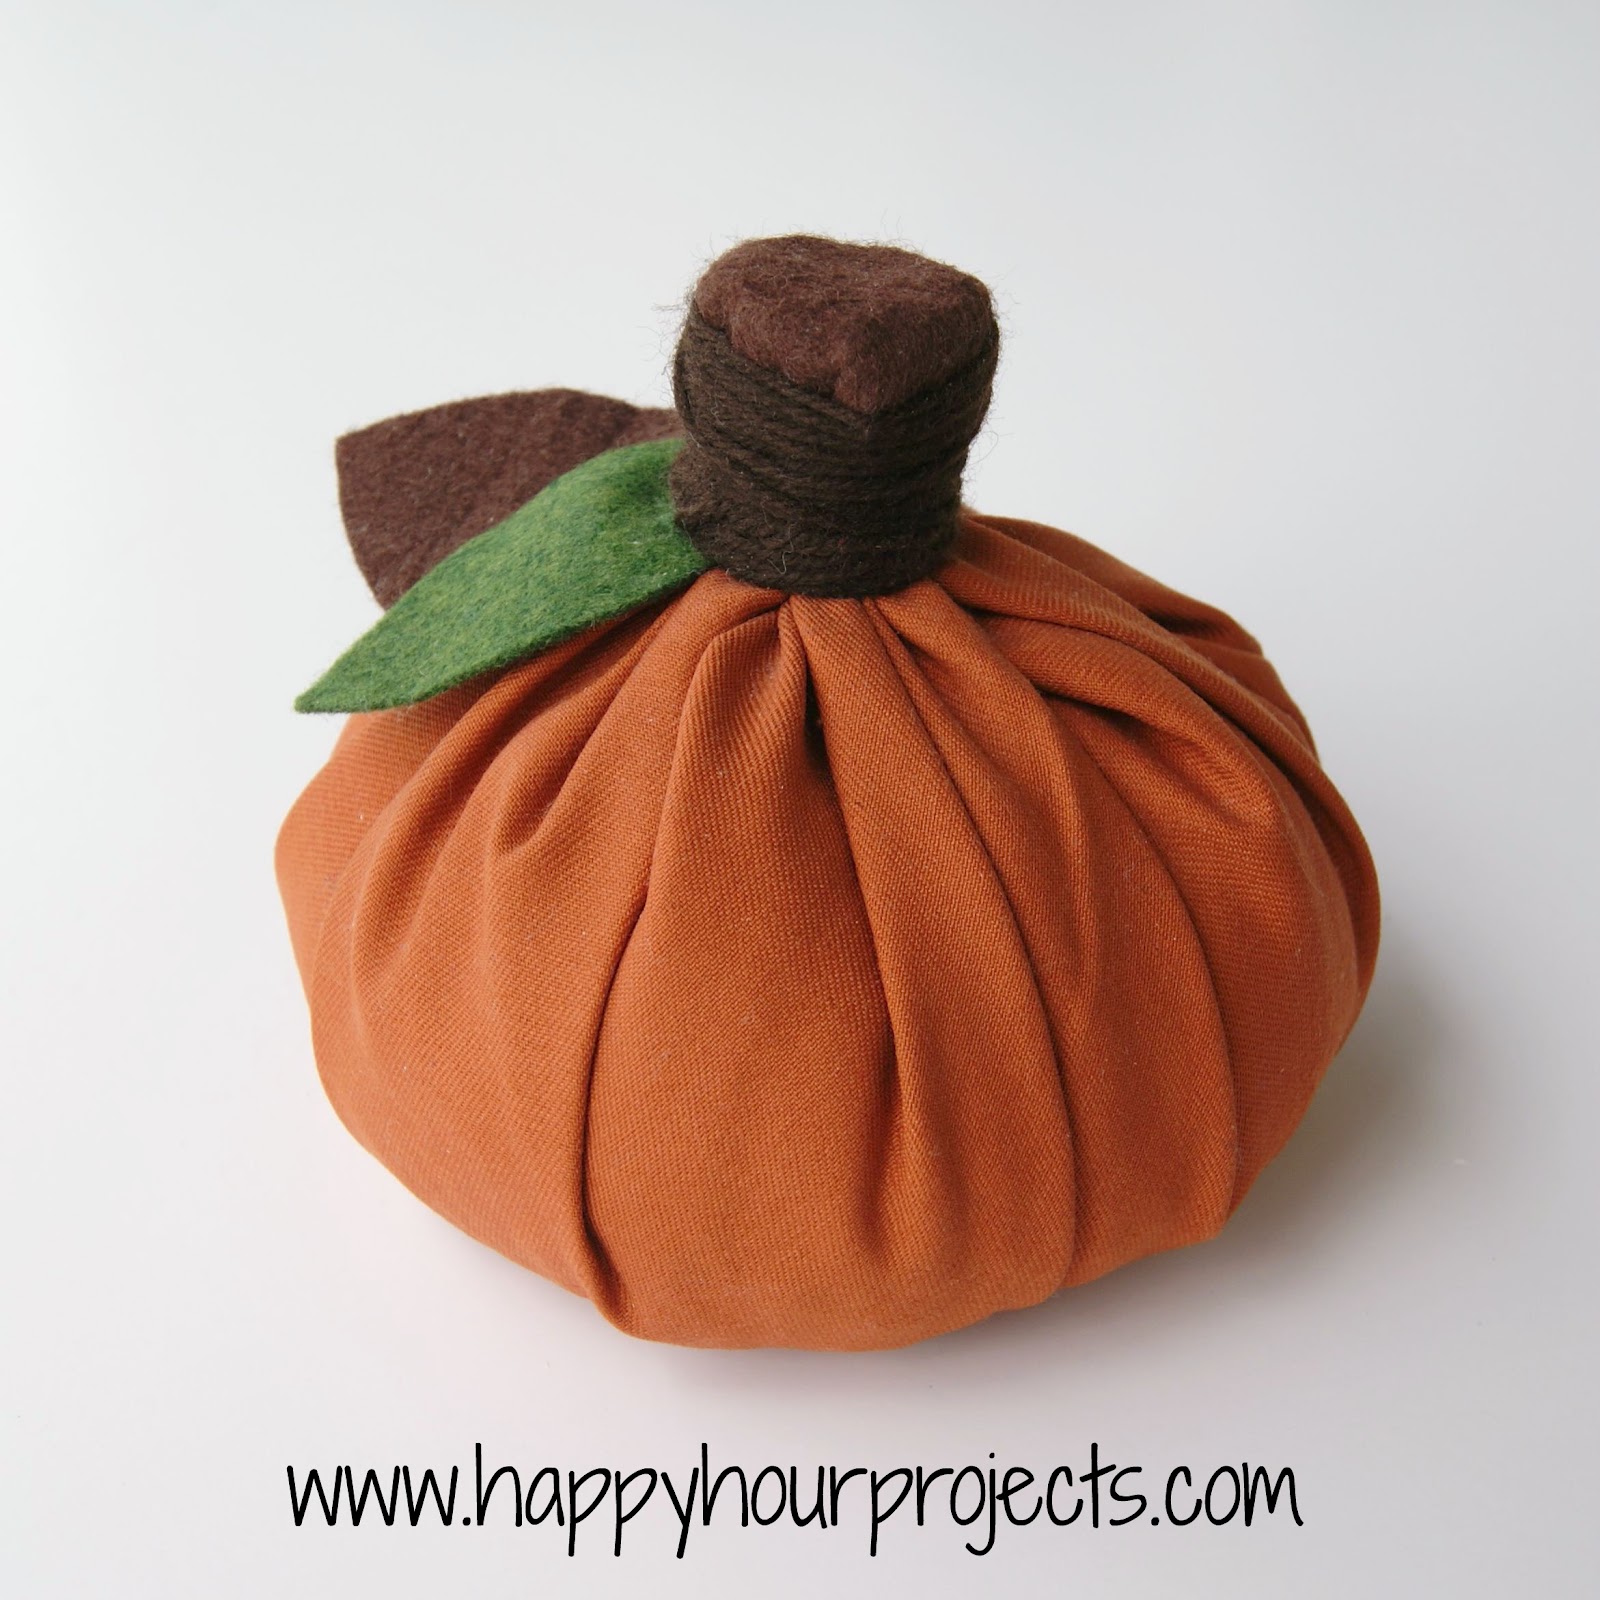
And that’s it! I had myself a finished pumpkin.
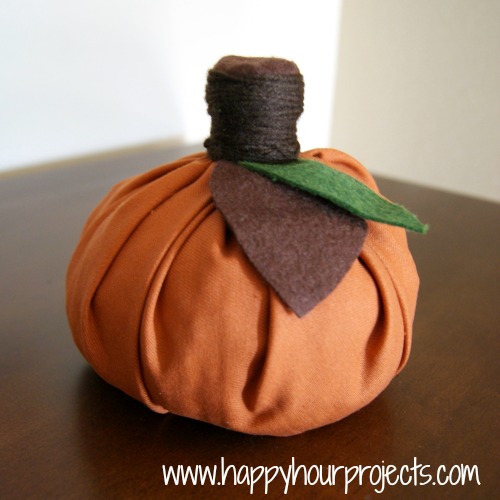
Now that I know it works (because sometimes you worry when it’s just an idea in your head, you know) I would like to try a funky pumpkin with a bold pattern.
I’d also like to make a bigger one to set beside this little guy too. But now I’m out of both beans and polyfil… Yeeha, I am now allowed to shop again! ;)
I link to these fabulous parties!
Adorable! I love these no sew pumpkins. Too cute! Love the idea of using potpourri like Carla suggested!
I'm filling mine with potpourri!!!
SOOO awesome and easy to do! I made one today and it looks great! Thanks!!
Great idea for fall decorations! Its so simple, which is what we're all looking for.
This is an amazing idea! Works out so beautifully!
I am sharing this link on my blog today! I finally made me one too! Thanks for sharing it!
I just loved these so I featured them! Thanks for sharing with WorkShop Wednesday!
Hi Adrianne!
I love your blog! I am so excited I found it. I am a home schooling Mommy and this is a perfect fall project for us!! I am so excited to make it.
Stop by some time!
Blessings,
Cynthia
Love the speed & cuteness of this project. I've featured it at today's Craftastic Party. Stop by & grab a Featured On button. Thanks for linking to Craftastic Monday at Sew Can Do:)
This is a super cute pumpkin, Adrianne, and I love that it is NO SEW! Thank you so much for sharing your post at Savvy HomeMade Monday.
What a great and easy way! Thank you for sharing! It came out beautiful!
Youre being featured on my blog tonight! Yay! This is awesome!!! Come grab a button if you can! Thanks for linking!
Love this little guy. Thanks for sharing.
Cute! I love it! Posting on Pinterest.
–Jill
from Jill Made It
Great job – love this pattern so much. I wanted to make some quick decorations, and this is perfect. I just added it to my board on Pinterest.
Just wanted to let you know I will be featuring you later on to today:>
I just love this tutorial. And so did my readers!
Thanks for linking up. It was one of the most clicked last week.
I featured you here:
http://www.crystalandcomp.com/2011/09/the-mommy-club-share-your-resources-and-solutions-9/
Wow! fab idea.. perfect for Autumn. : )
Ahh! I love this. I just wanted to let you know that I featured this project on Sew Woodsytoday! :)
Anything that you don't have to sew rocks! Come and share them with WorkShop Wednesday!
Wow! Love it! Thanks for the tutorial. I'm a new follower from the More the Merrier blog hop. Please come by mine, if you get a chance.
Hi! I just wanted to let you know that my son and I, along with another family we craft with, made these pumpkins today! I blogged about it and featured you…I'd love for you to check it out. :) Feel free to grab a featured button too, if you want.
http://oneartmama.blogspot.com/2011/09/no-sew-pumpkins.html
A perfect tute for a “non-sewer” CUTE! POP ART MINIS
It's Madison again! I stopped by to leave you a comment last week, but I'm stopping by again to let you know I'll be featuring this post in a fall roundup over on my blog (www.craftycritique.com) if you want to come check it out. Thanks again for the awesome idea! :)
You had me at no sewing! LOL! That is adorable and you really explained it well. Can't wait to try it!
I am new follower from the Boost My Blog Friday Hop. If you have a chance, come by http://messforless.blogspot.com and say hi!
Thanks!
What a cute idea, I am definitely going to try.
Very cute! I may have to try this for the fall. Thanks for the follow, now following back! :)
Super cute!!
I have a ton of old rice,I may try that!
Thanks for sharing!
Very cute! I'm excited to decorate for fall!
We made these one fall with some home spun fabric and toilet paper rolls. Set your roll on a square of fabric and bring it up the sides and poke the ends down the center hole!! Add a piece of a tree branch and some raffia around the “stem”. It was so fun. I love the beans idea too. Thanks for sharing.
You already know I love this project. :) Thanks for linking up at Show & Share!
These are so stinkin' cute. I was planning on making something like this with some orange fabric I have. I had another tutorial but yours is totally better. Found it just in the knick of time! Thanks for sharing! :)
That is so cute! I love it! I am pinning this!
hey girl seriously cute!!!!!!!!
Yep, I am definitely making some of these! How cute would they be for gifts as well?! Thanks for the awesome tutorial! I would love to have you share this at Show & Share!
http://southernlovely.blogspot.com/2011/09/show-share-4.html
I love this! Definitely want to try it with my son. We do a weekly craft playdate with some other little friends and maybe we'll all do this for our next project! Thanks for the idea and the great tutorial! :) Pinning now…
amy
oneartmama.blogspot.com
Cute!! I could make a whole bunch of these and have a patch of pumpkins on my table :)
WM
Great idea..and I know my kiddos are going to love helping me make these!!
Thanks for sharing!
I AM IN LOVE!! These are awesome!
This is such a cute and easy idea! I'd love it if you'd share it at Look What I Made. I think my readers would love it too!
http://www.creationsbykara.com/2011/09/look-what-i-made-linky-party-9-7-2011-2.html
This is really cute! I've made some before with toilet paper rolls, but I like this one better. :-)
So cute, love it!
Wow this is so cute. You made it look like very easy to make lol.
I am a new follower from bloghop Thursday. Hope you can give back the love at my Nostalgic Marveling blog or to my other blogs.
This is so stinkin' cute! So creative. Thanks for sharing! Oh, and I think it's “skein” of yarn (pronounced skeen)! But I like package-thingy too! lol
this is soo cute! i'll definitely be making a few! thanks!
So very, very cute!!! I LOVE it!
No way. Too precious. Love it.
Sharing on Facebook. Thanks for linking up.
Love these. It's too hot here to think about pumpkins yet, but I may need to make a few in a couple of weeks.