
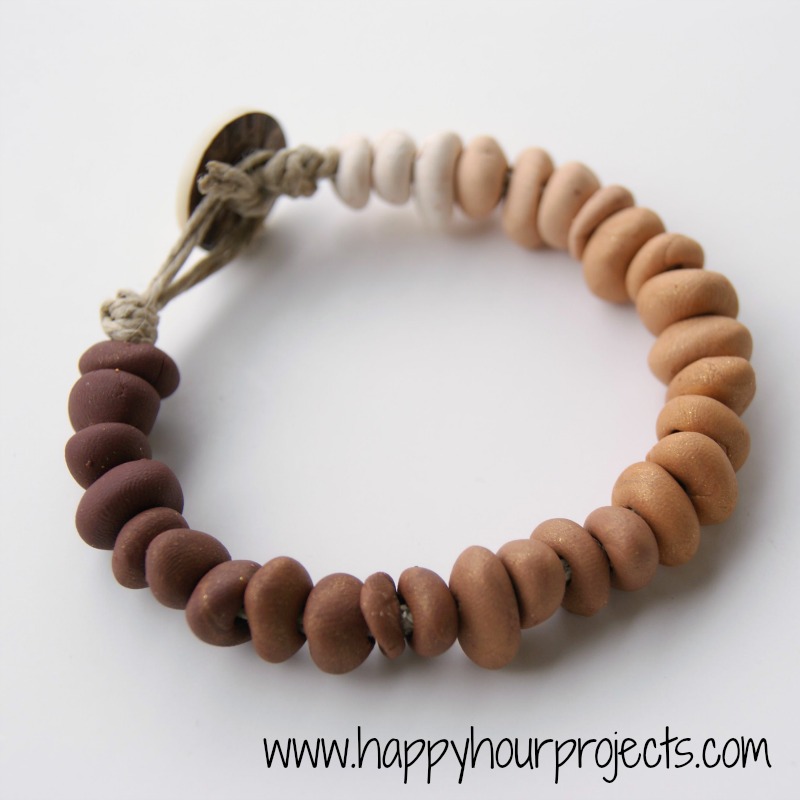
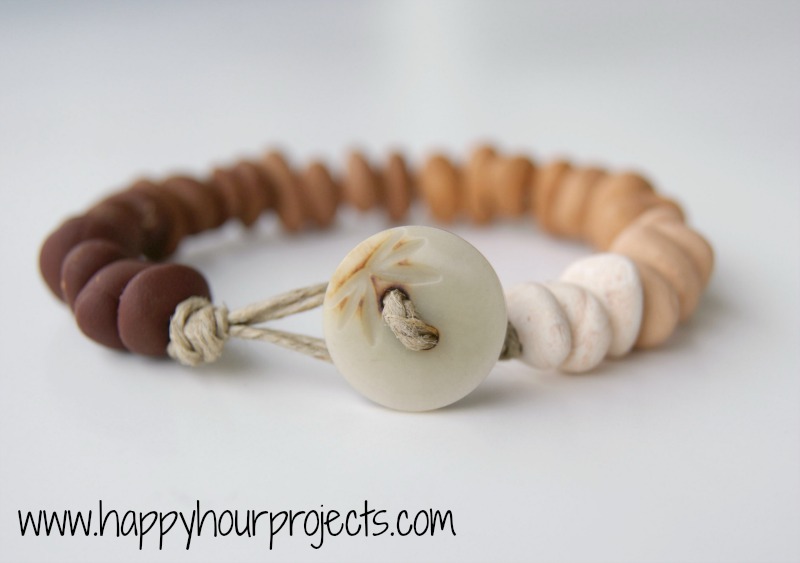
It didn’t come out quite like I was hoping, frankly. But you know – I am happy to admit when things don’t go as planned. I didn’t feel like making it all over again, but if I did, I’d make the beads rounder. I was aiming for beads that were pebble-shaped, all a little odd and slightly different shapes and sizes. I saw a gorgeous necklace in a tourist town over the summer that had little river rock pebbles, and I wanted to do something similar (without rock-hunting and investing in the diamond-tipped drill bits to accomplish it).
Well, they looked like pebbles when I first made them, but after poking a sizeable hole in them for stringing… they kind of looked like… Cheerios. Rounder would have looked nicer, I think. I’ll still show you how I made them, in case it inspires you to improve upon my results. ;)
What you’ll need:
Polymer clay – at least one color and white to get your ombre effect. I used a few shades of brown.
Toothpick, needle, skewer, etc. to make your holes.
24-48″ of hemp or cotton twine
Button
I pulled out a few shades of brown clay. Some of it I mixed together for the subtle difference in shades.
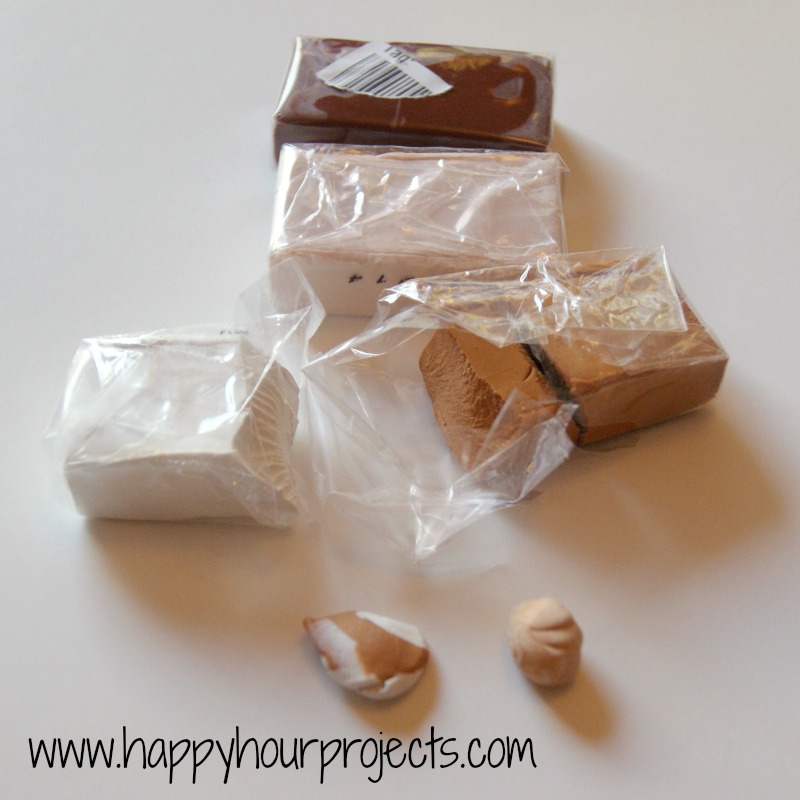
I only mixed up a little – about enough to make four beads in each shade.
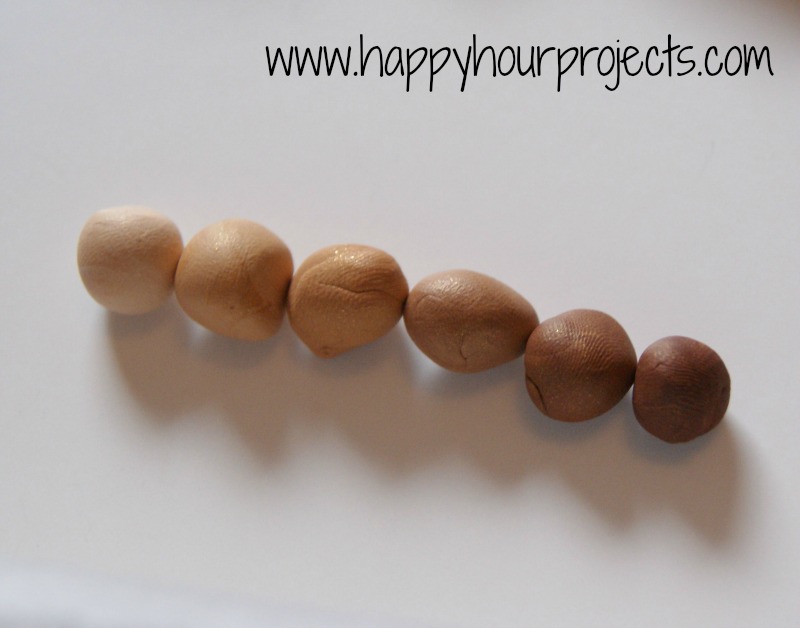
Then I broke them up into my pebble shapes. I was happy, I though it looked promising at this point… a variety of sizes and imperfect shapes. In my head, this was exactly what I wanted.

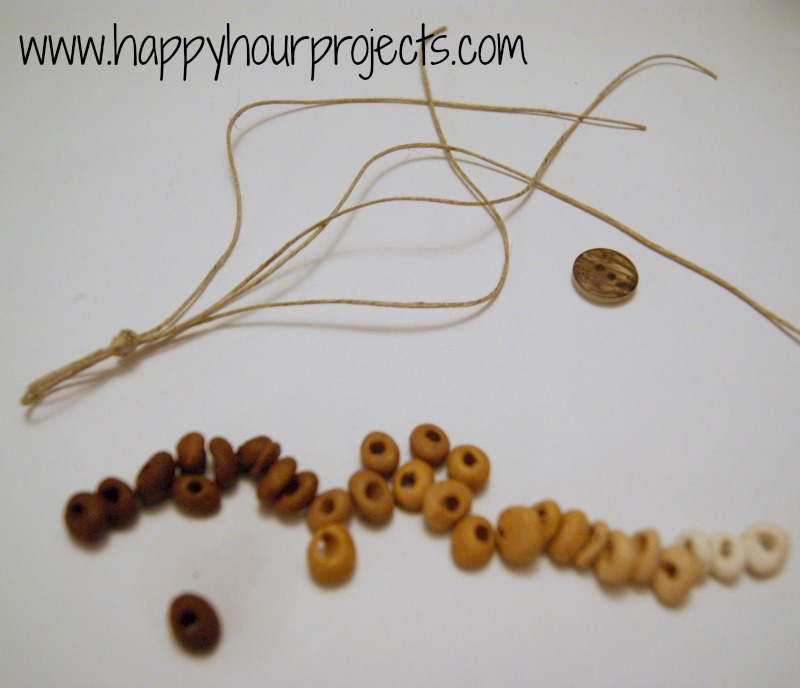
I used a bamboo skewer to poke holes in them, and baked according to the package directions (which is different for different brands. (Make sure that anything you are using with your clay is not something you use with food!)

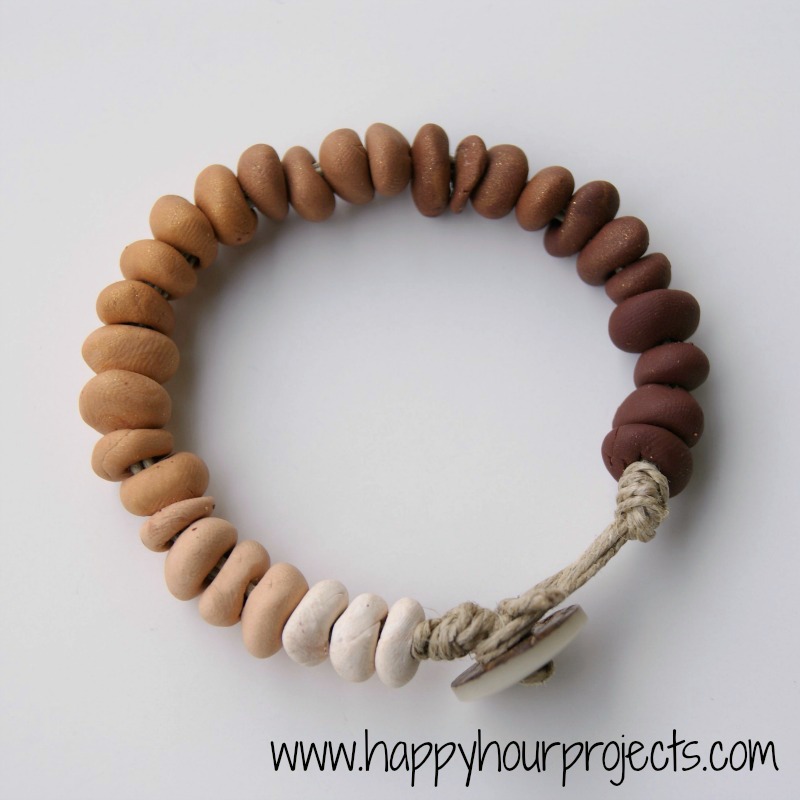
Then, I moved onto making the bracelet. I cut off 2 – 24″ strands of hemp twine (or cotton, or whatever you’re using). You might only need one strand – I just made big holes, so I wanted to fill them. (Hey – creativity doesn’t always have a specific reason, LOL). I doubled them, and knotted off a loop closure to go along with a button. (Make sure your button fits the loop before proceeding.) This makes a 12″ strand to work with, which is much larger than what you need – but by the time you add your knots, and you may need to trim the ends as you work if they begin to fray, it’s better to have too much than not enough.
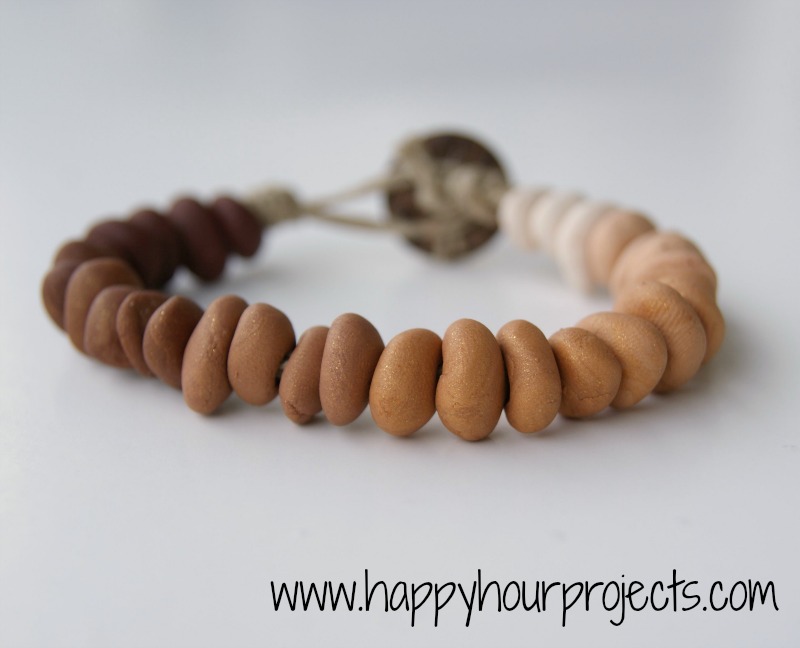
Next, I just strung the beads on, color-block-style, with each of the same-colored beads together. This was when I notice that my pebble shapes were not the intended look I was going for. But, being so close to finished – I continued. ;)
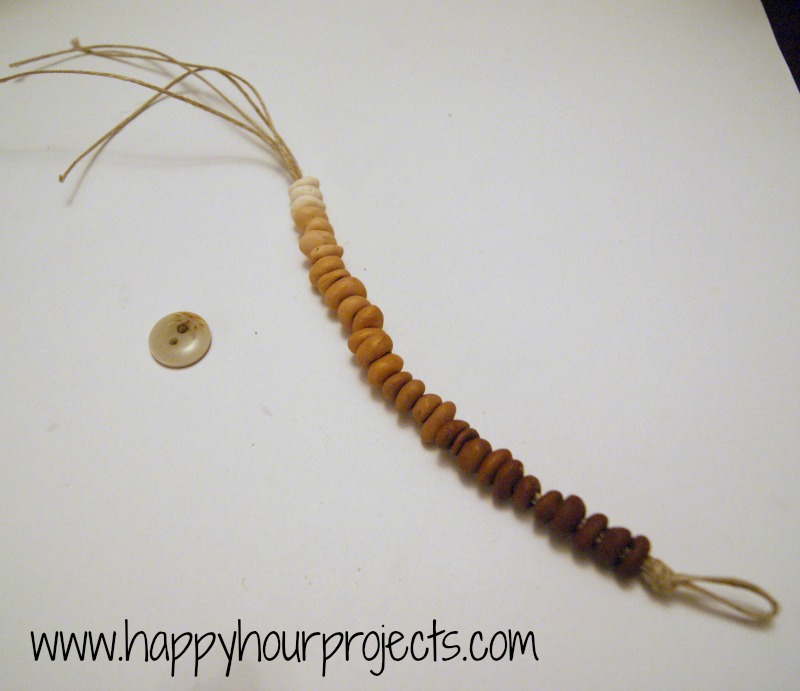
When I got to the end, I knotted it off. Check the length against your wrist. If you find you’re short, that’s okay – just make another knot. Then, I tied my button onto the end. To do that, just loop two of your strands through the buttonholes from the underside, over to the other hole, and back underneath.
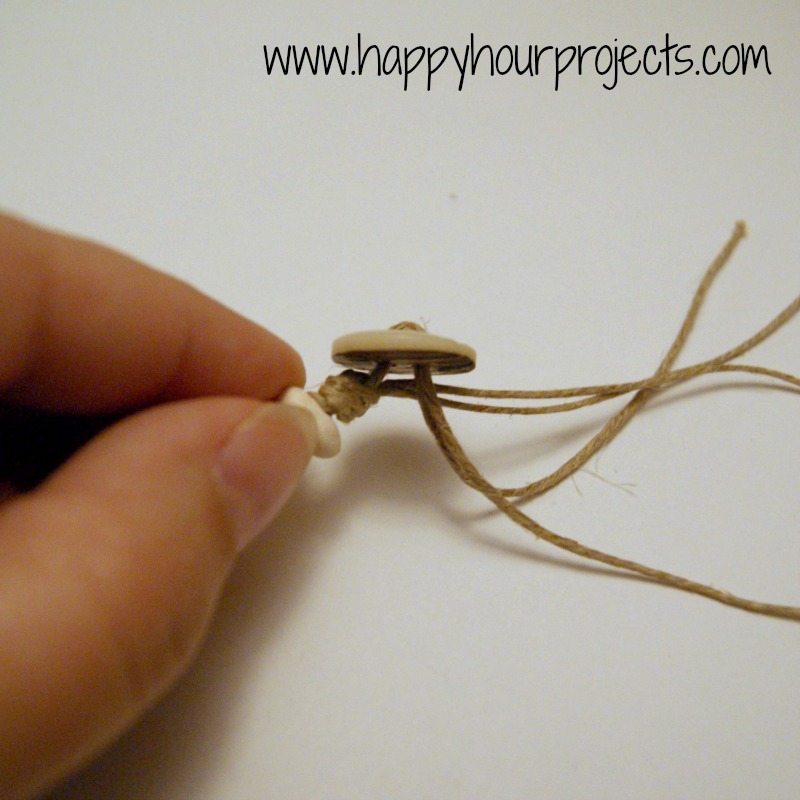
Then tie it and trim it. I put a dot of glue on it to help keep it secure before trimming. And that’s it!

I’m deeming this one a disappointment. Not an actual fail, because I still managed to make an ombre clay bracelet – but not a success because it wasn’t the look I envisioned in my head, you know?
What do you think? How would you improve on this idea?
I link up to these great parties! 
I REALLY LOVE THIS IDEA! I MADE SOME PEBBLES OUT OF CLAY MYSELF AND FOUND THAT AN OLD SANITIZED TOOTHBRUSH USED FOR TEXTURE LEAVES A VERY NICE ORGANIC POROUS LOOK. JUST TAP THE BRISTLES INTO YOUR CLAY REPEATEDLY. IT SEEMS THAT THE EXTRA POINTY BRISTLES ON THE END DO ESPECIALLY WELL. :)
I agree with Stephie, I love your bracelet. Its earthy, natural and beautiful. I just found your page on AFJ. I hope you don’t mind I have printed off several of your disigns. You make really beautiful jewelry. I’m just starting to do some clay I don’t know if that will be for me, but I loved you eggshell bracelet.
Candy
Adrianne I think you created and amazing earthy bracelet. Thanks for the idea. I plan on adding some silver findings.
I don't… I feel like the only one, LOL. Share it to the Happy Hour Facebook page, though, so everyone can see it – facebook.com/happyhourprojects or tag me on Pinterest if you share it there, pinterest.com/adrianne55. Can't wait to see it!!
I was playing with mixing colors and had left over clay and decided I want to make ombre bracelet out of it. When I was searching for ideas I came actos your pictures…and tought: This is PERFECT! The earthy shape, the simplicity ????
I really love your bracelet and sometimes the best thing come out as mistakes ?
But if you don’t want the hole to mess with the shape, drill it after you bake. I bought ordinary drills fir wood (small diameter) and made a handle from clay. And I drill the holes by hand.
i made this
didnt finish from coloring it
but i would like you to see it when im done , do have an instgram ?
Love it! You should make a Cheerio bracelet. You know, for the kids… or for people like me who get hungry.
Thanks for sharing at Artsy Corner! :)
I love it! They look a bit like Cheerios with the hole poked through them, but once you string them on the bracelet I think they still look like little pebbles. :-) Thanks for sharing at The Fun In Functional!
Hello, new follower here! I would love to have you link up with my Clever Chicks Blog Hop this week!
http://www.the-chicken-chick.com/2012/10/upcycled-chicken-coop-clever-chicks.html
I hope to see you there!
Cheers!
Kathy
The Chicken Chick
Yours in poultry,
Kathy Mormino
The Chicken ChickTM
Join me on Facebook
Follow my blog: http://www.The-Chicken-Chick.com
This is so cool! I love it!
I like it! I like your tone in your write-up too – that's totally how I feel about some of my projects. Definitely you don't have them all come out how you envisioned. I just got my first polymer clay to play with this week – I'm really looking forward to it!
Jess @ tupelo creative
omg i think its perfeeect
and looks like a pebbel
love it
I dunno…I think it's pretty cool! Not having a love affair with the whole ombre thing but they do kinda look like little stones. I hate when I have an vision/expectation in my head and I fall short but to an outsider it's still really great! I recently saw some zen stacked stone jewelry and you've given me an idea to try to DIY something similar!
I love this! Definitely going to try and make it!
Thanks for the great tutorial!
I'm sorry that it didn't turn out the way it was in your head, I hate it when that happens. However I think it's cute, and I love the ombre. I think if you stacked it with a few other bracelets it would look fantastic.:)
This is something I would consider giving my preteen nieces as a present. It is simple and elegant. You did a great job.
Jillian
Adrianne, that is so cool! I love a good ombre project and this is a great one!