
As long as you have basic sewing skills, you’ll find this to be a really quick little project. (I made two – one for Raya as well – and had both done in an hour.)
What you’ll need:
Pattern template (click to download mine, if you want!)
Fabric scraps – if you absolutely must buy something new, a fat quarter will be plenty
Your sewing stuff (obviously, LOL – you know, scissors, thread, etc.)
Stuffing – I really like to use PolyFil
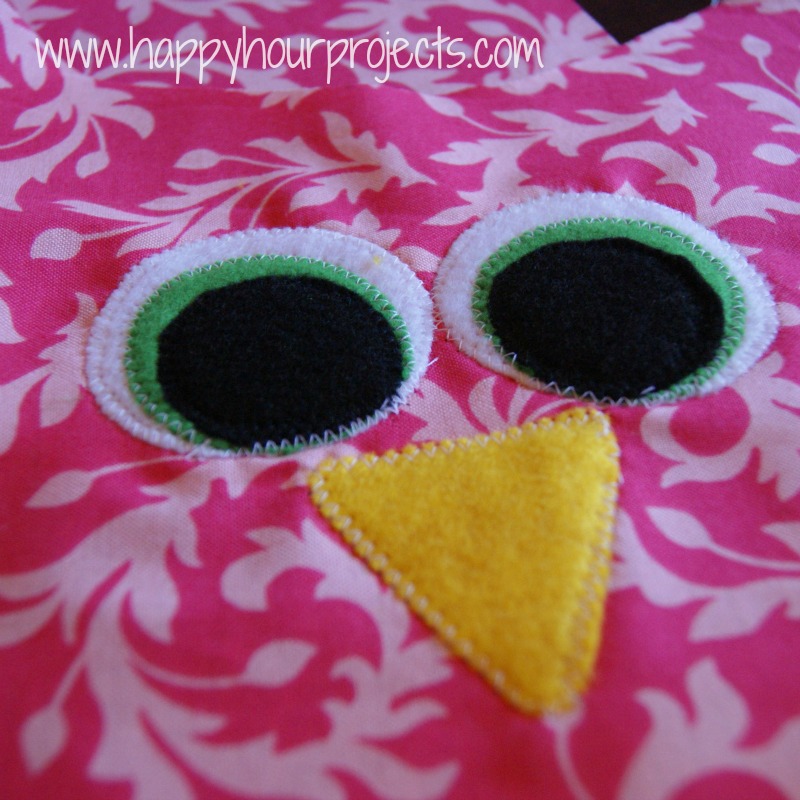
Felt for the applique the face (though you could use fabric if prefer)
I don’t have a pattern for the face, but it’s pretty easy to make some circles and a triangle. Just trace anything round you’ve got, if that helps.
I always trace my patterns onto something heavier-duty than regular paper – usually cardstock or posterboard or like an empty cereal box. I use my disappearing marker to trace in onto the backside of the fabric, but pencil would work fine too. Cut 2 body pieces (a front and back) and 4 wing pieces.

Also… you’ll notice Raya got to my pattern first, and colored on it for me. (She also thought it was a cat at this point, and kept meowing). These are the things I love to remember. :)

Once you’ve cut your pieces, applique your face on. I just used a zig zag stitch on all the edges. Meowing changed to hooting from my little “helper” at this point.
Next – make the wings. Place two of your wing-pieces with the right sides facing each other, and run a line of stitching along the curved edges. Be sure to leave the flat bottom part unstitched. Trim up the fabric close to the line of stitching if you have any areas the didn’t come out perfectly. Ahem. ;)
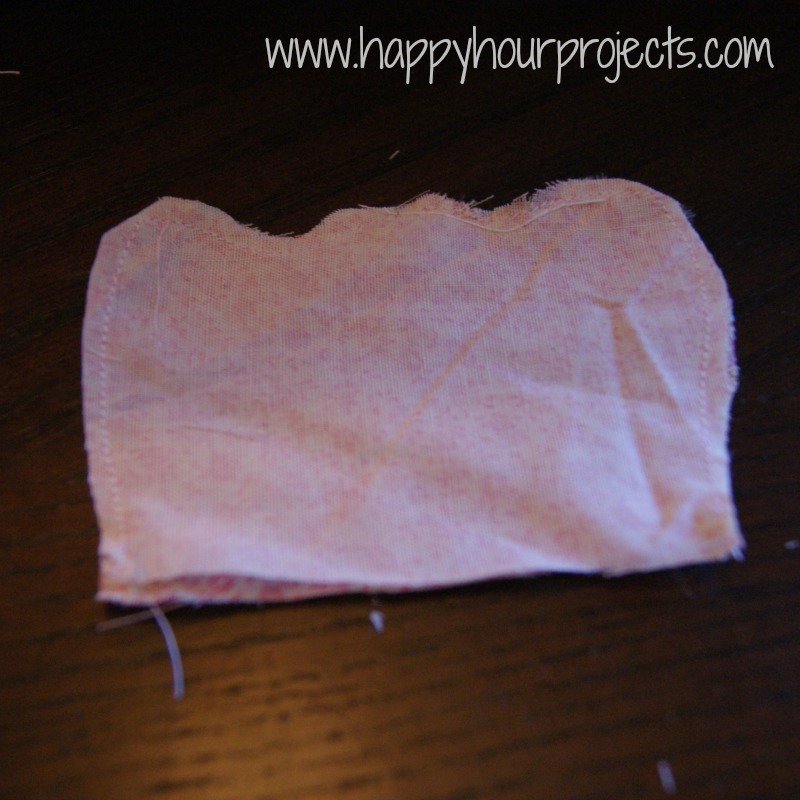
Now, turn it right side out. I like to topstitch it next, but that is totally optional. If you want to, all you do is run an additional line of stitching on the right side of the wing. It keeps it flatter and gives it a more finished look.
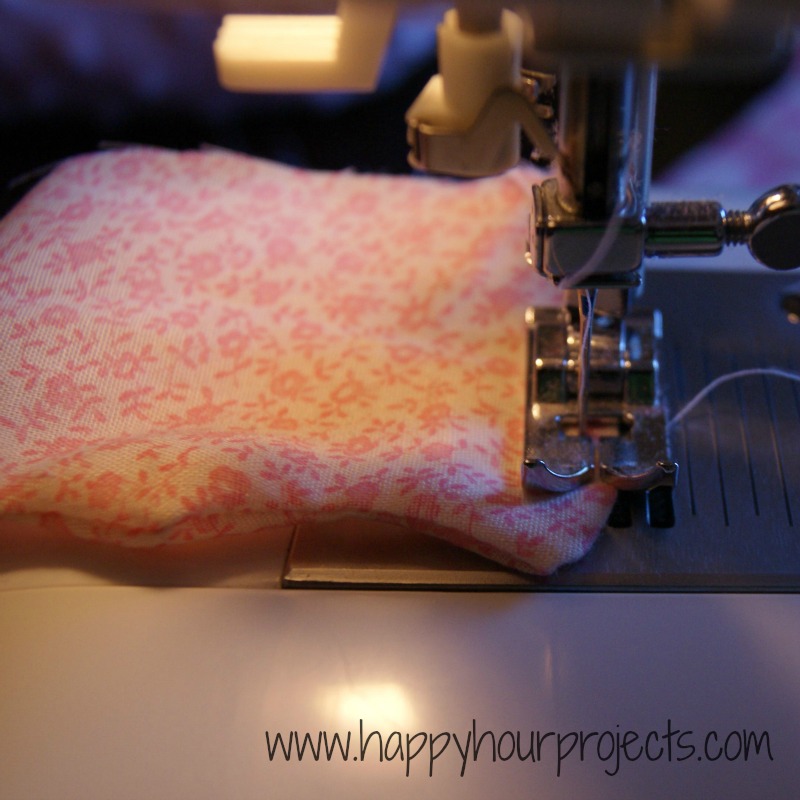
I wanted my wings to be a little bit ruffled, so I pinned a pair of pleats in each wing. I stitched along the bottom to hold the pleats in place.

Now, place your wings wherever you thing they will look best in relation to your owl face. Point the wings inward… peek-a-boo style. LOL.

Now, pin the backside on, with the right sides facing. Take a moment to make sure the inside edge of your wing extends beyond the edge of the body, so that it gets sewn in securely.

You can use as many or as few pins as you want, but let me recommend a tip: we need to leave a hole so that we can turn and stuff this guy. The bottom is the best place to do this – so pin about 2-3″ apart in one place at the bottom. When you begin stitching at one pin, you will end at the other, leaving a hole.

To be extra safe, I sometimes run a second line of stitching to reinforce my seams. Now trim as much excess fabric off as you can without cutting into your stitching. (This will help your seams look smooth when you turn it.)

Now find the hole, reach in, and pull your owl right-side-out.

Make sure that the ears, especially, turn all the way. You can poke a chopstick or a butterknife in to be sure.

Now stuff him! Get the ears first. Stuff fairly firmly – or else he can start to look kind of lumpy.

Now, you just have to close the hole by hand. Hand-stitching is definitely not my strong suit, so pardon this photo:

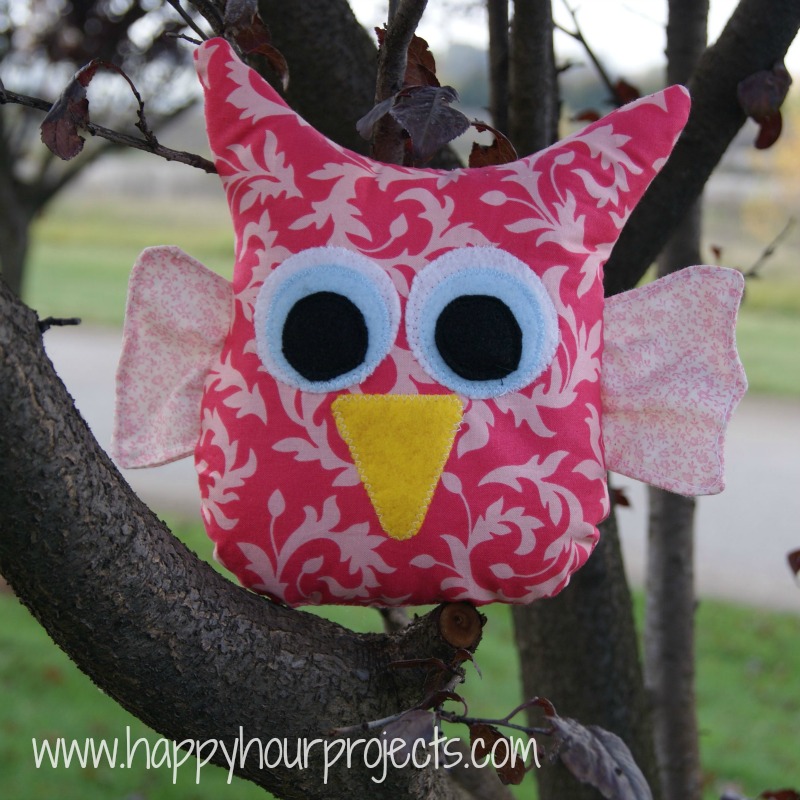
And now you have a cute and simple little friend for your kiddo!

Happy birthday, Emily!! :)
I link up to these great parties! 
I love it! so cute. I made it and it turned out really well! Thanks for the tutorial.
OK, I’m a very beginner sewer. How do you sew in circles around the eyes? My stitches were terrible and not in a good circle. Help!
Cute! I’m not going to make this for a kid, but I have an adult friend who loves owls, I think she might like this! And I should probably make two or my youngest will steal the owl for sure :P
Also, I’m so glad I’m not the only one who’s bad at hand stitching! This gives me comfort :D
LOL :0
Please note: This is a classic match t-shirt(loose fitting).
Owl is real cute.want to make it for my dog Scarlottelotte.I’ll make it in different bright colors.Also, I like owls and put them on the roofs of the birdhouses I decorate along with all kinds of birds.would like to meet individuals who also make birdhouses+decorate them.Also,know how to sew clothes,make patchwork quilts,embroidery,simple dog clothes,etc.anyone interested in same art projects please contact me.
So cute! I love the little appliqued eyes and beak :-) Thanks for sharing at The Fun In Functional!
This is so cute. My sister was a Chi Omega in college and her spouse graduated from Rice University, both have Owls as their mascots, so I am definately making one for them!
That is too cute! I love it!! Thanks so much for sharing at Thursday's Temptation. I am going to be featuring your stuffie on my blog later today!
Happy Halloween!
Jill
Great project !
I would love you to come and share it at my Craft, Create & Inspire Linky party
http://polkadotpretties.com/2012/10/craft-create-inspire-linky-party-2/
Hope to see you there:)
Claire@ Polkadot pretties
Soooo cute! Thanks for the template! I'd love for you to link this up at Do Something Crafty Friday: http://seevanessacraft.com/2012/10/do-something-crafty-63/
Very cute!!
Awww…it's so cute!
Your stuffy is so cute…..! I especially love the meowing background I kept hearing as I read your post….. heeheehee!
thanks for the helpful tutorial as well…
It is sure to make a lot of children very happy!
:)
hugs ~ Crystelle
http://www.crystelleboutique.com
Soooooo cute!! I totally need to make some! They would be perfect for Christmas. I have got to stop adding things to my to do list! Thanks for the Awesome pattern.
ADORABLE!!! :)
I am definitely going to make this and she is going to be my nano buddy. Which of course means that I have less than a week to finish her. I'm announcing it here for some accountability. :) Super cute, and great directions. Wonder if anyone will meow and then hoot for mine?
That is just darling Adrianne! Stop making me want to sew!!!
This is adorable! Making some of these this weekend! thanks for the idea!
I love this!!!!! I wish I could sew! So darn cute. +1'd it! Sarah