
I have mentioned before, not only am I a crafter, but I’m a casual writer as well. Every year (well, since 2008, this will be my 4th year) I participate in National Novel Writing Month (NaNoWriMo). It’s coming up in November which will keep me plenty busy as I write *another* novel. Okay, a bad first draft that will never see the light of day. But I have SO much fun with it. If you have ever toyed with the idea of writing {someday}, I highly recommend the experience!
Anyway, this year I am helping with some of the regional raffle prizes. Last night, I made the first plot-o-pus:
What do you think?
It’s not a regular platypus, ahem. As you can see, the fabric I used has a story to it (a plot, if you will… eh?) which makes it a plot-o-pus. Cheesy, yes. But theme-appropriate, G-rated on every front, and a way to bring two of my loves together: sewing and dreaming up stories.
I get a bit of inspiration from my partner mentor in crime, Jean… check out these zombies she made for our raffle this year!
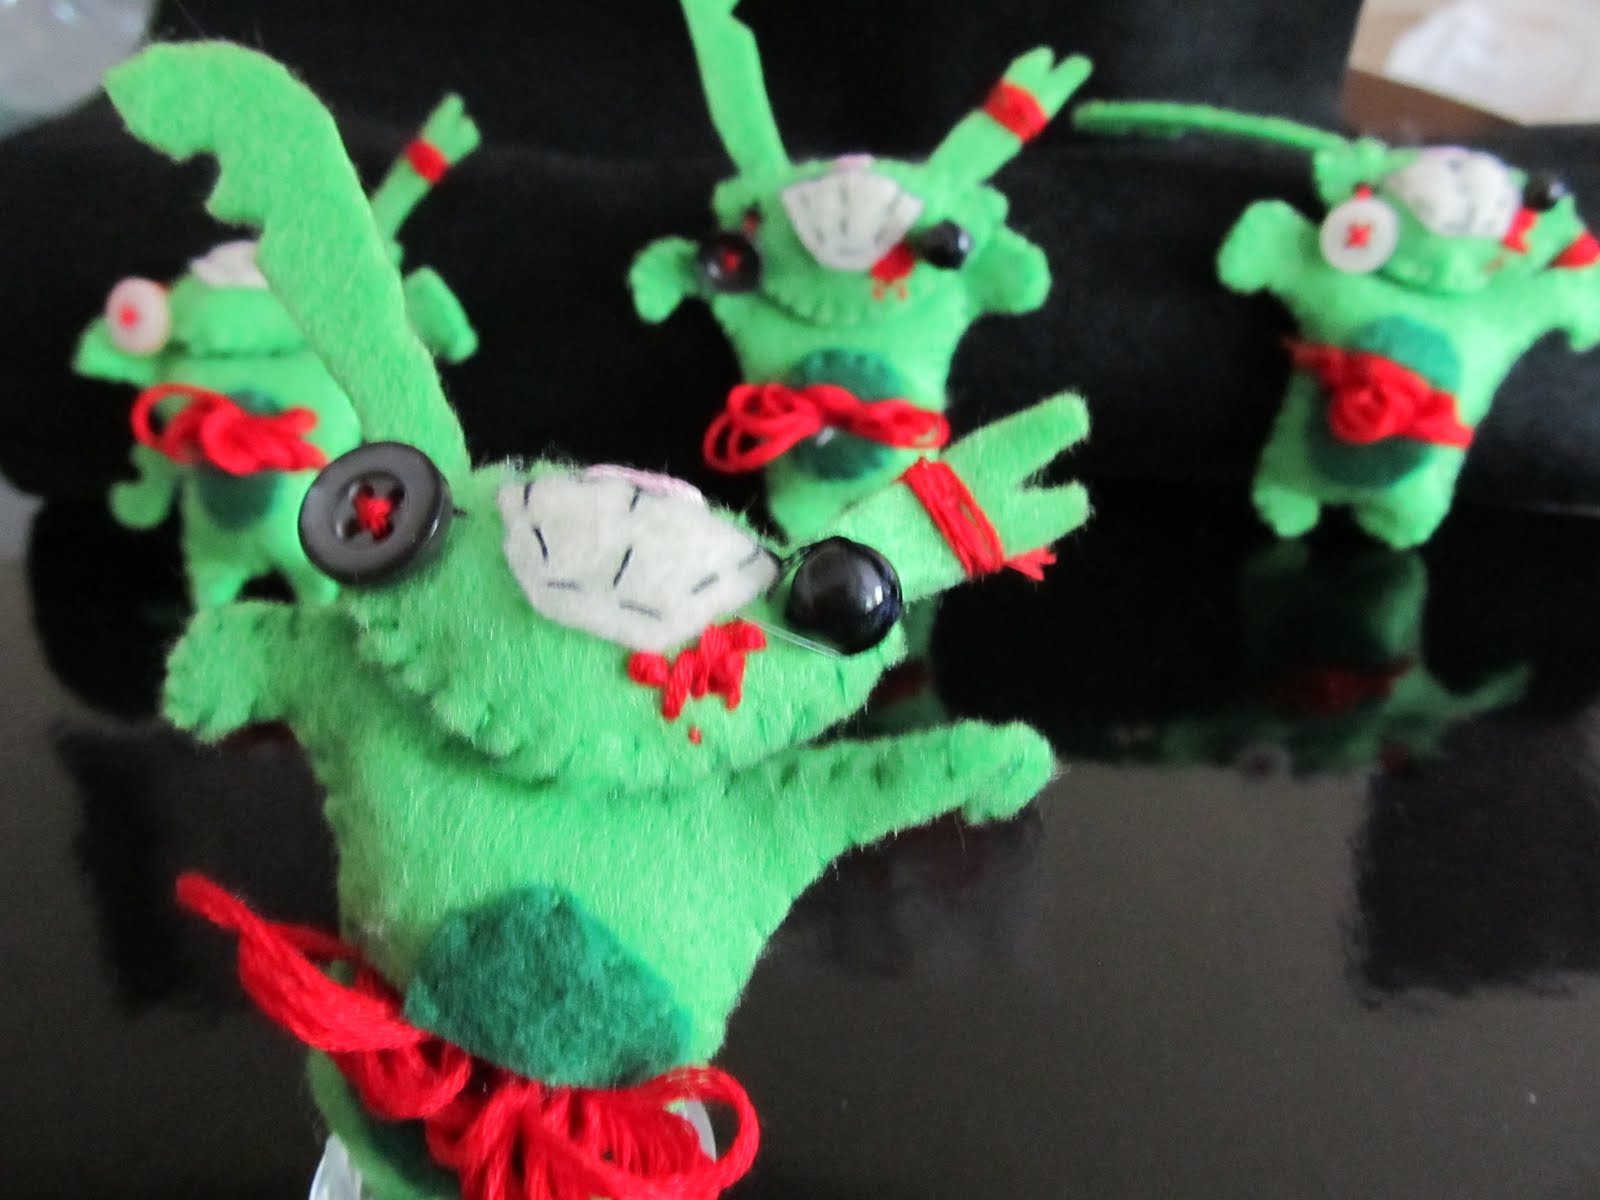
I know, the writerly folk have strange inside jokes, but just trust me that they are in keeping with our themes. She is the one who initially tossed out the idea of a plot-o-pus, and I said, hey – I can run with that idea.
So, since I was already making it, I thought I’d show you how I did it in case anyone else is interested in their own platypus softie – plot totally optional. :)
Platypus Softie
Time: I’m estimating an hour. I prepped parts for several, so it took me a bit longer, but I only stitched one up last night and was done in about 90 minutes.
Supplies:
- basic sewing supplies
- paper or cardboard for your pattern
- scraps of fabric
- polyfil
- buttons, felt, or embroidery floss for eyes
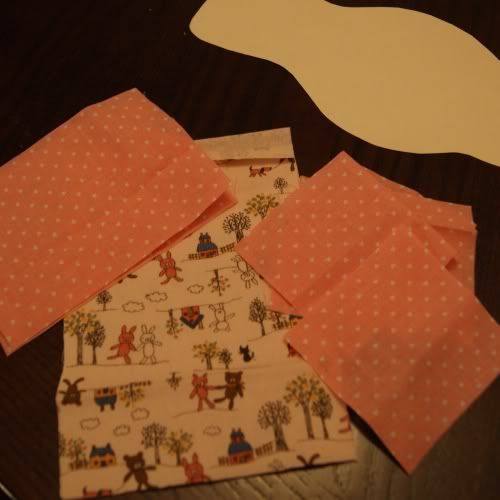
I traced out a template for my platypus body. It’s about 8 1/2 inches from bill to tail, but you can make yours whatever dimensions you like. (Tip: make your tail a little longer than what I have shown. Version 2.0 at my house will have a longer tail.) The only part you need to take note of, though, when you draft your pattern, is how big the body portion is, and how big the bill is.
In my case, the bill was around 3 inches and the body about 5 1/2. At the widest point, it’s about 4 1/4 inches wide.
So I increased those measurements for a seam allowance and cut fabric to account for it. In my case: two body pieces 4 1/2 inches wide by a little over 6 inches tall, two bill pieces 4 1/2 inches wide by 3 1/2 inches tall, and four 3″ squares that I will make into feet.
I started with the feet. There are a couple ways to do this, but I decided this way would be easiest for me, because I hate tiny piecework. You can just cut some semicircles, stitch them together with right sides facing, and turn them. But I opted to do this instead: I folded my square in half, and used a needle and thread to stitch with a wide basting stitch along the raw edges.
Then I pulled the thread, gathering the edges up. It gives it a bit of a ruffle and you end up with a seam-free rounded foot.
I’m not sure if it’s any easier because I didn’t compare the two methods, but I did find it to be quite easy. I tied a knot on the two ends of thread to keep it from unraveling until the feet get stitched into the body. Do this for all 4 feet.
Then, on to the body. Stitch your bill-piece to your body piece (right sides facing, of course). You need to do this for both the top and bottom.
On your new full-body piece, place your pattern so that the seam is between the bill and body. Trace all the way around.
Cut out both pieces. I stitched some tiny buttons on for eyes, but remember, if this is for a small child, you’re better off embroidering or sewing felt on for eyes. Buttons can come loose and pose a choking hazard.
Now, place the feet around the body, making sure that your raw edges are ouside of the outer perimeter of the body.
Pin it all in place, leaving the tail open. We will not be stitching that shut until the end.
Now, stitch around the outside, starting at one end of the tail and going around the body. Stop when you get back to the tail. We are going to leave the tail open for turning and stuffing. Backstitch at the beginning and end. I don’t have a photo of this, but I’m sure if you have gotten this far, you know what I mean. :)
A note – some people stitch all the way around and cut a slit in the belly for turning and stuffing, and then stitch it back shut. If you’re using something stretchy that will close up nicely, like a velour or fleece, you may want to give that method a try?
Once you go around (leaving your hole, of course), run another line of stitching. Yes, it seems like overkill, but it’s SO much better than having a seam pop on you. It also gives you a chance to smooth out any seams that may have gone a little wonky. Trim the excess, particularly at the corners and curves. Since you have a double-row of stitching, you can trim pretty closely. :)
Now, turn the little guy right side out. How does he look??
Fill him (her? mine is pink, I suppose…) fairly firmly with stuffing. Be sure to get all the way to the corners of the bill.
Once you’re done, you can close it one of two ways: use a slipstitch/blindstitch to close the hole by hand, or do what I do and pin the tail shut and machine stitch it very close to the edge. Since I will be going for quantity on these guys, I’m using my machine.
Then I though he needed something a little more, so I stitched between the body and bill to make it look more separated, and then topstitched the bill.
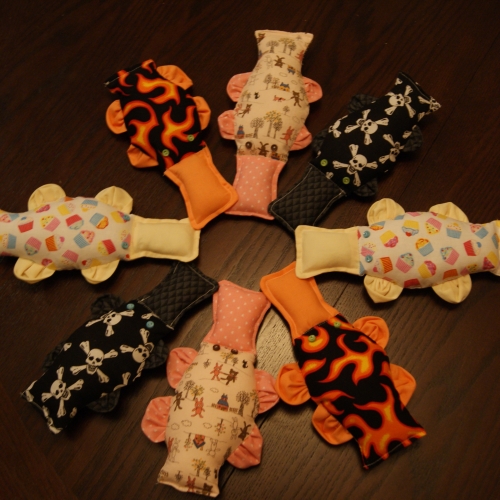
Tadaa! Platypus.
Or, plot-o-pus, if yours has a theme… explosions, friendship, pirates, or just something sweet:
I link to these fabulous parties!
I'm not usually much of a softie person, but I saw this one and my heart just melted! So cute and original. Great job!
Thanks for linking up to my Tuesday Confessional party last week. You've been featured so stop by and grab a brag button! http://www.craftyconfessions.com/2011/09/it-is-almost-time-for-this-weeks.html
I hope to see you at this week's link party which starts tonight.
~Macy
Just wanted to let you know that I'm featuring your platypus today at The Creative Paige as one of the favs from my link party! Check it out and grab a featured button!
It’s the weekend! Woo Hoo! I’m a new follower from “Stalk/Hop Friday”. I sure would like it if you stopped by and followed me back http://mavesfaves.blogspot.com/. Enjoy your weekend.
Thanks for dropping by the TGIF Blog Hop!! I am your newest follower via GFC. I love your site. So cute!!
I hope you can check me out and follow me too :o
Thanks, http://www.indianacouponsavings.com
Thanks for dropping by the TGIF Blog Hop!! I am your newest follower via GFC. I love your site. So cute!! You are sooo talented!!
I hope you can check me out and follow me too :o
Thanks, http://www.indianacouponsavings.com
That's really cute. I especially love the feet too.:) What a neat idea.:)
I love the platypus…so cute! And a nice and easy totorial…the feet are so sweet…Thank you
How cute!! That would make a great teething toy as well…my Bubba would probably bite a hole in it though :/
wm
Ha ha!
I love your Plot-a-pus!!
Very cute indeed!
What a great way to encourage creativity and story telling for young people! Plot-a-pus is a fabulous idea.
Very cute! I love the idea of a story on its back too!
Adorable and hilarious…as an English major and former English teacher, I fully appreciate the plot-a-pus. :)