
Hey hey, happy weekend! I’m getting out my hammers this weekend and having some fun – and in case you’re thinking what I’m thinking, I’ve got a hand stamped necklace design for you to try with today’s post sponsor, ImpressArt!

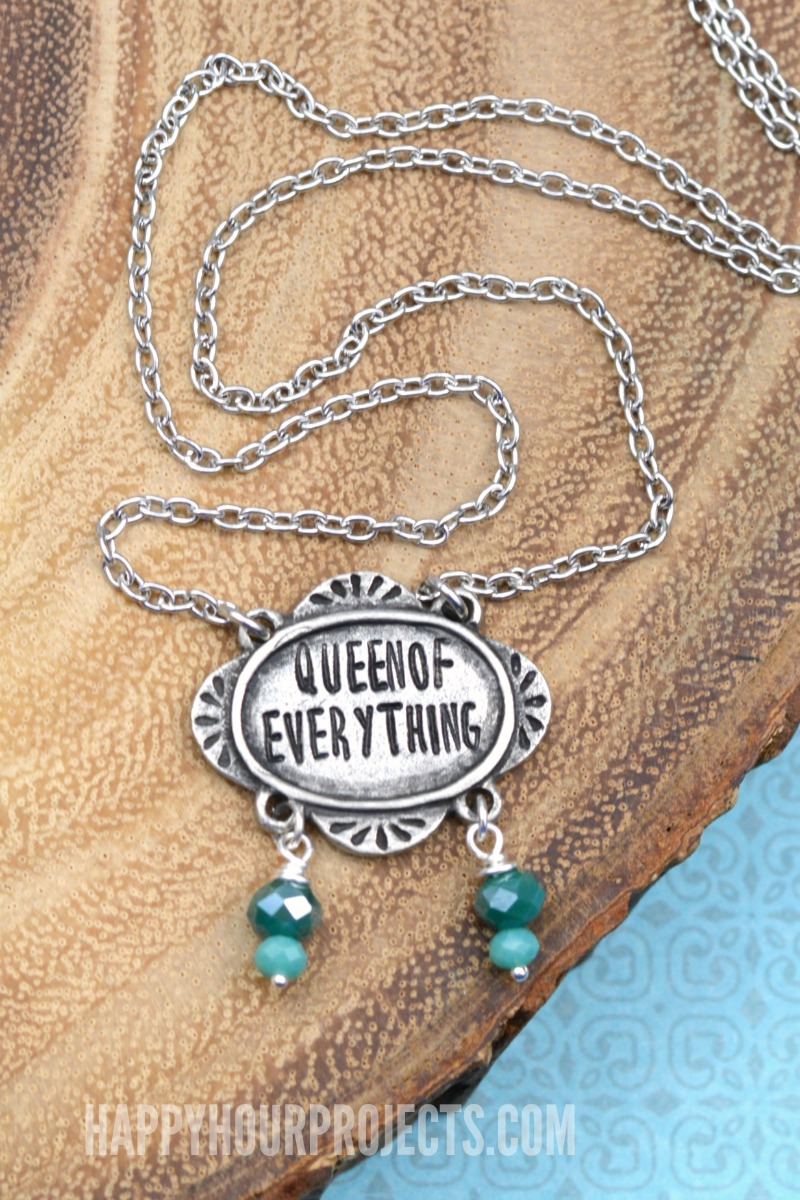
Now, of course the beauty of stamping is that you can personalize your blanks in any way you like. But I was feeling rather sassy when I whipped up this piece and “Queen of Everything” gets a lot of laughs. I love when a piece of handmade jewelry becomes a conversation piece! And this bracelet-blank-turned-necklace design gives you the same look as the ladder-style jewelry that’s so hot right now. So let’s jump in, shall we?
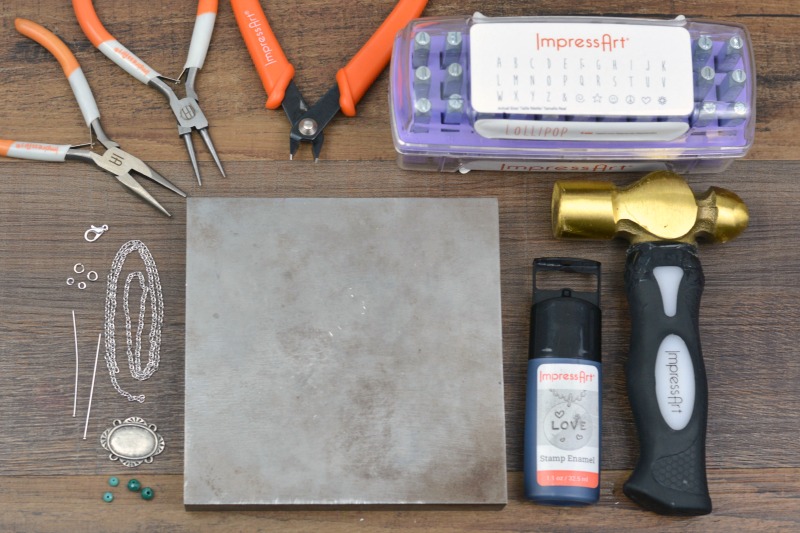
Here’s what you’ll need:
- Steel Bench Block
- 1 lb. Brass Stamping Hammer
- ImpressArt Alpha Stamp Set | Lollipop, Uppercase
- ImpressArt Artisan Pewter Oval Stamping Blank
- ImpressArt Stamp Straight Tape
- ImpressArt Stamp Enamel & Paper Towel
- 6 – 5mm jump rings
- 2 – 2? Head Pins
- Small Beads (2 – 6mm and 2 – 4mm Faceted Crystal Rondelle Beads shown here today)
- Chain Nose Pliers
- Round Nose Pliers
- Wire Cutters
- 14? 2mm Necklace Chain
- Lobster Clasp

Now the message I chose was a little bit of a tight fit on this blank. This is why I selected the Lollipop font, which is my favorite for fitting longer words into shorter spaces. Tape your blank to your steel block using stamp straight tape. Gently drag your letter stamps to the egde of the tape, and when you feel it “catch”, you’ll know you have the vertical alignment you’re going for.
If you’re new to stamping, you may also find it very helpful to mark off where you plan to stamp each letter to be sure that your word fits and that you don’t run out of room once you get close to the edge.
Stamp your message with one firm strike to the top of each letter stamp. This pewter blank is perfect for getting nice, crisp impressions.
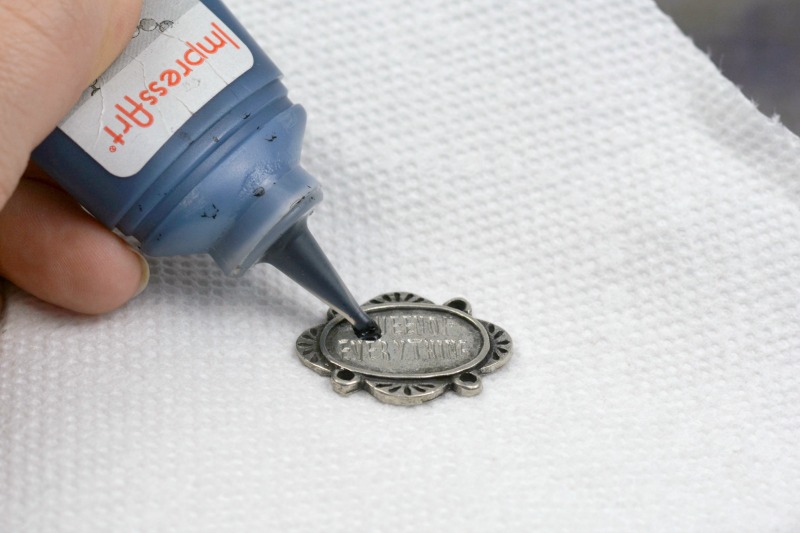
Next, darken your impressions. My favorite method for this is using stamp enamel – just squirt it on, rub it into the letters, wait ten seconds until it begins to dry, then wipe off the excess with a paper towel or shop cloth.

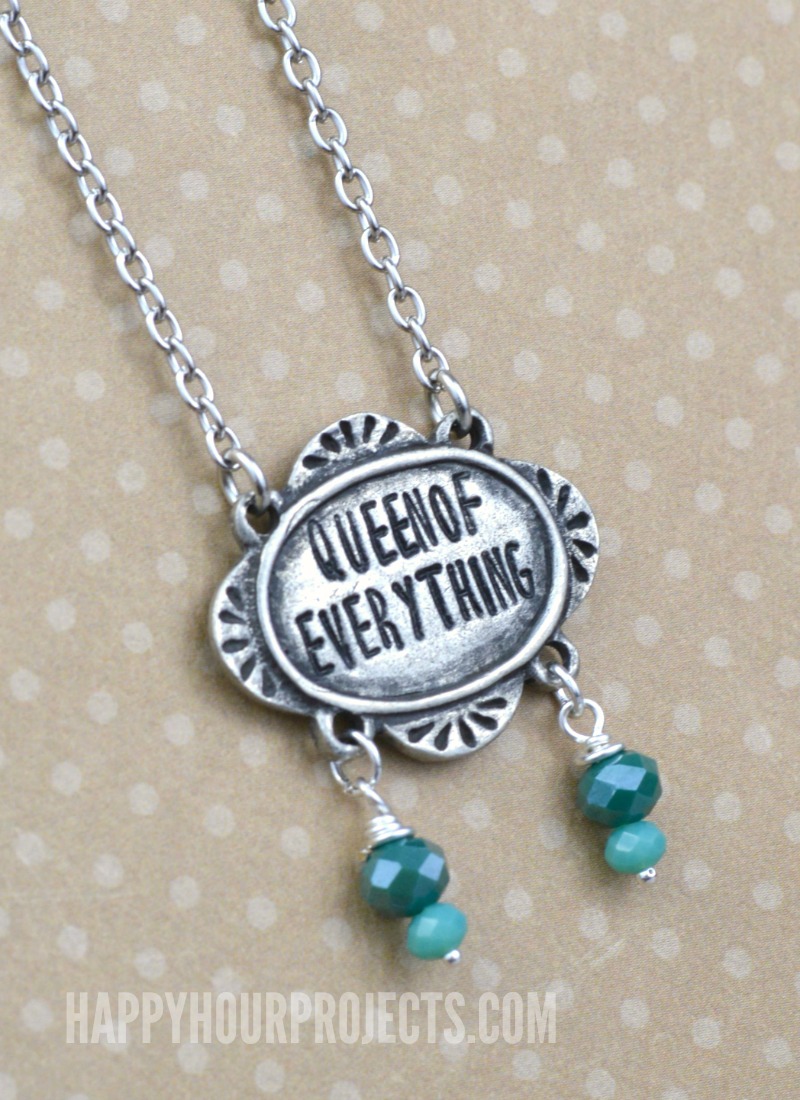
Once you’ve prepared the star of your necklace, the stamped blank, then you will want to create a pair of dangling beaded charms to attach to the bottom holes. Stack 1 or 2 beads onto a jewelry head pin (I’m using a 4mm rondelle and 6mm rondelle bead in coordinating colors). Wrap the wire end of the head pin around one side of your round nose jewelry pliers, forming a loop. Then, take that tail end of the wire and wrap it around the pin between the loop and the top of the bead in neat coils. Trim any excess wire with wire cutters.

Finally, assemble the components of your necklace! Cut your 14″ of chain into two 7-inch lengths. Twist open a jump ring with your chain nose pliers and attach one chain to each of the two top holes in your blank, twisting it closed again. Connect the beaded charms to each lower hole as well. Finally, add a lobster clasp and ring to finish the necklace.
Feeling like the queen of everything after putting this simple piece together? If not, wear your necklace. Own it. (Or guys, give it to the queen in your life. She will love it.)
Thanks for joining me for today’s hand stamped necklace project, and I’ll see you guys again soon! Happy weekend!

Such a cute idea!
nice post
looking good
Such a cute idea!
do you make earring, do you have earring patterns