
Hey friends! I’ve been up to some different things in the studio the past couple days, inspired by some designers who are great with ink, doodling, painting, and more. Watercolor is one of those things that I always found to be really beautiful, but really far out of my reach. I accept I’m not good at everything – it’s cool. ;) But there are a couple designers in particular who have given me some tips that kind of blew my mind recently, and I thought I’d combine them in my own way to create handmade watercolor cards (or rather, a technique for watercoloring made easy for total novices like myself).
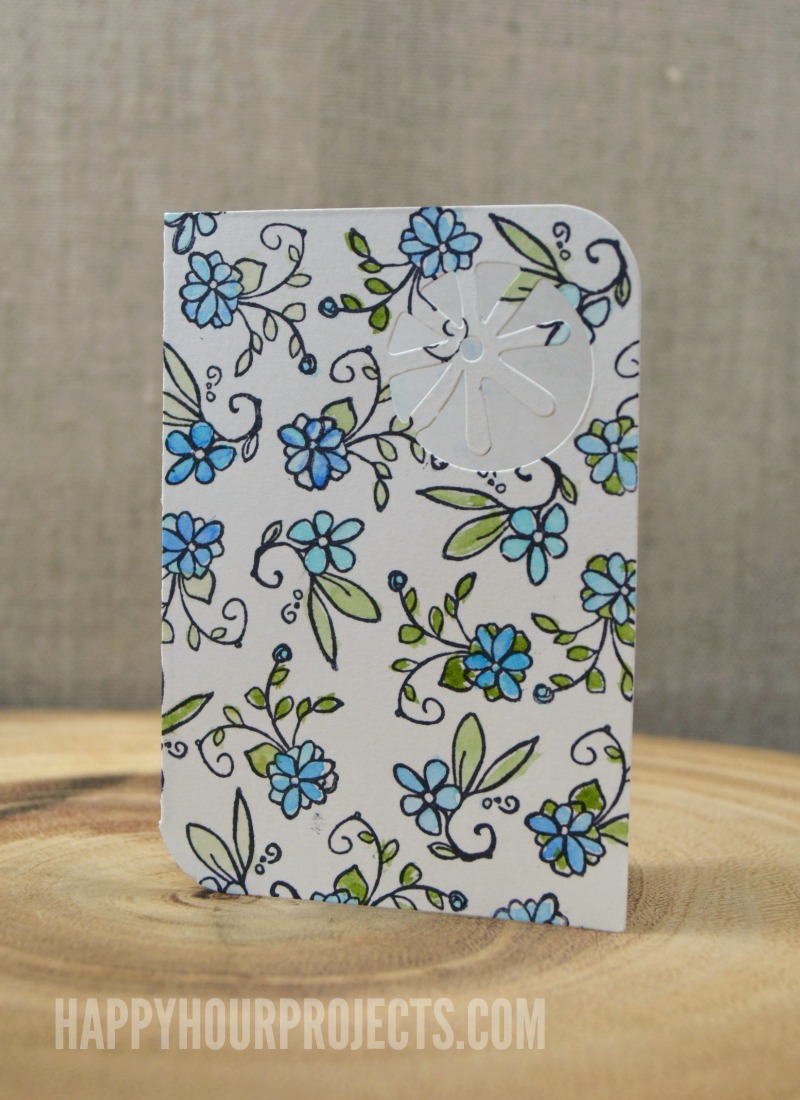
As you can see – it’s not perfect. But it really doesn’t have to be! You can get the look of this doodled watercolor card for yourself using a couple things you might not expect – stamps and watercolor markers. Yes, really!
I’m on the Sizzix design team, and got a chance to use a few brand-new up and coming clear stamps – something that I was really intrigued by. My friend Carisa at Inky Fairy Designs is pretty much amazing when it comes to ink, and was willing to give me a few tips in that department. I also attended a demo with Jen Goode a few weeks back, and what she shared about using markers to color BLEW MY MIND. I had no idea that the soft watercolor look can be so much easier than it looks – when you’re like me and completely intimidated. So I got inspired by these two fabulous ladies and struck out on my own, creating a fun little handmade card with my Sizzix Big Shot and some of the new Clear Stamps.

I’m going to leave a list of what I used to make my card, in case you’re looking for the same products. (There are affiliate links, and shopping them helps support my blog and keep tutorials free, so thank you very much!)
Here’s what I’m using today:
- Sizzix Big Shot and Acrylic Cutting Pads and Acrylic Cutting Pads
- Sizzix Bigz Die – Card with Flower
- You’re My Favorite Clear Stamps
- Clear Stamp Block
- Ranger Archival Ink in Black (or any waterproof ink)
- Spectrum Aqua Markers (in Moss, Kingfisher, and Peacock Blue)
- Paintbrush
- Cup of water and paper towel
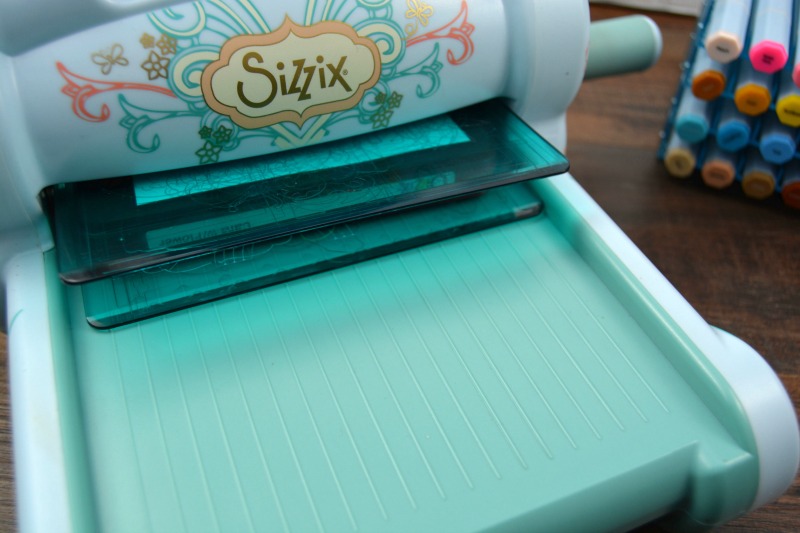
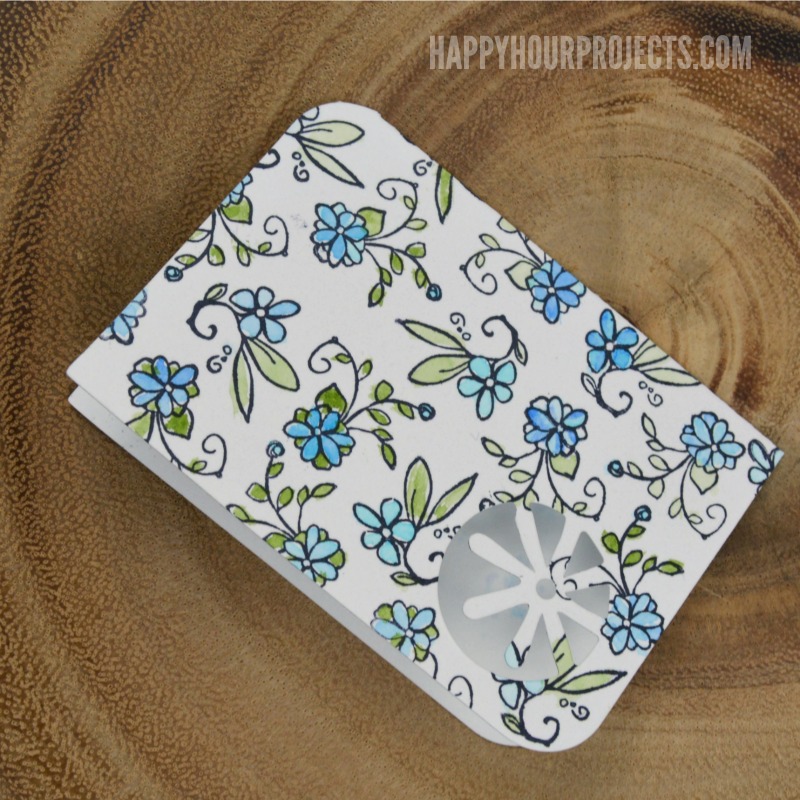
First, make a quick card! I’m die cutting the Sizzix Bigz Card with Flower. The Bigz dies can power through all kinds of materials, but today I’m using 65# card stock. Just place the paper on top of your die, and put that between a pair of acrylic cutting pads to create your Sizzix sandwich. Roll it through your Big Shot for an instant card.
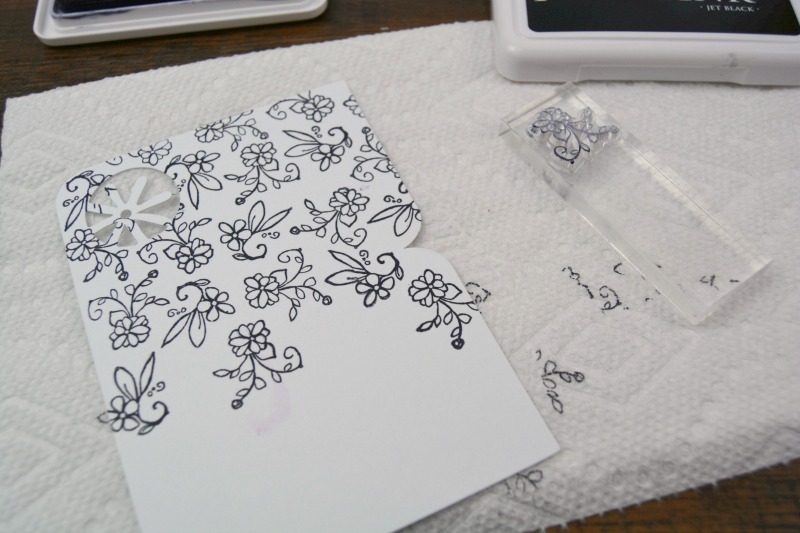
Now, here’s where the magic begins. I used the tiny floral stamps from the You’re My Favorite clear stamp set. I stamped an all-over pattern using waterproof ink. I made sure to go over some of the edges, to turn my stamp as I worked, and to switch between the two stamps to make it look random.
Now, you have a doodle-look pattern without drawing a thing. Adorable, right?

Prepare to “paint” by getting a little cup of water and small paintbrush ready. I like to work on a paper towel, but feel free to protect your work surface with anything you like. Now, on your clear stamp block, use the markers to kind of scribble on the surface. You can see I’ve added a shade of green and aqua to my block.

Now, dip your brush in the water, pick up your color from the stamp block with your brush, and paint it onto the stamped pattern. I wasn’t even very careful about it, I was kind of messy. Because, you know, not great at painting. But with this technique it’s easy to mask all those messy spots!
You can blend colors together by mixing them, or soften them by adding a drop of water to a spot on your stamp block. You can also draw directly on the stamped pattern with the markers and follow it up immediately with a wet brush, but my preference is to just paint it on. If you want to give some depth to your colors, wait for your first coat to dry a bit before coming back to the area for a second time, and pick up some accents.

So – now you know the trick! You could also use alcohol ink markers and a blending pen to get a similar look – that’s up to you. But I was so pleased with how my hand-painted watercolor card turned out with something so simple as stamps and markers!

As a 2015-2016 Sizzix Design team member, I receive certain Sizzix products free of charge in order to share inspiration projects and tutorials. Select stamps were provided by Sizzix in order to create this post. My designs and opinions are, of course, all my own.
![]()
It makes progression easier and gives gamers the freedom they want, making gameplay more fun and less repetitive.
I would like to thank you for the endeavor you have made in symbols this article.
Very interesting site. I like that you can find a lot of useful information here.
I like your post. Very professional and eye catching. Thanks so much for the content
nice post
wow looking good
I don’t understand how the markers work and could I use just watercolor paint.
I work in an after school program for African Refugee children. Your materials look expensive and we don’t have much money. Can u offer suggestions for other materials?
I really enjoy appraisal your article. I found this as an informative and captivating post, so i think it is very helpful and acquainted. I would like to thank you for the endeavor you have made in symbols this article.
This is so cute… My daughter loves colouring a lot.Thanks
Wow! I just can’t get enough of these beautiful pieces. You are a great artist who understands her craft well.
So nice and pretty. Such a perfect color combo for spring.
Love it. Perfect card to receive for spring!
Very pretty! The cut-out on the card is a very nice touch too. Thanks for sharing!
these worked out pretty nicely for you! Looks like it was worth while. hopefully the receiver keeps it!
Very cool.! Really like the design and how you can really let your creative juices flow with this!
Those are really pretty! I still appreciate receiving (and sending) cards in the mail :).