

I came in second the round which means, I AM IN THE FINALS!! Woohoo! Thank you to everyone who has voted in the competition, whether my projects are your favorites are not. There is some amazing talent out there and I’m just so happy to have made it this far and to be a part of it!
So let me tell you a little bit about this project. I haven’t done much with nursery art, because it’s just too hard to choose!
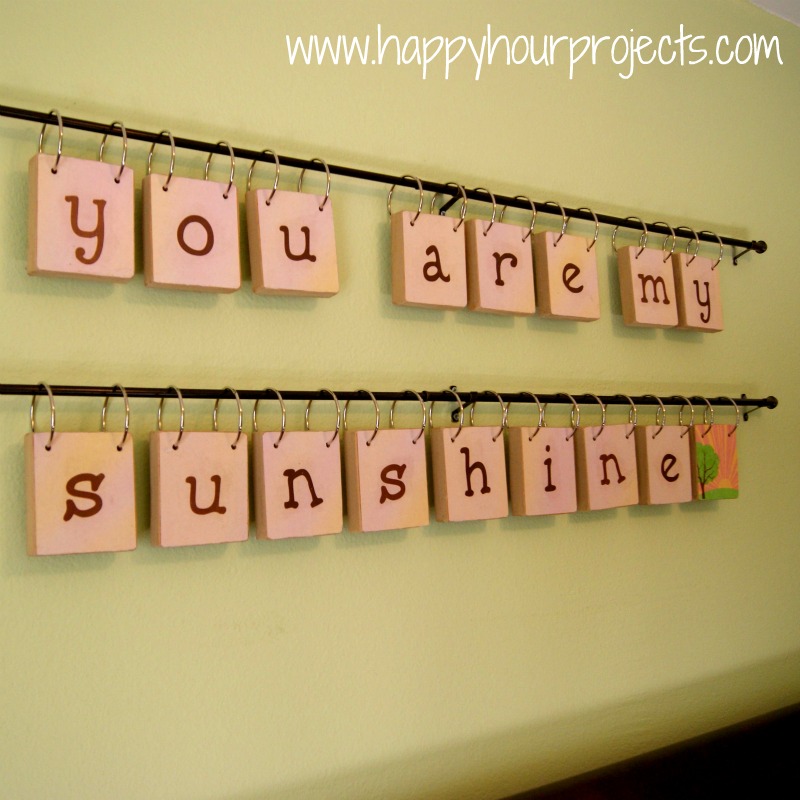
I think this is a song that every parent probably sings to their child. So these lyrics have a special place in so many people’s hearts. I have a sentimental confession to make (hey, I hardly EVER get mushy) – ever since Raya was born, one of the nicknames I call her is my Raya Sunshine. Yes, hopelessly cheesy. But when I see sunbursts or sunflowers, it always reminds me of her. So, “you are my sunshine” was the perfect choice for nursery art.
I really embraced the “wood” theme this time around, and took the opportunity to do some woodworking I haven’t done before. My husband got me a jigsaw for Mother’s Day (isn’t he sweet?) and so I cut my own wood tiles. I have had a piece of medium-density fiberboard in my garage for a while now – something you always think you should hang onto, because you’ll want to use it someday – and I finally had the opportunity.
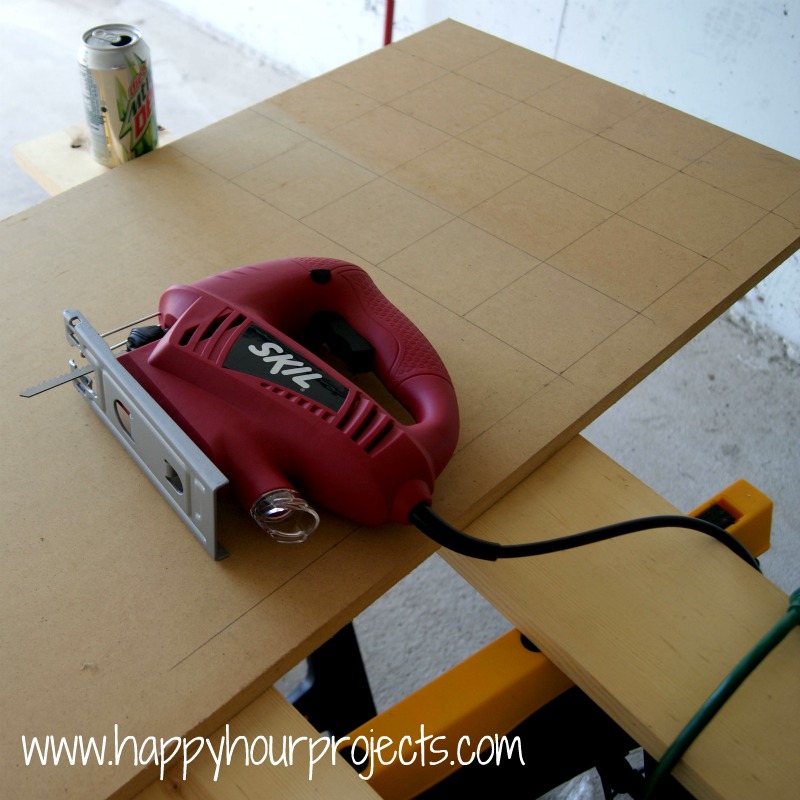
I cut it up into enough 3-1/2” x 4” tiles for my letters.
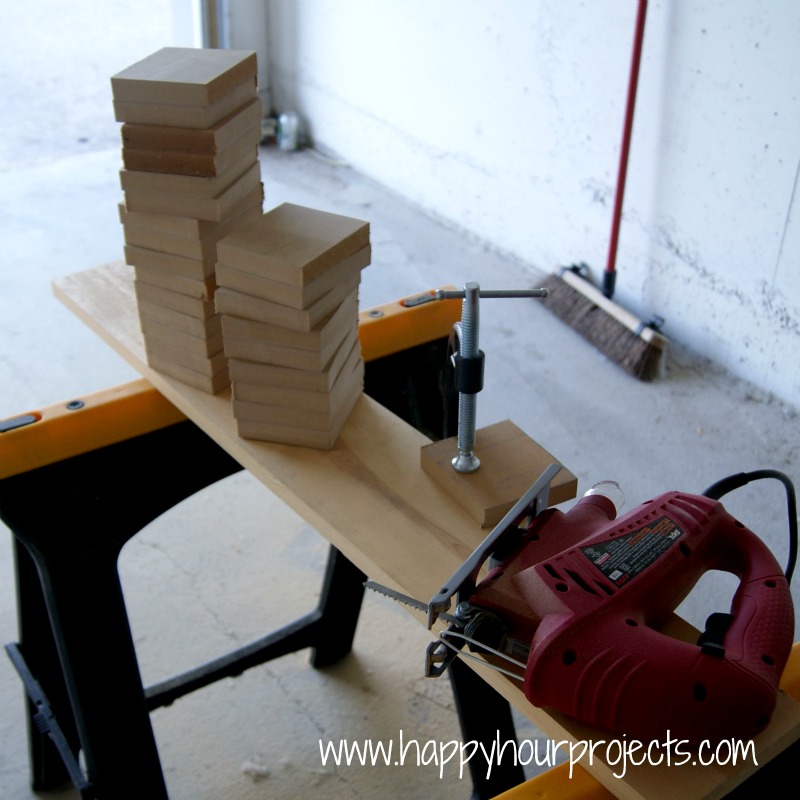
Then, I sanded each one down with my Dremel to give them a softer, more rounded look. I just used the rough tip to carve away the crisp edges for the time being. Between the saw and the sanding, I was covered in sawdust by the end of the night on a couple of occasions last week. And I have to say, it’s a pretty triumphant feeling. ;)

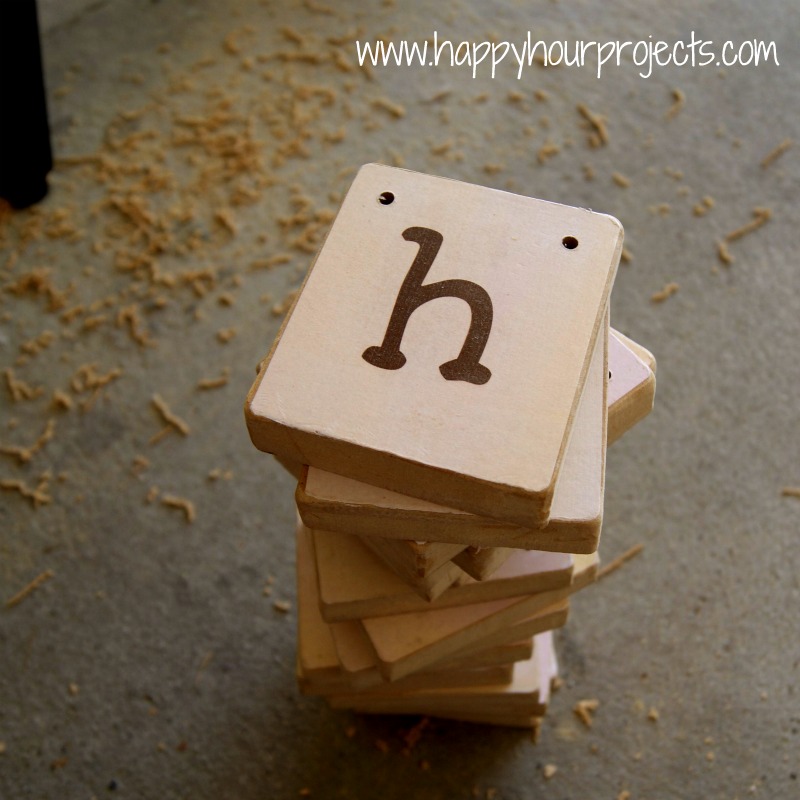
Then, I Mod Podged on some graphics that I just printed off my printer. (For you font junkies, this one is one I downloaded called 5th Grader.) My good friend Carlee from Ladybird Ln. was kind enough to design a sunshine graphic that matched my colors. ;) (THANK YOU, Carlee!)

Once I had all my letters mounted on the tiles, I did the fine sanding. I wanted to keep a slightly rough, distressed look, but there was still some fine-tuning to do on some of the tiles. Hey, it can be a lot of work to make it look effortless, LOL. Once I finally had all the sanding done, I had about 6 hours into the woodworking (oh, and not to mention – the cleanup!) but I was working on a learning curve with a medium and tools I haven’t really used before, so others may find this to be a much quicker job.

Finally, I had something that was recognizable as the project I had in mind, which was a huge relief, let me tell you! It’s so tough to work on a deadline with the worry that it’s going to be a huge fail… so I was getting really excited. All that was left was to drill my holes so that I could add the rings to hang my tiles.
I really would have enjoyed adding “drill press” to my list of power tools for this project, but I just don’t have the space for a workbench. (I barely have space for the sawhorses, LOL.) So I drilled each of the holes with my regular drill. I just clamped them on to get them nice and steady to drill the hole straight and even.

Then, with everything drilled… the question was, how to hang them?
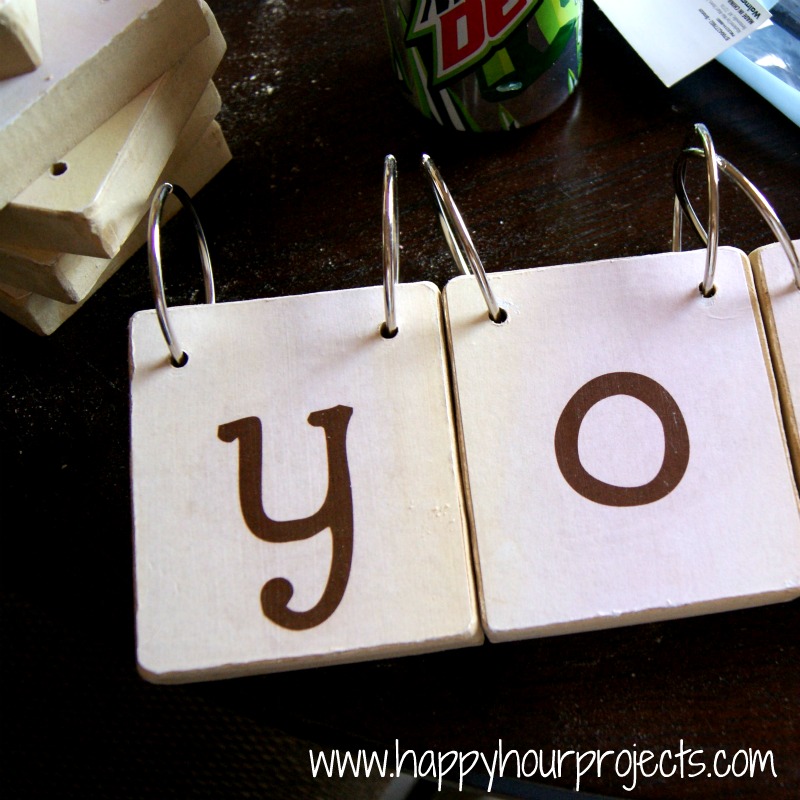
And you know what I found? Looseleaf book rings from the office supply store. 50 were $9.99 for the 2” size. In hindsight, 1-1/2″ might have been good enough, but I wanted to be certain they would fit. You could also use shower curtain rings, but because I needed 34 of them, I found that to be a pretty expensive route to go. If you want to skip the rings altogether, you could find a cute, coordinating ribbon, too – I just liked the idea of the hooks! (And don’t mind my sawdust OR my Mountain Dew…)
All that was left to do then was to mount a pair of light-duty curtain rods (I think they call this size a café rod) over my daughter’s crib. Then I just hung the tiles! All told, it was about an 8-hour project. It was still a great thing to work on a couple hours at a time in the evenings – so even though it’s much larger than a “happy hour” project, it can still be broken down into manageable parts to fit your schedule. In the end, not only do I love how it turned out, but I’m proud to hang something that I made “from scratch” (can you say that when it’s not a recipe?)

I’m so much more proud of it for having shaped and created it myself, just the way I wanted it. Anyway – thanks so much for stopping by to learn a little more!
I link up to these great parties!
~ Adrianne
This is special work for special day which is dedicate for special person like mother in mother’s day, wife for valentine day etc. Some days ago i made one of this project for my teacher. So i think it is great idea.
Pretty spiffy idea. Too bad all my kids are grown up, but maybe an idea if one of my daughters eventually makes me a grandpa!!!
Adrianne, I thought I would mention I am featuring this tonight at my party, because I think you are pretty awesome!
Carlee
http://www.ladybirdln.com
Thanks for linking to TAke-A-Look Tuesday – you were featured today!!
–Mandy, http://www.SugarBeeCrafts.com
This turned out super cute!
wow, it turned out wonderful! i would love to have those tools (and know how to use them!)
Hi! I'm visiting from Freedom Fridays. This is so original. I love it!
Carolyn
{my simple messterpiece}
You can do anything, I am so impressed! Are you sure you are not from Texas? Lol I will be watching and voting for you in the final round. Thank you so much for sharing this awesome project at Freedom Fridays!
What a great idea. These are adorable.
This is wonderful. I love the blocks lettering idea.. Thanks for linking up at friday fun party! Have a great weekend!
That is so cool!
This is awesome! I want a jigsaw now! laura@imnotatrophywife.com
You did a fantastic job! I love it. I'm working on something sort of similar but not exactly for a friend of mine. Thanks for sharing at the All Star Block Party.
Holly
These are fantastic; I definitely voted for them at One Crafty Contest too! Congrats on being in the final round; you definitely deserve it! And thanks for linking this up to The Fun In Functional!
That is a great idea and so cute! I would love if you came by my party to link up!
Stacey of Embracing Change
http://staceyembracingchange.blogspot.com
I so LOVE this!
Congrats on being a finalist! This is such a cute & sweet idea for a baby's room!
This is soooo cute and could be used for almost any saying.. I love this. It's so clever.. it rocks!!! Thanks so much for sharing at the ALL STARS BLOCK PARTY…
Carri
simplydonewright.blogspot.com
Yeah, it turned out so fun! Good luck in the finals, you will rock it!
Carlee
http://www.ladybirdln.com
Ok this was absolutely the cutest thing I have seen in a long time!! I'm definitely gonna keep this in the back of my mind! Great job!
Visiting from Welcome Wednesday and happy to be your newest follower :)
xo, Jersey Girl
hairsprayandhighheels.blogspot.com
Look at you with those power tools! You did an amazing job on this!
Such a cute idea! I love “Raya Sunshine”. Too cute! And congrats!! Stillmrooting for you to win it all!!
You can definitely say from scratch. You started with wood and tools,…how much more scratch can you get. :) I love this and the Raya Sunshine is adorable.
Very cute! I totally knew this was yours! My daughter makes me sing this to her exactly 3 times before she goes to bed. (and did I spot a REGULAR Mtn. Dew instead of a diet?? are you crossing over to the dark side with me haha)
Congratulations on coming in second and moving on!! I think it's great that you got a jigsaw for Mother's Day! That was so sweet!
I love the way this turned out!! Way to keep it real with all the MD and saw dust. lol And I gotta say I LOVE that your husband gave you a drill for mother's day mine gave me a shop vac a couple of years ago.:)