
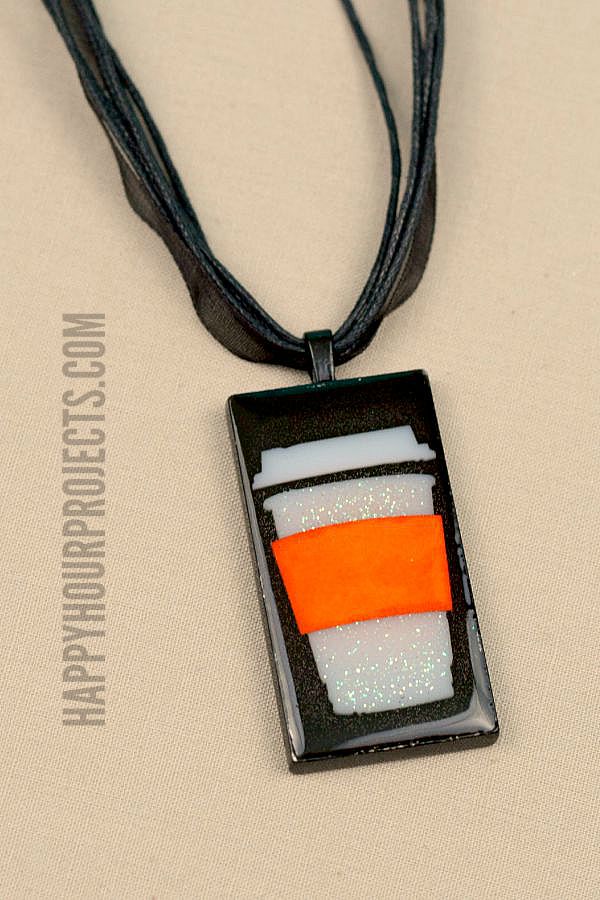
I have a good friend who’s a coffee lover just like I am, and I got obsessed with the idea of making her a coffee-themed necklace. I love the coffee dies in the Sizzix Tim Holtz line (in fact, I made a coffee-lovers’ card earlier this year using this same die) and realized that die-cutting shrink plastic for this project would make a perfect resin pendant. Depending on your coffee brand of choice (and my Michigan peeps will recognize this signature orange!) you can create a perfectly customized color scheme for your favorite cup of coffee in this coffee necklace tutorial.
I designed this piece as my monthly Sizzix design team project. I’ll be walking you through how to get the look, and I’ll even leave affiliate links below in case you spot something that you just have to have! We’ll be working with the SIzzix Big Shot, shrink plastic and jewelry resin today – which can all be intimidating techniques if you’re not familiar with them, but in fact they are VERY easy!
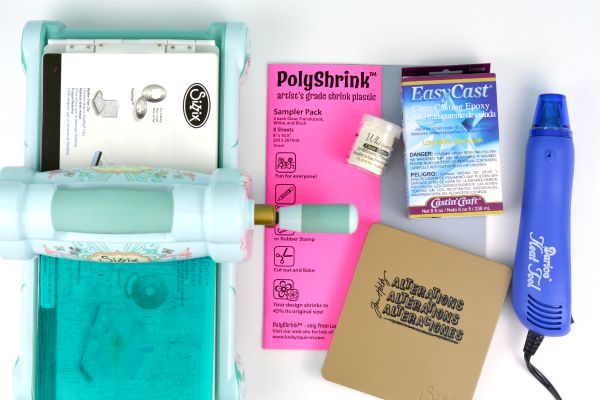
- Sizzix Big Shot and Acrylic Cutting Pads
- Sizzix Bigz Die – Fresh Brewed by Tim Holtz
- White Shrink Plastic
- 25 x 50 mm Rectangular Bezel & Chain
- Jewelry Resin, Mixing Cups & Sticks
- Heat Tool
- Craft Mat
- Orange Scrap Paper (or match your favorite coffee brand)
- Optional: Embossing Glitter

The first step is to die-cut your shrink plastic. Layer a piece big enough to die-cut your shapes over the Sizzix die, and place them between a pair of acrylic cutting pads to create your “Sizzix sandwich”. Roll it through your Sizzix Big Shot, and your pieces will be instantly die-cut.

Next, you’ll need to shrink them down! Shrink plastic reduces in size by 3-4 times, and becomes thick, making for a nice, sturdy charm. You can oven-bake it according to the package instructions, or if you have an embossing heat tool, it’s even faster and easier. Place it on a heat-resistant surface, and position the heat tool about 2 inches from the shrink plastic. It will curl up a little as it shrinks, eventually flattening. While it’s still hot, you can sprinkle it with embossing glitter, and re-heat it to set the glitter. This is an optional step, but I like the shine that it added! I only glittered the cup, and not the lid.
Place the coffee cup pieces in your jewelry tray, and cut a small scrap of paper as the cup cozy, if you like! I like that it adds a little pop of color to an otherwise plain cup. You could also use permanent markers before shrinking it to colorize the cup.
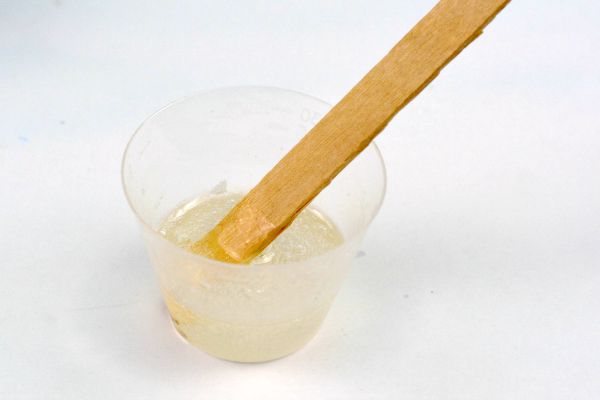
Mix a small amount of resin, according to the package directions. I mixed up 10mL with plenty left over for my 25x50mm bezel. You will need to mix enough to stir it well, but you definitely don’t need a full cup of resin. If you’re making more than one necklace, I would mix up 12-15 mL.

Pour the resin carefully into the tray. Resin is thick, so you will be able to over-fill it slightly to give it a domed look! Keep a toothpick on-hand to move any pieces back into place that the resin displaces. There will be bubbles. To get rid of them, let the pendant rest for 20-30 minutes, until all bubbles rise to the surface. Most will pop on their own, but for any that don’t, use a drinking straw or a strip of rolled-up paper, and gently blow through it on the surface of the resin. The heat from your breath, focused on small areas, will help the bubbles to pop. Any bubbles you leave at this point will harden into the piece, so blow away as many as you can.

Let the pendant dry at least overnight. Check the directions on the brand of resin you used for full curing instructions – Easy Cast resin will air-cure, but some resins require UV light. It’s important to follow the directions on the brand you choose.
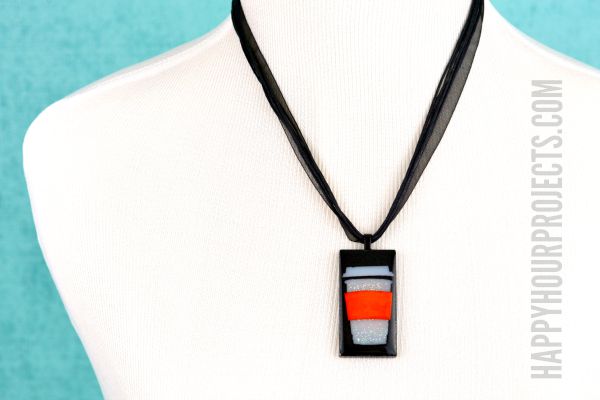
String your pendant, and it’s ready to wear or to give to the coffee lover in your life! You can also add charms or beads to your final design to personalize it even more, or just leave it as-is – you’ll have a great 3-D piece encased in resin with a permanent shine.
Thanks for joining me for today’s coffee-lover’s gift idea. I’ll see you guys again soon!

As a 2015 Sizzix Design team member, I receive certain Sizzix products free of charge in order to share inspiration projects and tutorials. Select dies and accessories were provided to me in order to create new design ideas each month. My designs and opinions are, of course, all my own.
![]()
wow nice post
wow looking good
i like it
Fantastic site. Lots of useful information here. I am sending it to some pals ans
additionally sharing in delicious. And of course, thank you for
your effort!
nice post
looking good