• Skip to primary navigation
  • Skip to main content
  • Skip to primary sidebar

  • home
  • about adrianne
  • buy the books
    • DIY T-Shirt Crafts (2015)
    • DIY Stamped Metal Jewelry (2016)
    • Rock Painting for Beginners (2019)
  • videos
  • crafts
    • diy beauty projects
    • kids’ crafts
    • paper craft projects
    • polymer clay
    • sewing projects
  • jewelry
    • bracelet projects
    • earring projects
    • necklace projects
    • jewelry tools & supplies
  • metal stamping
    • beginners’ tutorial
    • video tutorial
    • project ideas
    • metal stamping supplies
  • recipes
    • cocktail recipes
    • appetizers
    • main and side dishes
    • sweets and treats
  • by season
    • birthdays
    • new year
    • valentine’s day
    • st. patrick’s day
    • easter and spring
    • mother’s day
    • patriotic
    • fall
    • halloween
    • christmas
    • thanksgiving
  • privacy

Happy Hour Projects logo

09/12/2012

Frosted Vine Glass Jar

I’ve been doing a lot of glass painting since I got to try out Plaid’s new Martha Stewart Glass Paint line (did you see the glass lamp thrift find I fixed up?) and I want to show you all a quick project I made.  Anything glass just lying around my house now is subject to getting a makeover. ;) 
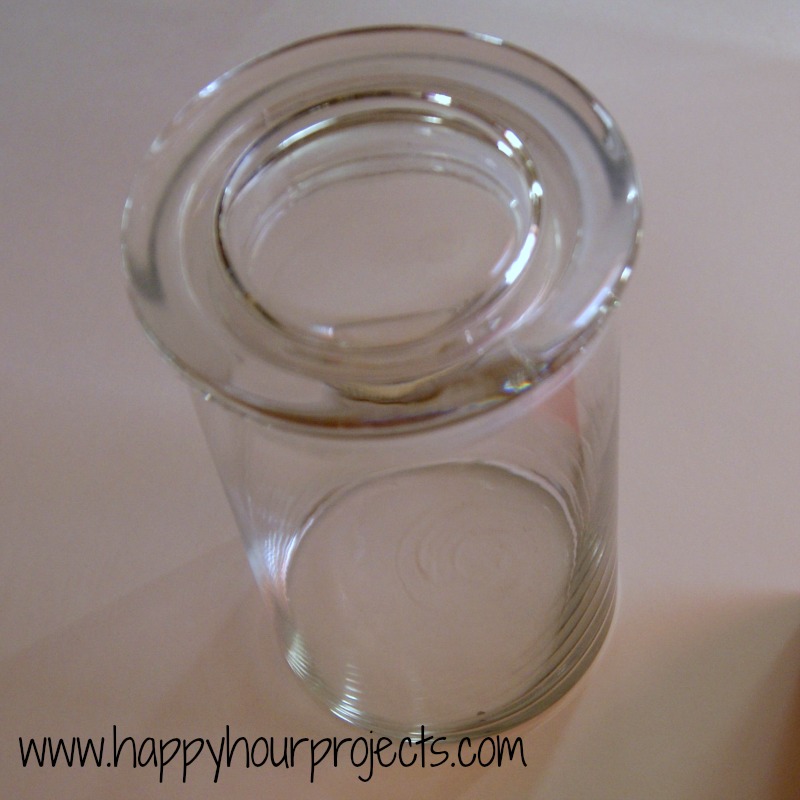
This is a glass jar with a lid that last year held Halloween candy.  (I’m holding off on filling it until at least October… the fewer times it gets filled, the fewer times it gets emptied, LOL.)

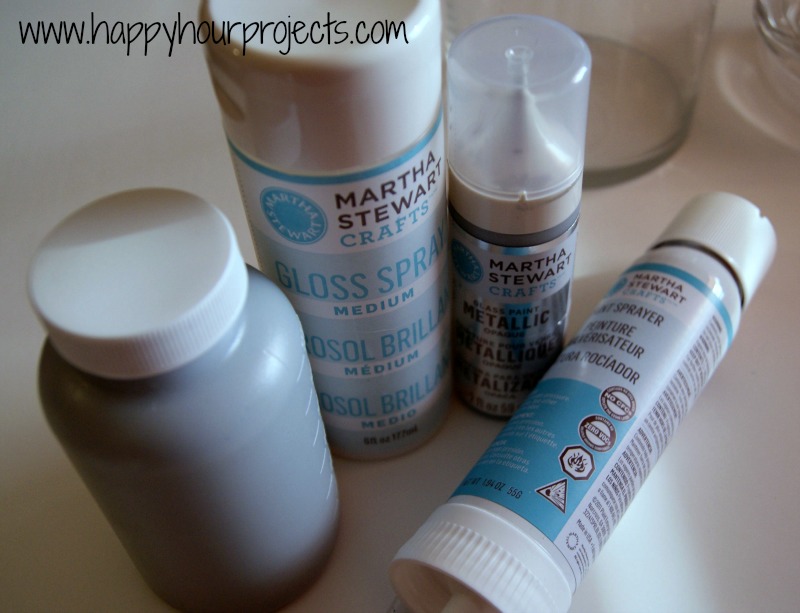
But I just love the sprayer in this line, so I mixed up some silver paint with the spray medium, and cut my own stencil out of contact paper for it.
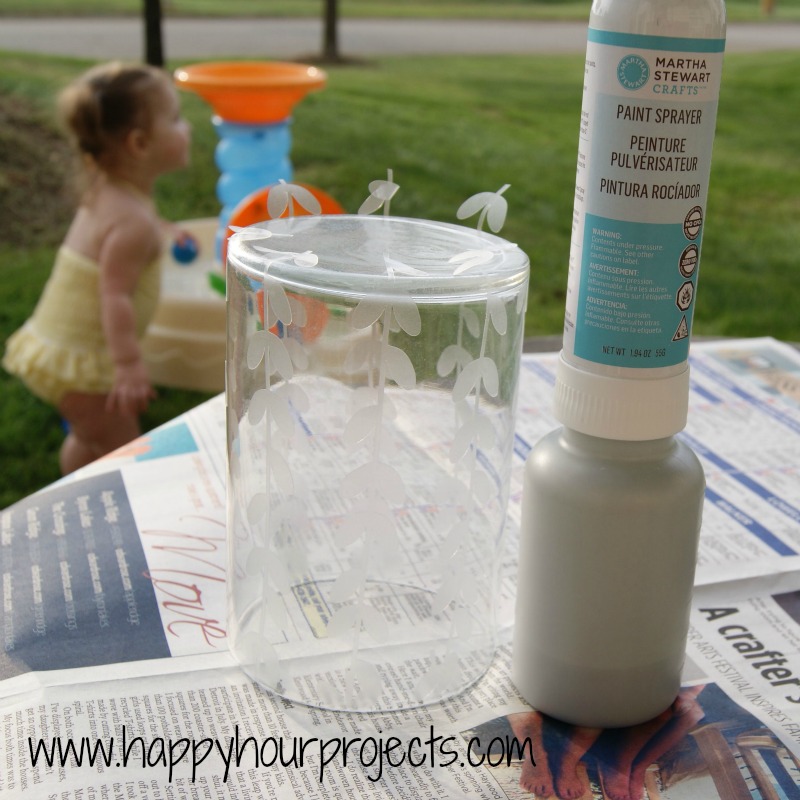
I used my Silhouette machine to cut the shape of the week from a couple weeks ago on some clear contact paper.  Don’t use vinyl here – contact paper is much less sticky.  You do want a nice clean edge, so it does need to be sticky, but you want your stencils to be easily removable.  You can just as easily cut a design out with scissors too – I just went the fast route.
I stuck them vertically on my glass jar, and took it outside to paint.  (And needing to go outside to spray was a great opportunity for my kiddo to enjoy her water table again before the weather changes, as you can see.  Hey – we girls were doing what we love most, crafting and splashing!)  You can see that the tails are kid of sticking up off the edges.  I’m glad I did it this way, it made them very easy to peel off and remove.

I gave it a nice even coat of paint, and removed the stencils while the paint was still wet.  You don’t want it to dry before removing your stencil if you can help it, because it can peel the paint off with it when you do.  (If it dries more than you mean for it to, try running a utility knife along the edge of your stencil before removing it to be on the safe side.)

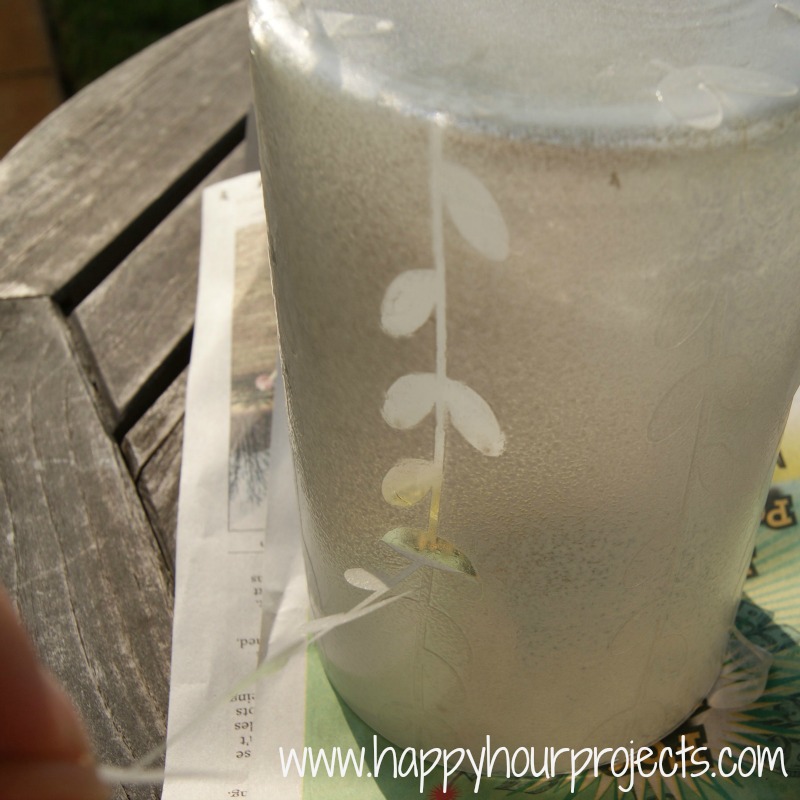
Once it’s dry, you can also use a scraper on any parts that may have gotten a little paint that shouldn’t have.  I used a scraper on the bottom of the jar to remove the little bit of spray that I got on there from painting it while it was upside-down.

Tadaa!  It’s like a whole new piece, now!  But question… what should I put in there to avoid filling it with (and subsequently emptying it of) candy??

I link up to these great parties! 

Filed Under: Silhouette, Tutorials Tagged With: Glass, glass paint

copyright policy and terms of use

I love it when you love my work! All tutorials and photos published at Happy Hour Projects are copyrighted. If you would like to feature my tutorial on your website or share it on your social media you may use one photo to feature, as long as you provide a link back to the original post.

If you feature a photo, it may not be accompanied by the project tutorial or recipe, whether in my own words as it originally appears or paraphrased by you. This also includes personal sharing on social media and Pinterest. Publishing multiple photos from a project, or including instructions with an accompanying photo are not permitted and you will be asked to remove them.

I love to share my projects, and my tutorials, recipes, and e-books are ALL free for your personal use. However, photos and ideas that are published to this site are my protected intellectual property. You may print them at home, but please do not copy or distribute them. I also allow all designs to be made and sold at fundraisers, craft fairs, etc. If you are selling a piece made from one or more of my free tutorials in your online shop, I require that you use your own, original photography, and include a link back to my website to credit me as the designer.

I hope you enjoy what you read here, and please be fair when you share!

Reader Interactions

Comments

  1. Jenny Yarbrough says

    09/19/2012 at 4:00 am

    CUTE! I haven't gotten into my supplies yet, but I cannot wait to try them. This looks great!

    Reply
  2. Elise says

    09/18/2012 at 4:41 pm

    Nice! I love the frosted/ painted look. I'd fill it with some painted acorns :)

    Reply
  3. Jessi says

    09/16/2012 at 6:14 pm

    Super cute, and that paint sprayer looks great! Thanks for sharing at The Fun In Functional!

    Reply
  4. Sarah says

    09/16/2012 at 4:05 pm

    I saw the paint sprayer at Michaels this past week and wondered how it worked – thanks so much for sharing at our link party, because now I can go get it! :) Hope to see you again next week!

    Reply
  5. Jill says

    09/14/2012 at 3:34 pm

    That looks great! I love easy projects like this! Thanks for sharing at the Pomp Party! Pinning!

    Reply
  6. ahappydistraction.com says

    09/14/2012 at 10:57 am

    That looks so beautiful. You make me want to try this with my Cricut. Maybe you could fill it with nuts.

    Reply
  7. Marilyn Clark says

    09/13/2012 at 2:13 pm

    Adrianne, this project is AWESOME…and so easy! LOVE it!

    Reply
  8. Robin says

    09/13/2012 at 2:11 am

    I like this project a lot…very pretty! :0)

    Reply
  9. Terry says

    09/13/2012 at 1:22 am

    Oooh, acorns would look great. Love this project and your little miss water baby.

    Reply
  10. Kadie says

    09/12/2012 at 8:37 pm

    Looks great! Maybe,… acorns, we have a ton of those here.:)

    Reply
  11. Diane says

    09/12/2012 at 5:07 pm

    Very pretty :) Maybe small pine cones for fall
    or multi colored leaves.

    Reply
  12. Melanie says

    09/12/2012 at 4:52 pm

    Hmmm…..are chocolate covered raisins and peanuts technically a candy??

    Reply
  13. Kara says

    09/12/2012 at 12:07 pm

    Very pretty, Adrianne! I'm loving these glass painting projects!

    Reply
  14. Danni Baird says

    09/12/2012 at 11:31 am

    Love it Adrianne! I have got to get a silhouette and I want to try that paint! As for what to fill it with….I have no idea…I was going with candy anyway!!

    Reply

Leave a Reply Cancel reply

Your email address will not be published. Required fields are marked *

Primary Sidebar

Hello, and welcome! I'm Adrianne, an artist, author, designer, and blogger in mid Michigan. I work from home, chase my two kids, and this once-city-girl is learning how to care for chickens and adjusting to life out in the country. I have a compulsion for daily creativity... sometimes it's jewelry-making, paper crafting, metal stamping, mixing and baking, or giving new life to recycled items. But with 2 young kids, time is short! My goal here at Happy Hour Projects is to share projects and tips that you can do in an hour or less. The ideas you find here are designed to add a little creativity in your day, no matter how much (or how little) time you have!

BUY MY BOOKS!

Copyright © 2022 Happy Hour Projects on the Brunch Pro Theme