• Skip to primary navigation
  • Skip to main content
  • Skip to primary sidebar

  • home
  • about adrianne
  • buy the books
    • DIY T-Shirt Crafts (2015)
    • DIY Stamped Metal Jewelry (2016)
    • Rock Painting for Beginners (2019)
  • videos
  • crafts
    • diy beauty projects
    • kids’ crafts
    • paper craft projects
    • polymer clay
    • sewing projects
  • jewelry
    • bracelet projects
    • earring projects
    • necklace projects
    • jewelry tools & supplies
  • metal stamping
    • beginners’ tutorial
    • video tutorial
    • project ideas
    • metal stamping supplies
  • recipes
    • cocktail recipes
    • appetizers
    • main and side dishes
    • sweets and treats
  • by season
    • birthdays
    • new year
    • valentine’s day
    • st. patrick’s day
    • easter and spring
    • mother’s day
    • patriotic
    • fall
    • halloween
    • christmas
    • thanksgiving
  • privacy

Happy Hour Projects logo

06/21/2012

Happy Hour Bracelet

Well, it has been a very busy week around here, starting with the following announcement…  I came in first place overall in the competition at One Artsy Mama!

THANK YOU to everyone who has supported me by going out to vote.  I am done asking for favors for a while, LOL.

Meanwhile, I’m recovering from trying to make such big projects. :) So today is a really simple one – made using a combination of tutorials I have shown you before.

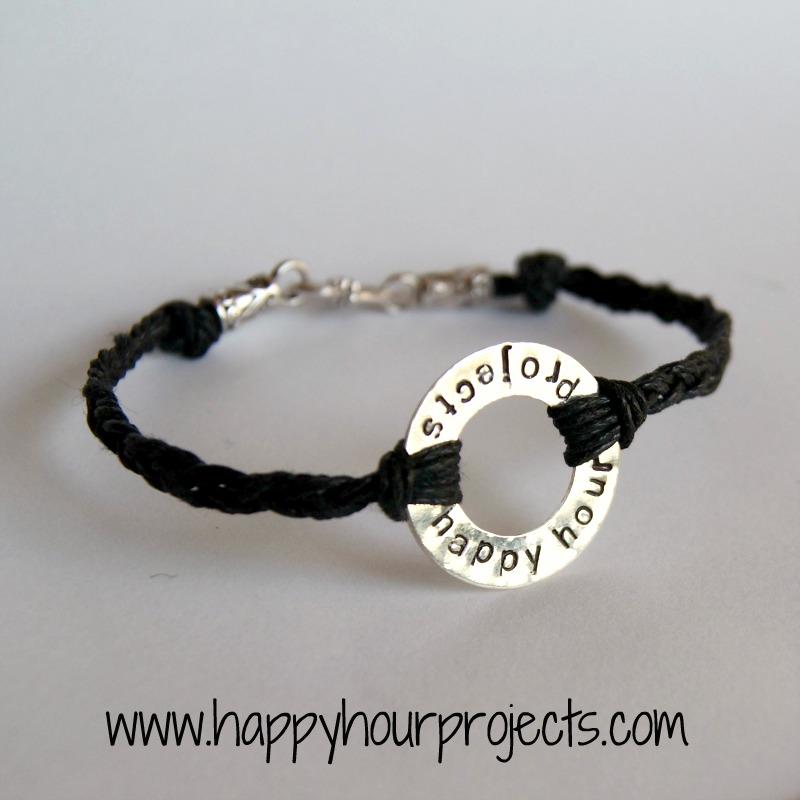
I’m feeling rather happy about my little blog after getting yesterday’s news – so I made a fun bracelet to wear to celebrate.

First, I stamped a silver washer.  If you have a new metal stamp set you don’t quite know what to do with, or you have been considering buying one, you can read my tips on getting started with metal stamping.  I didn’t take photos of stamping this washer (it’s already nearly midnight as I’m getting this post ready for the morning without the additional photos, so you will have to forgive me on this one), just the final finished piece:

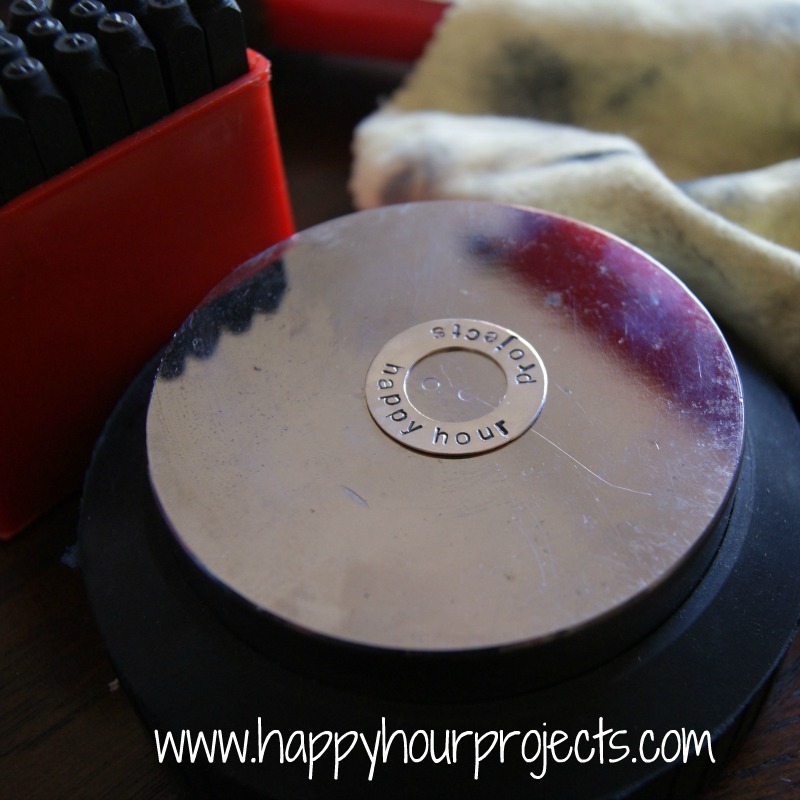
Stamping on washers does take a little getting used to, but it’s almost easier than trying to stamp straight – since you just center your stamp vertically between the inner and outer edges.  Plus, going around is a little more forgiving if it’s not 100% straight.  If you haven’t tried washers – they are certainly worth a test run to see how you like them!

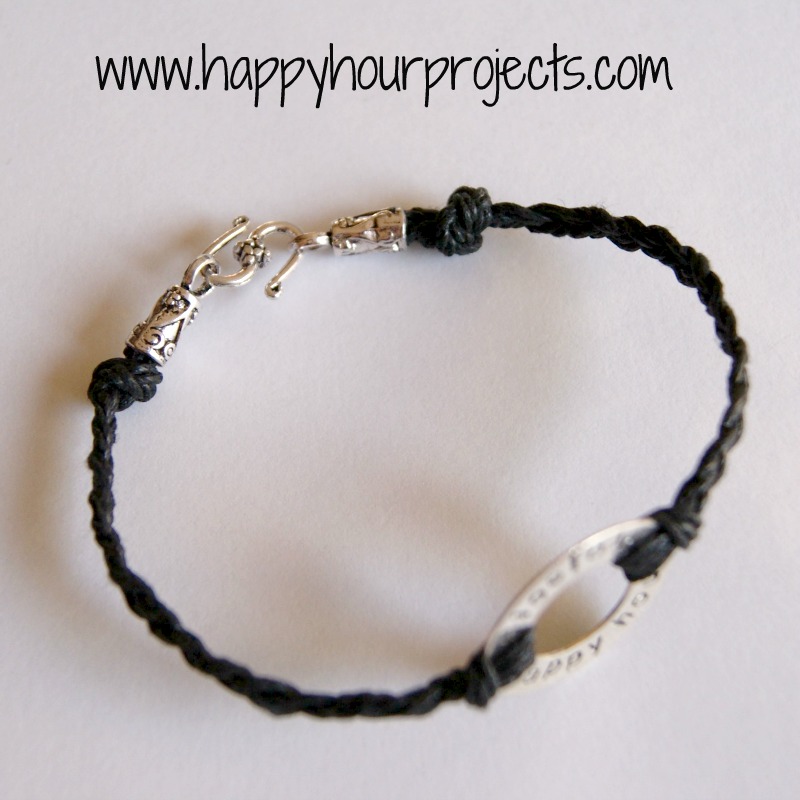
When I stamped it, I left room in the text to attach the cords to each side.  I made it up really similarly to the 10-minute bracelets I posted last week, although instead of leaving it to tie on, I attached end caps with some jewelry glue.  I also used waxed cotton instead of hemp for this bracelet.  There was no special reason I did it this way – just that I had waxed cotton in black, but no black hemp. :)

To add the end caps, I tied knots where I wanted the bracelet to end, so it wouldn’t unravel.  I turned out I didn’t need to do this – it didn’t unravel, so in hindsight I wish I had skipped the knots.  Oh well. :)  I trimmed the ends to about the same length as the end cap was deep.  I added a drop or two of jewelry glue inside the cap, and added it to the ends of my bracelet (I’m sure superglue would work as well!).

This pack of end caps also came with an “S” clasp, so that’s the closure I used.  This way, I can take it off for showers and if I’m getting sweaty to help protect the silver and to keep the cotton cord from wearing out so quickly.

Really simple, just a twist on something I’ve already shown you, but I think I will wear this one a lot!  It’s “me” in a way that not a lot of my other pieces are.  I love truly personalized jewelry, don’t you?

Hope you’re having a great Thursday!!

I link up to these great parties!
~ Adrianne

Filed Under: Bracelets, Jewelry Tagged With: stamped

copyright policy and terms of use

I love it when you love my work! All tutorials and photos published at Happy Hour Projects are copyrighted. If you would like to feature my tutorial on your website or share it on your social media you may use one photo to feature, as long as you provide a link back to the original post.

If you feature a photo, it may not be accompanied by the project tutorial or recipe, whether in my own words as it originally appears or paraphrased by you. This also includes personal sharing on social media and Pinterest. Publishing multiple photos from a project, or including instructions with an accompanying photo are not permitted and you will be asked to remove them.

I love to share my projects, and my tutorials, recipes, and e-books are ALL free for your personal use. However, photos and ideas that are published to this site are my protected intellectual property. You may print them at home, but please do not copy or distribute them. I also allow all designs to be made and sold at fundraisers, craft fairs, etc. If you are selling a piece made from one or more of my free tutorials in your online shop, I require that you use your own, original photography, and include a link back to my website to credit me as the designer.

I hope you enjoy what you read here, and please be fair when you share!

Reader Interactions

Comments

  1. Suzana says

    06/22/2012 at 9:44 pm

    Bravo!

    Reply
  2. Tamika Rybinski says

    06/22/2012 at 11:27 am

    Congrats! I love the bracelet!

    Reply
  3. Morena Hockley says

    06/22/2012 at 2:02 am

    Congrats again!!!!

    Reply
  4. Kara at Petals to Picots says

    06/21/2012 at 11:08 pm

    Wooohooo! Congratulations, Adrianne!

    Reply
  5. Meredith says

    06/21/2012 at 5:52 pm

    Okay, did that fix it?! Your tutorial was very helpful!

    Reply
  6. Meredith says

    06/21/2012 at 5:35 pm

    Congratulations friend! I'm so excited for you! And I'm loving this bracelet :o)

    Stopping by to say hi and that I've nominated you for the Sunshine Award! Thanks for being so inspiring! :)

    Meredith @ Wait Til Your Father Gets Home

    http://www.waittilyourfathergetshome.com/2012/06/21/sunshine-award/

    Reply
  7. Amber says

    06/21/2012 at 4:50 pm

    Congrats to you!!! How awesome! And super cute bracelet!

    Reply
  8. Kadie says

    06/21/2012 at 2:35 pm

    I second Terry!! I am so happy for you!! Congrats.

    What a great piece!! I love how personalized it is. I was wondering where you get the washers from? Can you just buy them from a hardware store?

    Reply
  9. Terry says

    06/21/2012 at 1:46 pm

    First of all — woohoo,….congratulations. I'm so proud of you and happy for you. What a fabulous thrill.

    And now. he he,….I always wonder how to get findings onto the ends of weird things that don't accept a jump ring. Now I know. :) (I even have some of those weird end pieces somehow).

    Reply
  10. Adrianne at Happy Hour Projects says

    06/21/2012 at 1:46 pm

    I don't know the name of it, but it's the standard font on the basic economy stamps. It would be similar to Arial!

    Reply
  11. Dot says

    06/21/2012 at 1:29 pm

    Congratulations!! Such wonderful news!!

    Reply
  12. Jill says

    06/21/2012 at 12:38 pm

    Congratulations! That is so exciting! Super cute bracelet btw!

    Jill @ Create.Craft.Love.

    Reply
  13. Sue says

    06/21/2012 at 11:39 am

    Very cute bracelet. I have just started stamping so thanks for the tips! Do you know what the font is called that you stamped with? I like it alot.

    Reply

Trackbacks

  1. Hand Stamped and Riveted Mommy Necklace says:
    10/28/2013 at 11:18 am

    […] get your own technique down.  (If you want to read more about how I got started stamping, I have a jewelry stamping tutorial that’s specifically for beginners and those wanting to get […]

    Reply

Leave a Reply Cancel reply

Your email address will not be published. Required fields are marked *

Primary Sidebar

Hello, and welcome! I'm Adrianne, an artist, author, designer, and blogger in mid Michigan. I work from home, chase my two kids, and this once-city-girl is learning how to care for chickens and adjusting to life out in the country. I have a compulsion for daily creativity... sometimes it's jewelry-making, paper crafting, metal stamping, mixing and baking, or giving new life to recycled items. But with 2 young kids, time is short! My goal here at Happy Hour Projects is to share projects and tips that you can do in an hour or less. The ideas you find here are designed to add a little creativity in your day, no matter how much (or how little) time you have!

BUY MY BOOKS!

Copyright © 2026 Happy Hour Projects on the Brunch Pro Theme