
There is a phrase going around (or maybe it’s just going around in my circles) that I am totally in love with. Always be yourself. Unless you can be a unicorn, then, always be a unicorn. I mean… it just sums up how fabulous and rare any person being true to themselves can be! So whenever I get the chance, I love to put that sentiment out there to enjoy. And since I’m such a happy stamper, I put it on a sweet aluminum cuff, so I can share it while I’m out and about, too.
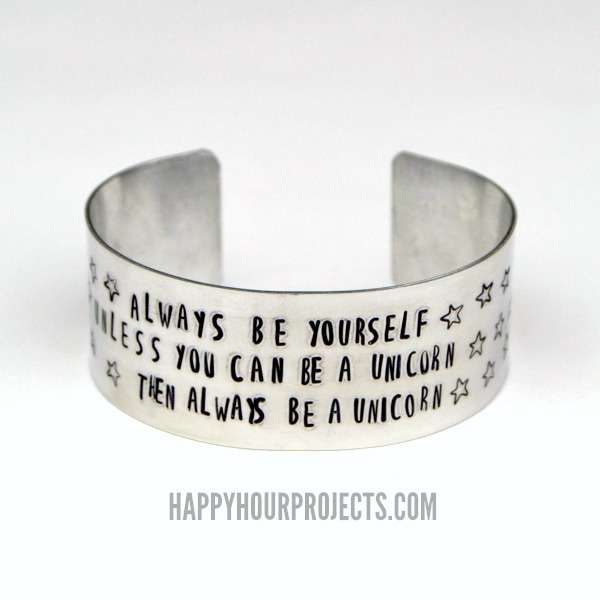
This is my latest self-indulgent creation, and I’m really enjoying it – and it’s gotten a few laughs. My daughter is unicorn-obsessed right now, too, so it’s sort of like a matching accessory. I’m sure as soon as she’s old enough to read, she’ll be swiping this one from my jewelry box!
I’m not going to share a full step-by-step on stamping today, primarily because if you haven’t stamped at all, there’s quite a bit of information to share with you. I do have a very thorough beginner’s stamping tutorial you can check out if you’re looking to get started, though – with info on where to shop, what to buy, and how to get started, in both step-out photos and also video. So be sure to check that out if you haven’t done any stamping yet!
There are a few points I’m happy to share about using this font, and working with aluminum cuffs, though. And I’m happy to share links to Goody Beads below if you’re looking to make a purchase, or want to look more carefully at these supplies. (If you do decide to make a purchase through these links, it does support my blog – so thank you!)
Here’s what you will need:
- A skinny font like ImpressArt’s new Lollipop font – I LOVE this font.
- A bench block, hammer, Sharpie, and polishing pads
- A 1″ wide 6″ aluminum cuff
- Stamp straight tape, washi tape, or masking tape to secure your blank
- Bracelet bender
- Small metal file
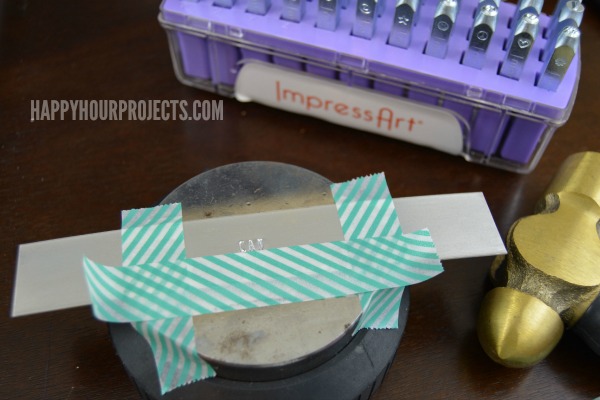
I started in the middle for this design, and worked my way outward. Typically I do better stamping from left to right, but I had a LOT of words to squeeze in on this cuff, so I wanted t o be sure the design stayed centered. I taped off so that the center 2 inches showed – this will be the part that sits at the top of your wrist, much more so than what gets stamped on the sides.
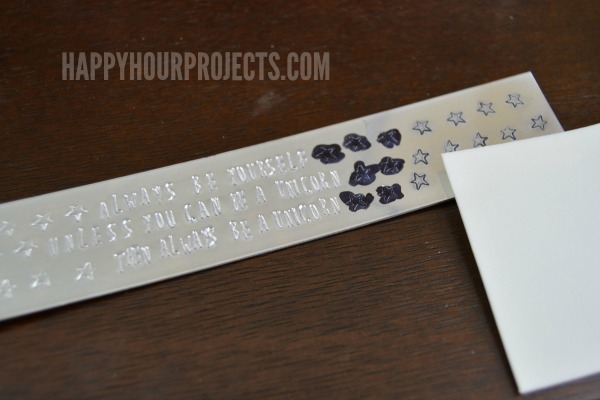
I filled in the sides with little stars, though you could easily leave them off. The new fonts from ImpressArt come with simple design stamps like stars, hearts, and spirals, so adding a little embellishment is easy!
I darken my impressions on aluminum with a permanent marker, and use a polishing pad to remove the excess ink. Aluminum doesn’t oxidize, so this is one of the easiest and most permanent ways to darken those letters and designs.
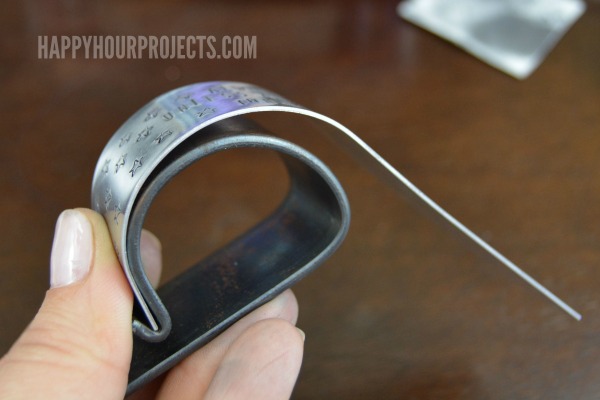
Finally, I use the bracelet bender to create that great, smooth cuff shape. Begin at the crease, and bend toward the flat backside. You just bend each side halfway. Do be careful though; the edges on these blanks are pretty sharp. I always use a little metal file to file the edges down. I would bet you could also use sandpaper? But the cuff can scratch if you don’t do anything about the edges.
In under 10 minutes, that just left me with this fun piece:

Have you made any stamped pieces that were just for fun? I love sassy jewelry, tell me about your favorite piece!

Do you collect cute quotes? I love Abraham Lincoln:”Whatever you are, be a good one.” Would be cute on a cuff!
WOW just what I was searching for. Came here by searching for essay
writing services
I absolutely LOVE that phrase and your bracelet turned out beautifully!
I have seen that same phrase but instead of unicorn, it said a narwhal which my daughter loves. Where do you but the bracelet bender piece?? Thanks!
You can get them at Goody Beads: https://www.goodybeads.com/store/products/TL00148.htm
I love this so much! I hope that one day I can stamp as evenly spaced and as straight as you do!