
After some feedback on my original Wish Bracelet Tutorial, I had a lot of people suggest that these would make great ankle bracelets, which is true! So I did some measuring for an ankle-length version, so you can start getting ready for summer. Or, you know, spring, if you’re like me and you just had snow ten days ago. ;)
I love ankle bracelets, they are my permanent jewelry. The only time I have ever taken mine off was late in my pregnancy when my ankles were too swollen. :P In addition to the two silver ones I always wear, I usually make a special beaded ankle bracelet each summer to add some color. Now that I have declared wish bracelets back in style (LOL, I tried, anyway) it’s about time I tie one on myself!
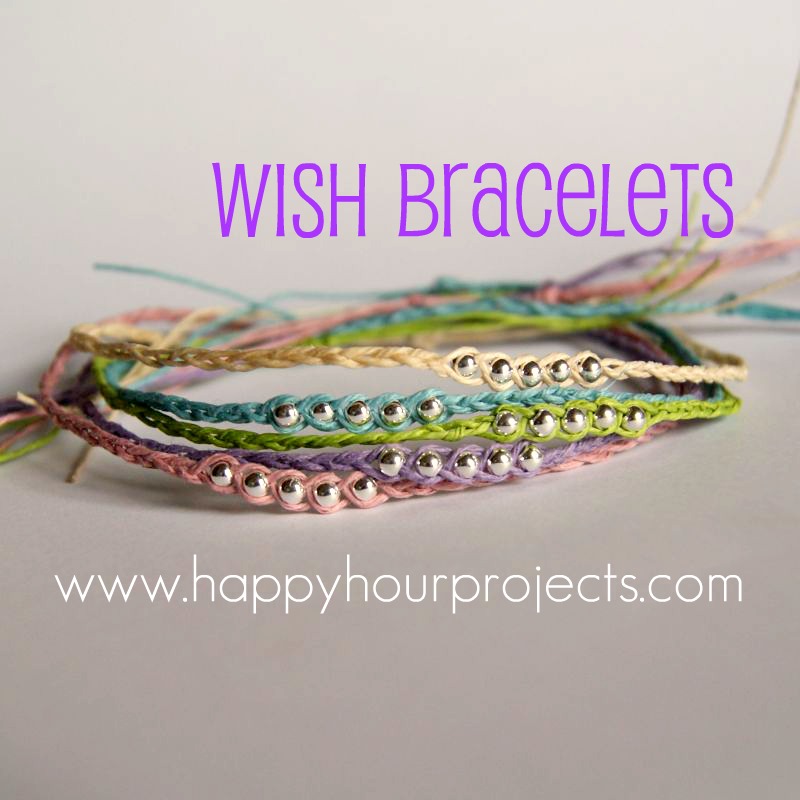
In case you missed the original tutorial, let me explain why they are called wish bracelets. You make a wish, tie your bracelet on, and don’t take it off! When the hemp eventually wears out, your wish is then released and it’s supposed to come true. I don’t know that it ever really works, but since wishes are both free and fun… why not, right?
Speaking of wishes, I just love this funny. (I had to do a quick edit, but I think it retains the point):
Okay, all right – back to the tutorial. ;)
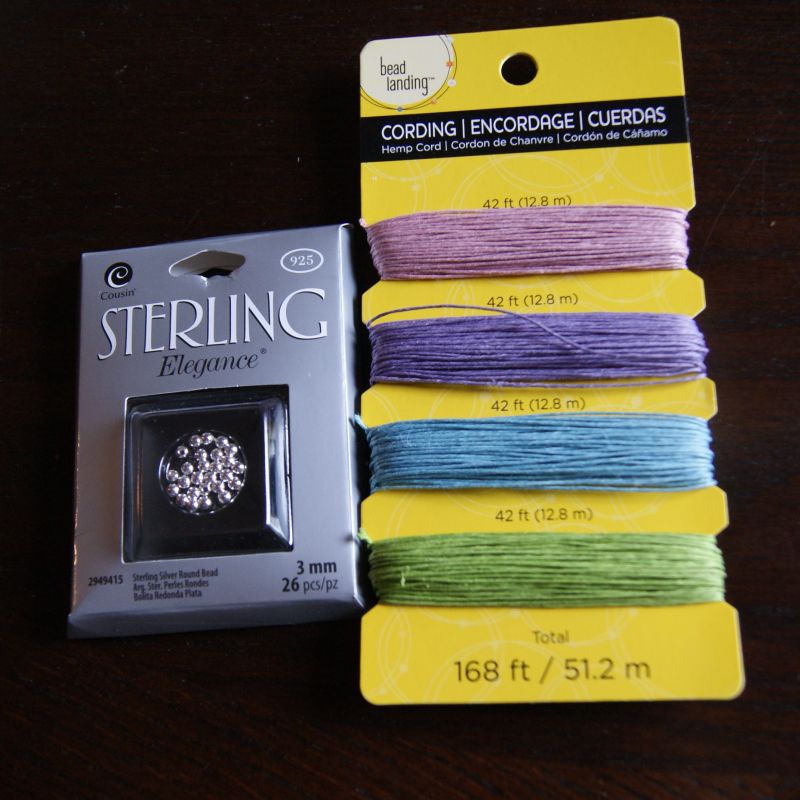
For my splash of color, I opted for colored hemp twine and sterling silver beads. Check the Michael’s ad and/or bring a coupon – the beads were 40% off this week, and I used my 40% coupon on the twine. That made my supplies $6. You could cut the cost even further by using glass seed beads – there’s enough hemp here for a whole lot of wishes. And yes, I’m still laughing about the genies.
Ahem. Seriously, now.
For an ankle length, start with three strands of hemp 18″ long. Measure down 3″ and tie a knot. Braid about 4″ to 4-1/2″.
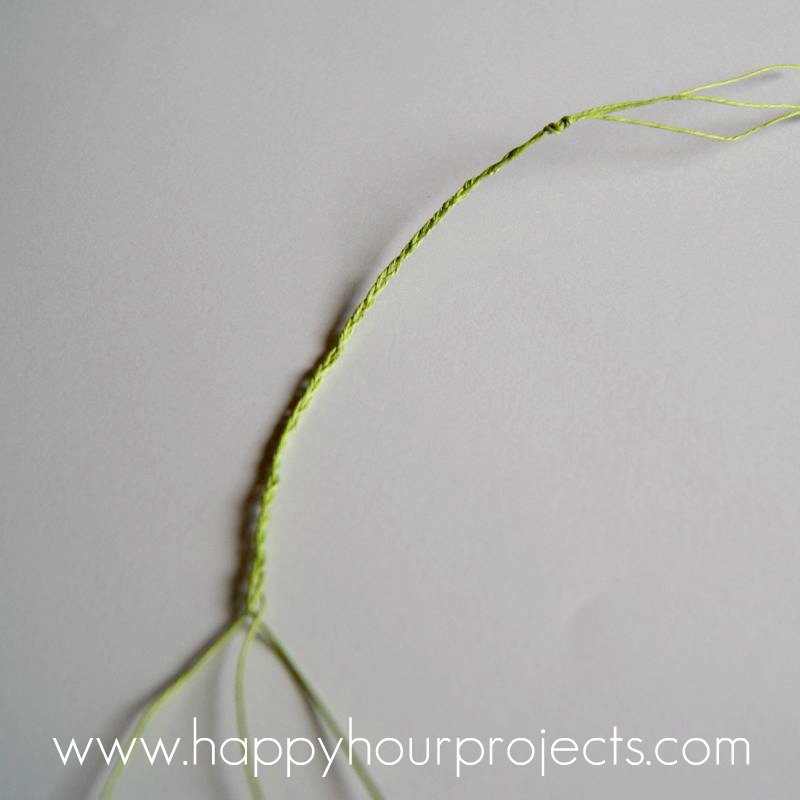
Next, you’ll be braiding in a few beads. I work from the right, but you can easily work from the left if you’re left-handed. It doesn’t matter – you’ll just be braiding beads in from one side only.
Pull your right strand to the center of your braid. Thread a bead onto this strand.
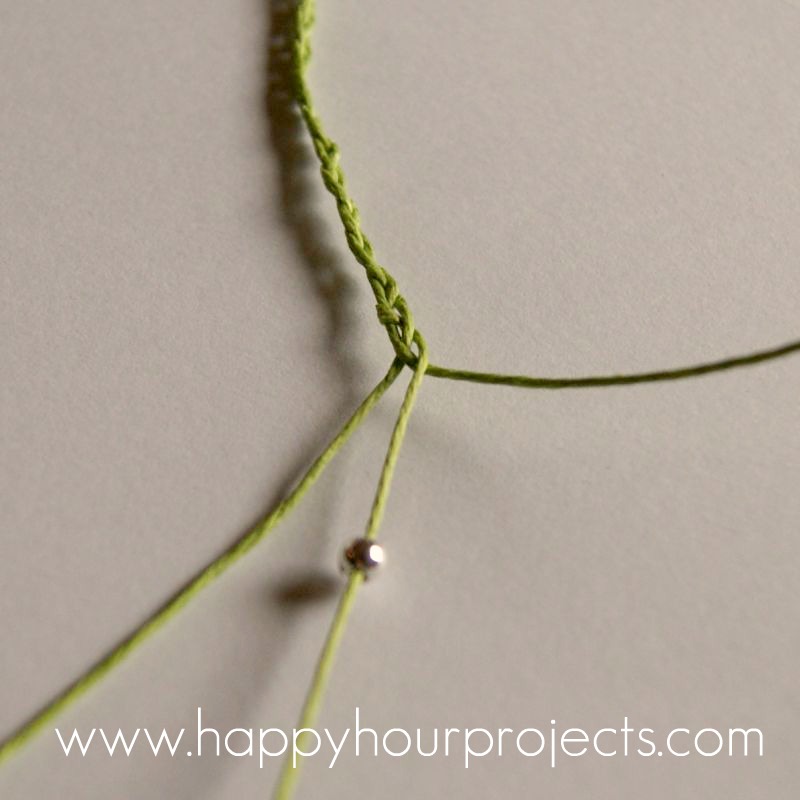
Snug it up close the braid, and pull the left strand to the center.
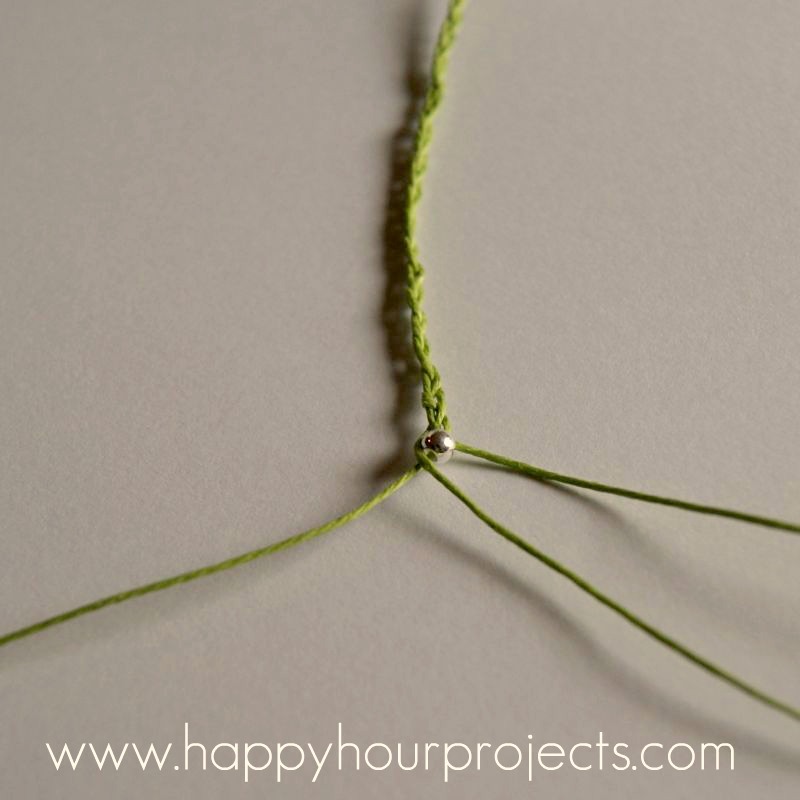
Now pull your right strand to the center, and thread another bead.

Continue, adding as many beads as you like. I added five. Then, braid the rest of your bracelet down another 4″ to 4-1/2″. For an ankle length, you want a bracelet that ends up between 9″ and 10″.

Then, make them in every color, because you won’t be able to resist. ;)

So, what are you making to wear this summer?
I link up to these great parties!
~ Adrianne
Y71 Game is an online gaming platform that offers entertaining gameplay, smooth performance, and an easy-to-use experience for players who enjoy exciting digital gaming and rewarding features.
Great post! Have nice day ! :) machh
Hello. Love the wish anklet. I don’t currently have hemp, what else can I use?
I currently have 7 (yes, seven) anklets on and I absolutely LOVE them!!!!!! ?? I made five of them myself and I think one of the two that I didn’t is handmade. I would love to put more on, though that might get to be a little much. I also have two on my wrist. What’s one more, right? ??
Love the funny by the way. ;)?
They last anywhere from a few months to about a year – hemp wears out after a while, which is why the “wish” part of it is so fun. ;) But you can always make more, because they are really fast and easy!
This comment has been removed by the author.
oh i love these!!! but how long do you think that they would last?? bcz i want them for a while! :) but these are great ideas for a quick craft and they are sooo cutee!!! u can wear them with like anything so thanks so much for the idea! i love them!!!!
I have made three so far…they are addictive! Melissa, my beads get a bit twisted too, but I just had to fiddle with them a bit to get them straight. I love these! Thanks for posting, Adrianne!
I got one of these in a surf shop back in my junior year of high school made some goopy love wish like I wish I will find my soul mate my husband ok summer after senior yr I'm still wearing it…yup a yr and it ain't fallen off…I tied it good!;) I meet this amazing guy and while chatting with him on the phone I scratch my leg…as I do this he is asking me to be his girlfriend…guess what? It fell off……yup I married that guy 8 yrs ago…and I still have that anklets…:) now isn't that great? Thanks to ur tut I am going to make these for gifts!:)
ok, I'm apparently crafting impared…
My beads keep twisting and I end up with a mess…
help.
oh how simple and great! I used to get these at summer camp!
Thanks for the great tutorial! I recently made one, but added beads to the end as a clasp. Here's a link to the one I made: http://pinterest.com/pin/151011393725798715/ Thanks, again!
i just made 5 of these!!! love it!
Just saw these on Pinterest and added this site to my favorites! Love it!
Definitely smaller than 1mm, though the package didn't give me the exact size. But as long as the beads you plan to use will fit on your twine, any size would work! :)
wonderful tutorial! are those 1mm or .5mm twines?
Ahhh! What a great tutorial! I remember getting these as a little girl! So awesome!!!
This one's pretty. I think I can make one for my girl and some more for my friends too. Thank you for sharing this projectto us.
artisan designer jewelry
Making this right this moment!!!! I saw the tutorial and drove straight to Michaels. Luckily they had the exact things you used here (LOVE the colors of this hemp cord, absolutely darling)!
I love its! Thanks you for sharing!
LOVE this! Please feel free to share any of your creations on our wall, they would definitely inspire a lot of our fans :-)
Hi, I love your wish bracelets. I use to wear ankle bracelets alot. Haven't for a few years. Maybe it's time to tie one on again. lol! Love the wish idea and the joke was too cute! The beads add a bit of sparkle. Thanks for sharing this great tutorial with Share Your Cup Thursday!
Hugs,
Jann
Its too lovely and beautiful wish bracelets here. As well as its very easy to make this wish bracelets is look too good and gorgeous. You have done great work.
codice promozione
Adrienne,
First of all, I so glad I wasn't drinking anything when I read this because it would have come out of my nose during the cartoon portion! Too funny!! Thanks for sharing the tutorial, I have never made one of these, but I am heading to Michael's for beads tomorrow! I LVE me and I am 45 years old! I have the hemp already and I have some returns to do at Michael's anyway, so why not put the money toward some beads?
Thanks for the laugh and the learn!
Maureen
thank you for sharing, this will be a fun project to share with our granddaughters this summer. They love anklets too.! Hugs!!!
Love this, going to save this craft for the girls when we go to the beach this summer, perfect for the rainy day that I know we'll have. Pinned.
I just got all the materials and plan on making the bracelet or anklet tonight with my daughter. A little girly crafting time.:) Yay, she is going to love it. I tried to make me a maxi skirt/dress last night for summer……., worst fail ever. So back to the drawing board for me.:)
I love this idea for a craft project with my kids. Again being from the Caribbean instead of silver beads i would probably try to get the kids to find shells or small smooth stones on the beach as a substitute.
I am a new blogger and enjoying discovering such simple ideas that could be done with my family.
Love the pastel colors.
I don't think I've ever worn an ankle bracelet (are you gasping?). I am a big fan of toe rings and I usually make myself some in the stretchy elastic with some seed beads. I find these more comfortable than rigid rings. Yay spring,…bring it on.
Thanks for posting another wonderful tutorial. Reblogged it on Tumblr blog (photo only and link of course!). My readers love your posts and blog :)